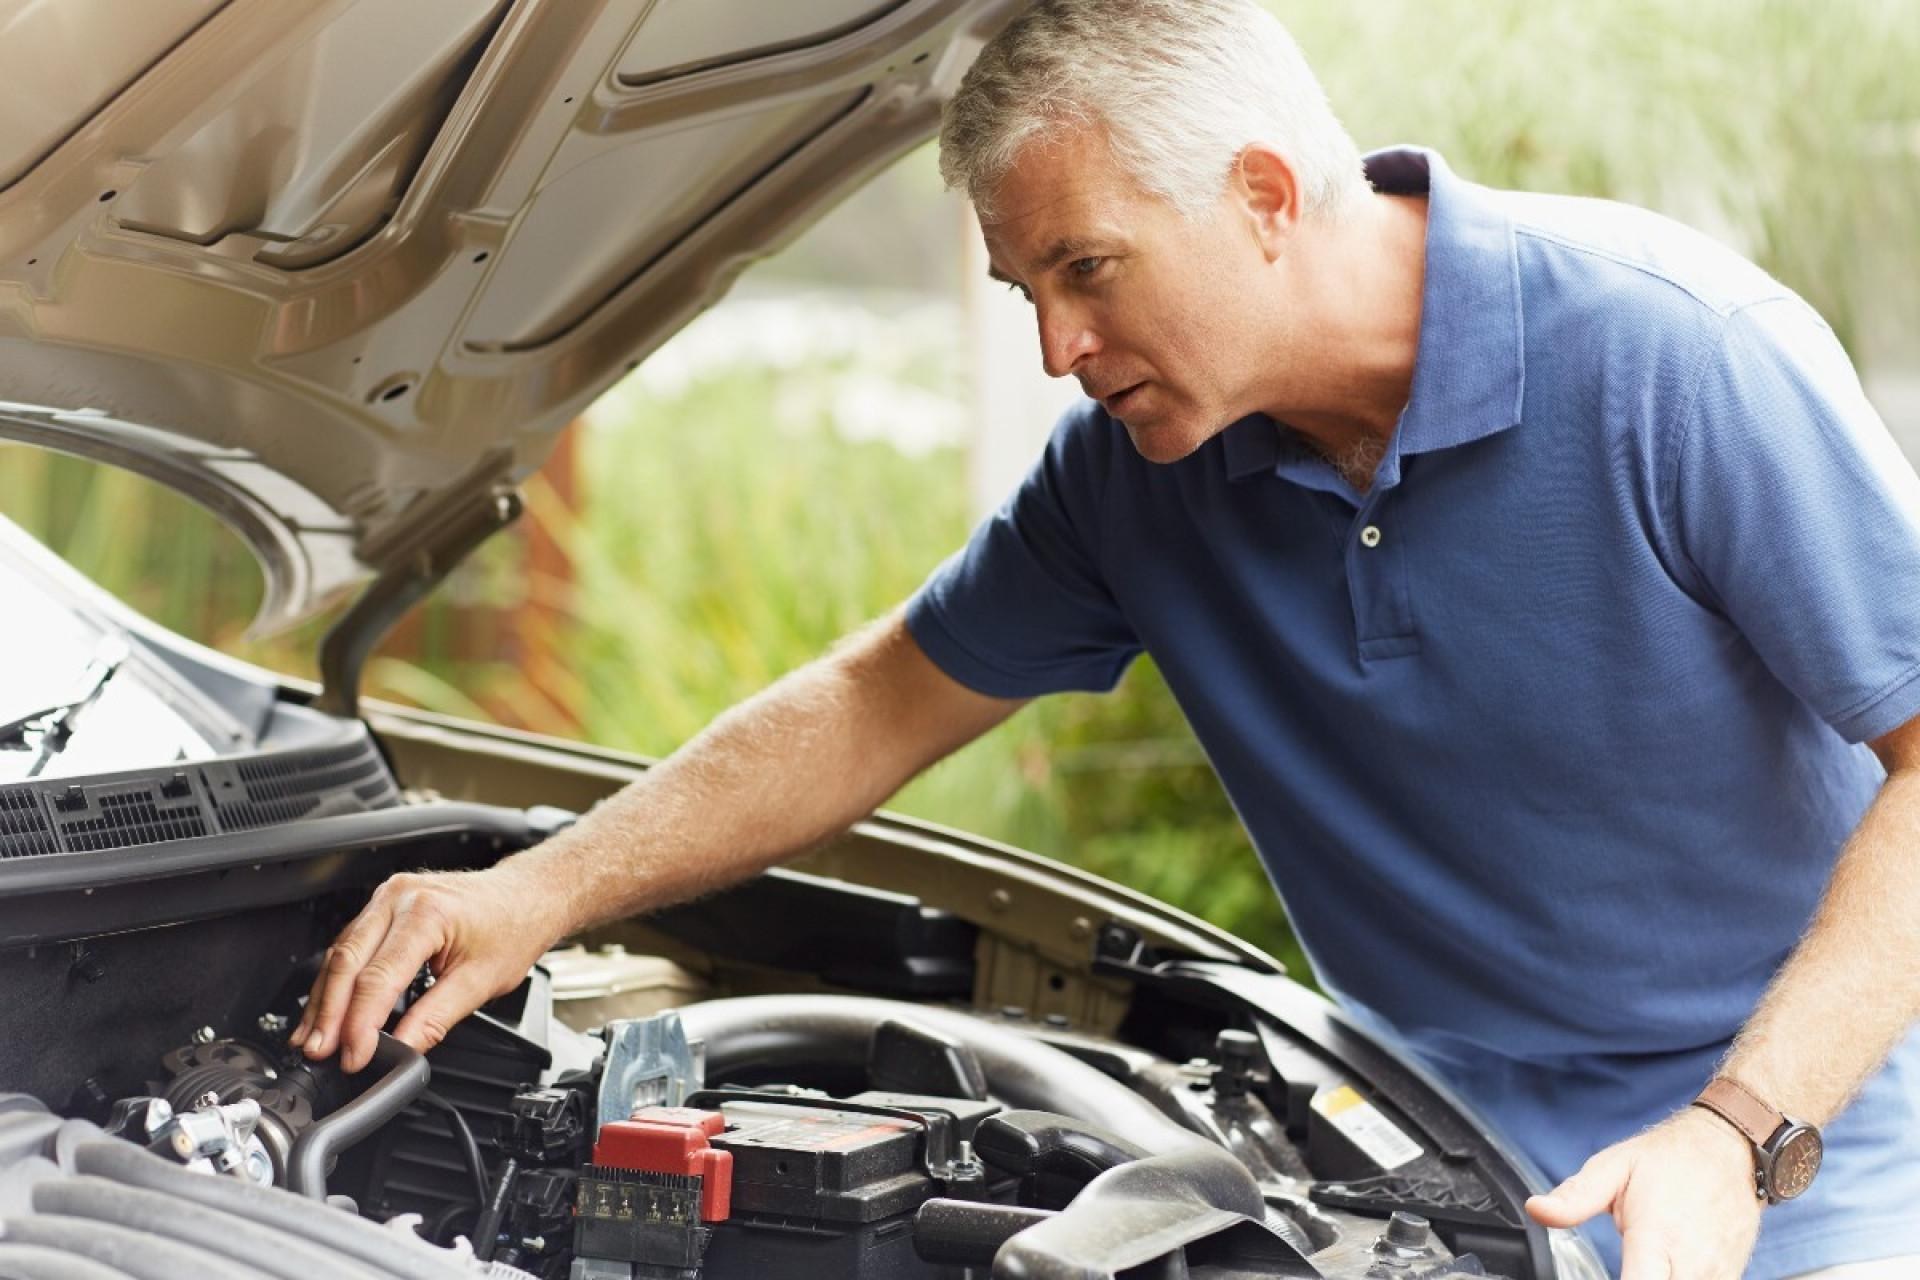
A 1000-mile road trip pushes a vehicle far beyond its normal daily routine. Most cars in the US average under 15,000 miles a year, meaning a single trip can represent nearly a month’s worth of driving compressed into two or three days.
That kind of sustained stress exposes weaknesses that short commutes never reveal. A tire with a slow leak might be fine for grocery runs. It can fail catastrophically at highway speed on a hot afternoon.
Mechanics and safety organizations like AAA consistently point to a handful of failure points behind most breakdowns. Tires, batteries, and fluid leaks top that list every single year.
This guide walks through eight checks worth doing before you leave. Each one is based on real mechanical failure patterns, not guesswork. None of these take more than fifteen minutes individually. Together, they can be the difference between a smooth trip and a stranded one.
We’ll cover tires, fluids, brakes, battery, lights, cooling, visibility, and emergency preparedness. Each section explains not just what to check, but why it matters specifically for long-distance driving.
1. Tire Condition and Pressure
Tires are the single most common cause of highway breakdowns in the United States. The National Highway Traffic Safety Administration has repeatedly flagged tire-related issues as a leading factor in crashes. Start with tread depth. Legally, tires are considered worn out at 2/32 of an inch. For a long trip, that legal minimum isn’t good enough.
Safety experts recommend replacing tires once tread drops below 4/32 of an inch, especially if rain is possible. Use the penny test as a quick gut check. Insert a penny into the tread groove with Lincoln’s head upside down.
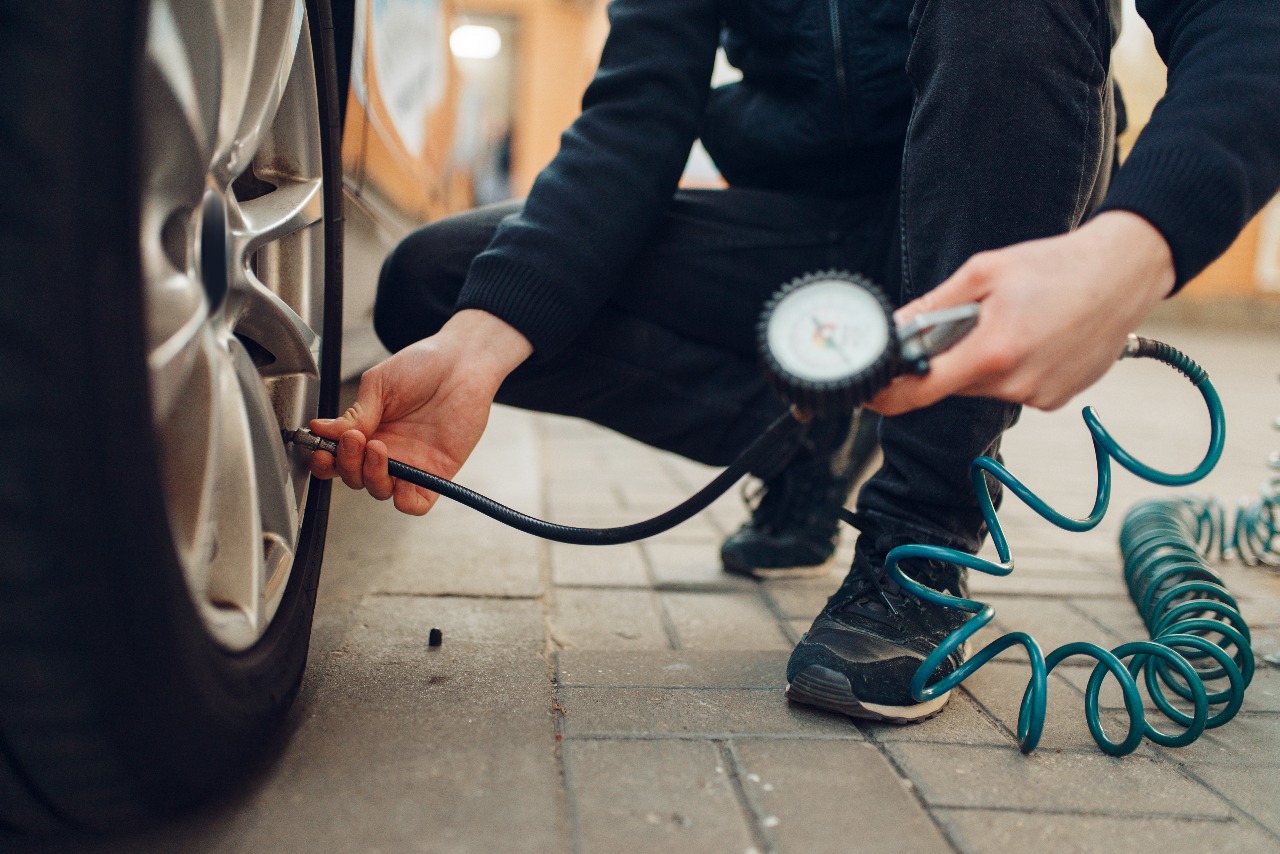
If you can see all of Lincoln’s head, your tread is too shallow. That tire needs replacing before a long haul. Pressure matters just as much as tread. Underinflated tires flex more, generate more heat, and are far more prone to blowouts on long highway stretches.
Look for the recommended tire pressure on the sticker inside the driver’s door jamb. That number is what you should follow for everyday driving. The PSI printed on the tire’s sidewall is different because it refers to the tire’s maximum allowable pressure, not the pressure recommended for your vehicle.
Tire pressure drops roughly 1 PSI for every 10-degree drop in outside temperature. This matters if you’re driving through varying climates over 1000 miles.
Don’t forget the spare tire in this check. A flat spare defeats the entire purpose of carrying one. Also inspect for uneven wear patterns across each tire. Wear on the edges usually signals underinflation, while center wear points to overinflation.
Cupping or scalloped wear patterns often indicate suspension or alignment problems. These issues tend to worsen dramatically over long, high-speed drives.
If your tires are approaching six years old, consider replacement regardless of tread depth. Rubber compounds degrade with age even if the tire looks fine.
Check the DOT code on the sidewall for the manufacture date. The last four digits indicate week and year of production. Rotate your tires before the trip if it’s been more than 5,000 miles since the last rotation. Even wear extends tire life and improves handling stability.
Finally, verify your tire pressure monitoring system, if equipped, is functioning correctly. A faulty sensor can mask a real problem until it’s too late.
2. Engine Oil and Fluid Levels
Engine oil does more than lubricate moving parts. It also carries away heat generated by friction inside the engine. On a 1000-mile trip, your engine will run continuously for hours at a time. This sustained heat load stresses oil far more than typical city driving.
Check your oil level using the dipstick when the engine is cold. Pull it out, wipe it clean, reinsert fully, then check the reading. If the oil looks dark brown or black and gritty, it’s likely overdue for a change. Fresh oil should appear amber and relatively translucent.
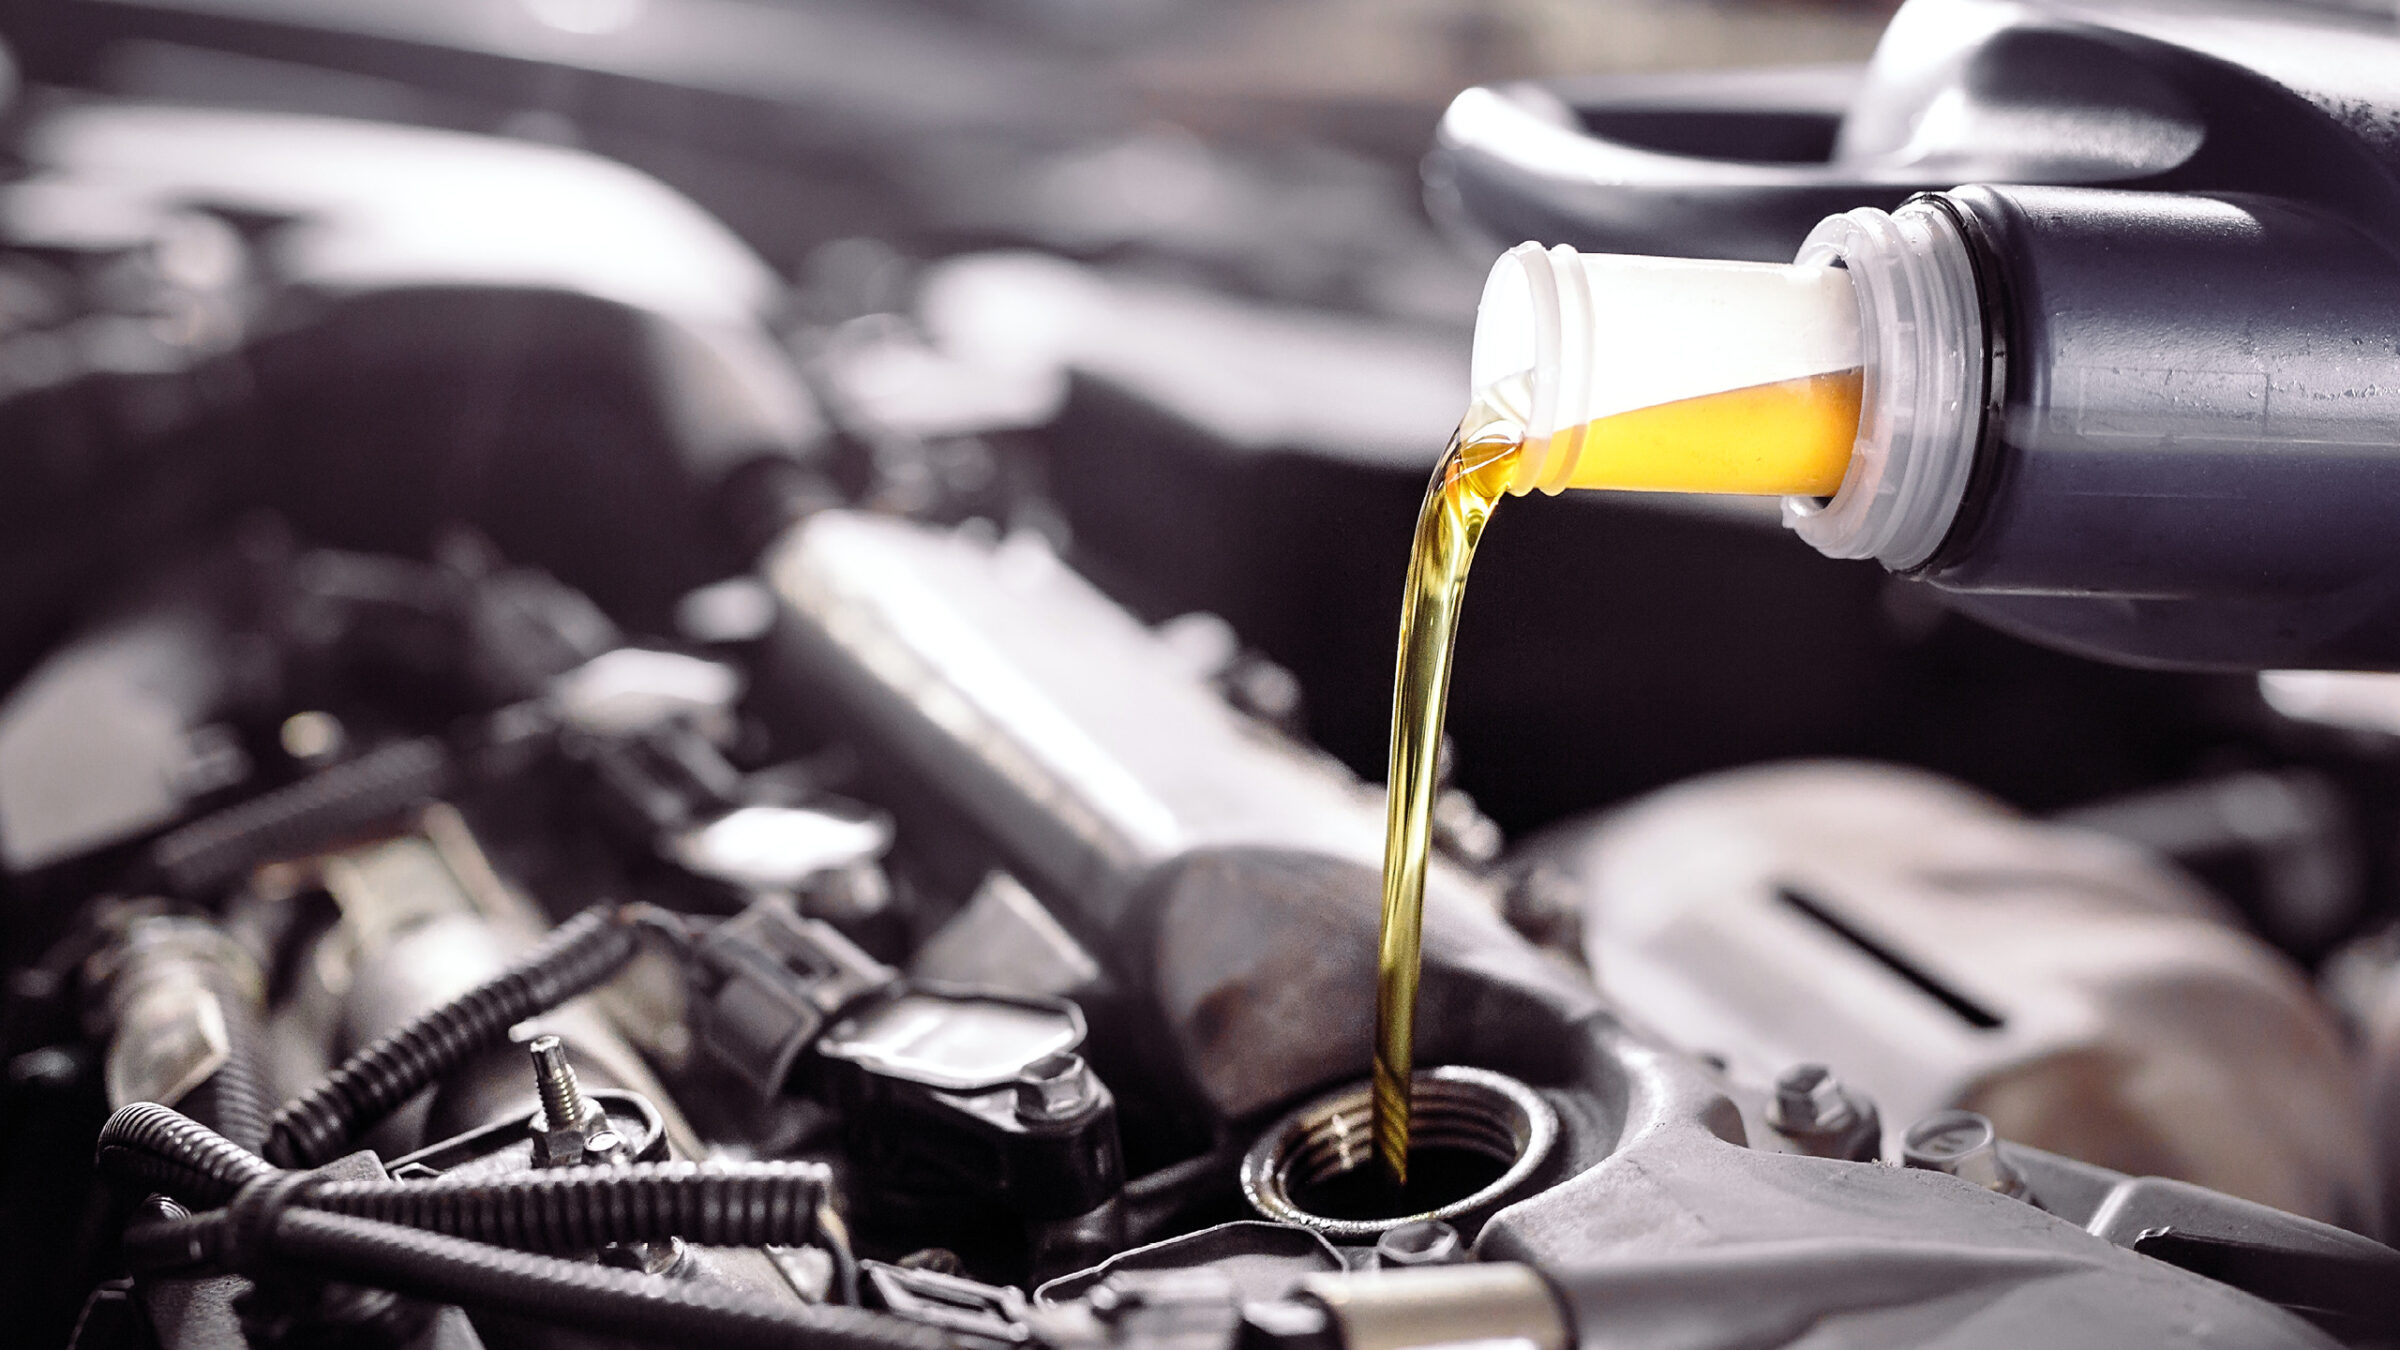
As a rule of thumb, change your oil if you’re within 500 miles of your scheduled interval. It’s cheaper to change it early than risk it failing on the road.
Beyond oil, check transmission fluid if your vehicle has a dipstick for it. Many modern vehicles use sealed transmissions, so consult your owner’s manual first.
Brake fluid should sit between the minimum and maximum lines on its reservoir. Low brake fluid can indicate worn pads or, more seriously, a leak.
Power steering fluid, if your car doesn’t use electric steering, should also be checked. Low levels can cause stiff or noisy steering, especially during long drives.
Windshield washer fluid seems minor but matters enormously on highways. Bug splatter and road grime accumulate fast over hundreds of miles. Coolant deserves its own detailed check, covered separately below. But confirm here that no fluid is visibly leaking under the vehicle.
Look for puddles or spots on your driveway or garage floor before departure. Different colored fluids indicate different systems, so note the color if you spot one.
Red or pink often signals transmission or power steering fluid. Green, orange, or pink can indicate coolant, depending on the formulation. Dark brown spots are typically engine oil, while clear fluid is usually just AC condensation. When in doubt, have a mechanic look at it before you leave.
3. Brake System Inspection
Brakes are the one system you genuinely cannot compromise on before a long drive. Mountain passes, sudden traffic stops, and unfamiliar roads all demand full braking performance.
Start by listening for warning signs during a short test drive. Squealing usually indicates wear indicators contacting the rotor, a built-in warning feature.
Grinding is more serious and often means the pads are completely worn through. Metal-on-metal contact damages rotors and dramatically increases stopping distance. Pay attention to how the brake pedal feels underfoot. A spongy or soft pedal can indicate air in the brake lines or a fluid leak.
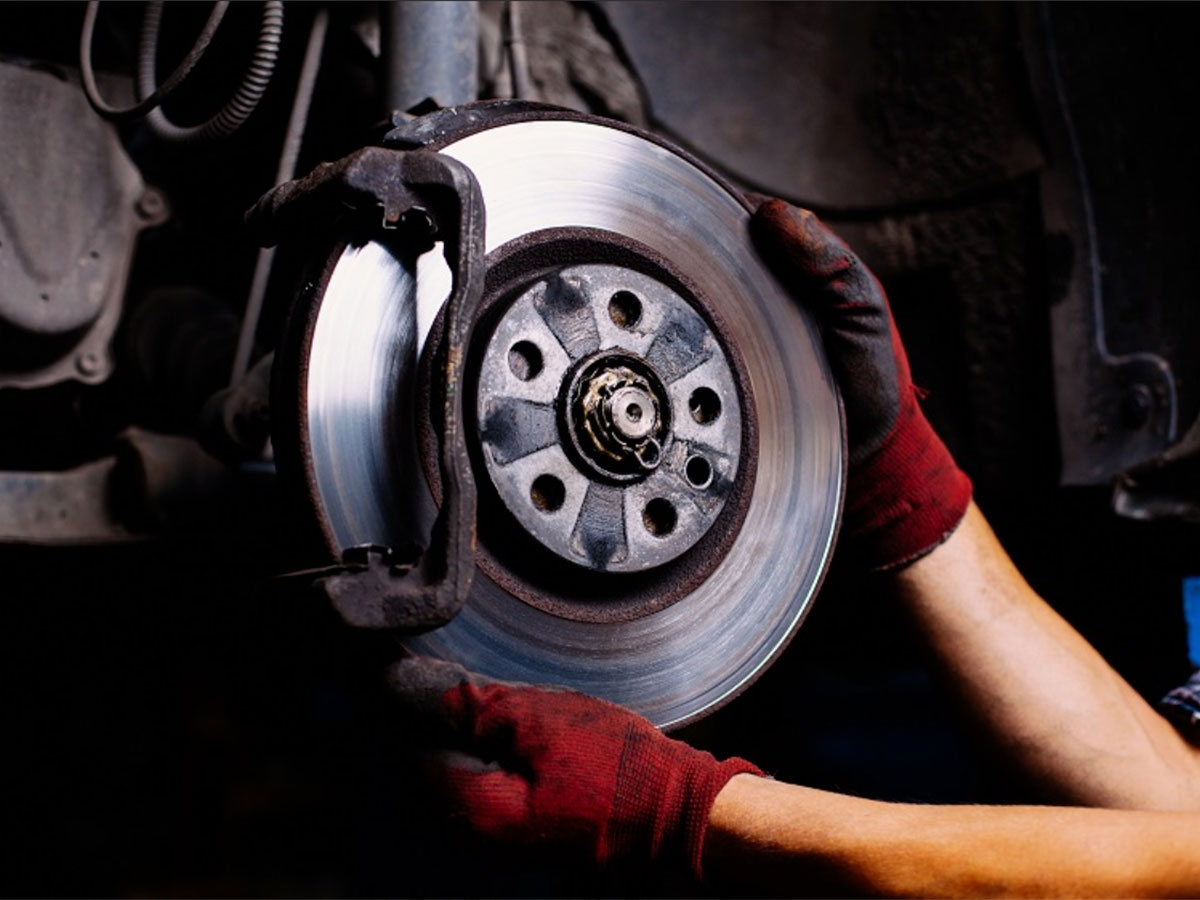
If the car pulls to one side when braking, that’s a red flag too. It could mean uneven pad wear or a sticking caliper. Visually inspect brake pad thickness if you can see through the wheel spokes. Most pads start around 10-12mm thick when new.
Replace pads once they reach about 3mm of remaining material. Waiting longer risks rotor damage and reduced stopping power under load. Rotors should be smooth, without deep grooves or a lip at the outer edge. A pronounced lip usually means the rotor has worn thin and needs replacing.
For long trips involving mountains or steep descents, brakes work far harder than usual. Riding the brakes downhill can cause them to overheat and fade.
If you know your route includes significant elevation changes, get a brake inspection beforehand regardless of mileage. This is especially important for older vehicles or high-mileage cars.
Parking brake function matters too, particularly if you’ll be parking on inclines. Test it on a slight hill before you leave town. Finally, consider brake fluid age, not just level.
Brake fluid absorbs moisture over time, which lowers its boiling point and reduces effectiveness. Most manufacturers recommend flushing brake fluid every two to three years. If you can’t recall your last flush, it’s worth having a shop check it.
4. Battery Health and Terminals
Car batteries typically last between three and five years under normal conditions. Extreme heat, in particular, accelerates battery degradation faster than cold weather does.
A weak battery might start your car fine at home in the driveway. It can still fail after a long stop at a gas station in unfamiliar territory. Have your battery load-tested at an auto parts store before departure.
Most chains, including AutoZone and O’Reilly, offer this service free of charge. This test measures cold cranking amps against the battery’s rated capacity. It gives a much clearer picture than simply checking if the car starts.
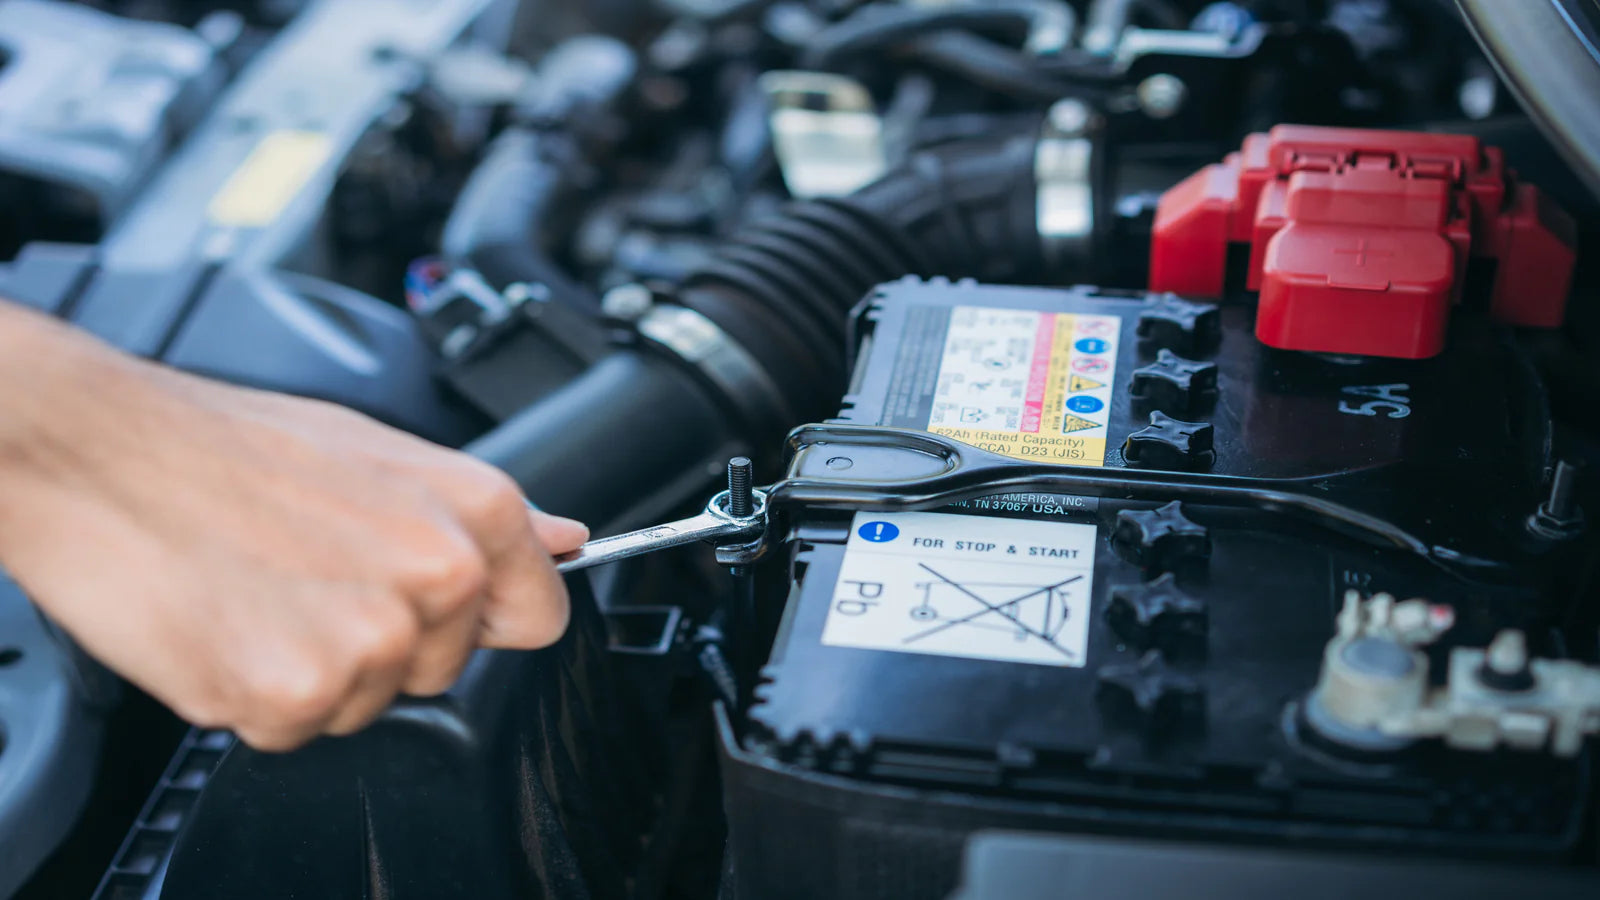
Inspect the battery terminals for corrosion, which looks like white or bluish crusty buildup. Corrosion increases resistance and can cause intermittent starting problems.
Clean corrosion using a mixture of baking soda and water with an old toothbrush. Make sure the terminals are tight and don’t wiggle when the engine is running.
Check the battery’s manufacture date, usually stamped on a sticker on top. If it’s four years or older, consider replacing it proactively before a long trip.
Modern vehicles pack more electrical demand than older models did. Infotainment systems, phone chargers, and driver-assist features all draw continuous power.
If you’ll be running the AC constantly in hot weather, that adds load too. A marginal battery is more likely to reveal its weakness under this kind of demand.
Also glance at your alternator’s performance indirectly through dashboard warning lights. A battery warning light while driving often points to alternator failure, not the battery itself.
Carry jumper cables or a portable jump-starter pack regardless of battery age. These packs have become compact, affordable, and genuinely useful for solo travelers.
Lastly, check that your battery is securely mounted with its hold-down bracket intact. Excessive vibration on rough roads can damage a loose battery internally over time.
5. Lights, Signals, and Wipers
Visibility checks get overlooked constantly, yet they’re critical for both safety and legality. A burned-out headlight or brake light can lead to citations in unfamiliar states.
Walk around your vehicle and test every exterior light systematically. Headlights, taillights, brake lights, turn signals, hazards, and reverse lights all need checking.
Have a friend stand behind the car while you press the brake pedal. This confirms brake lights work, since you can’t see them from the driver’s seat.
Check your high beams separately from low beams, as they use different bulbs. Many drivers don’t realize one has burned out until they need it at night.
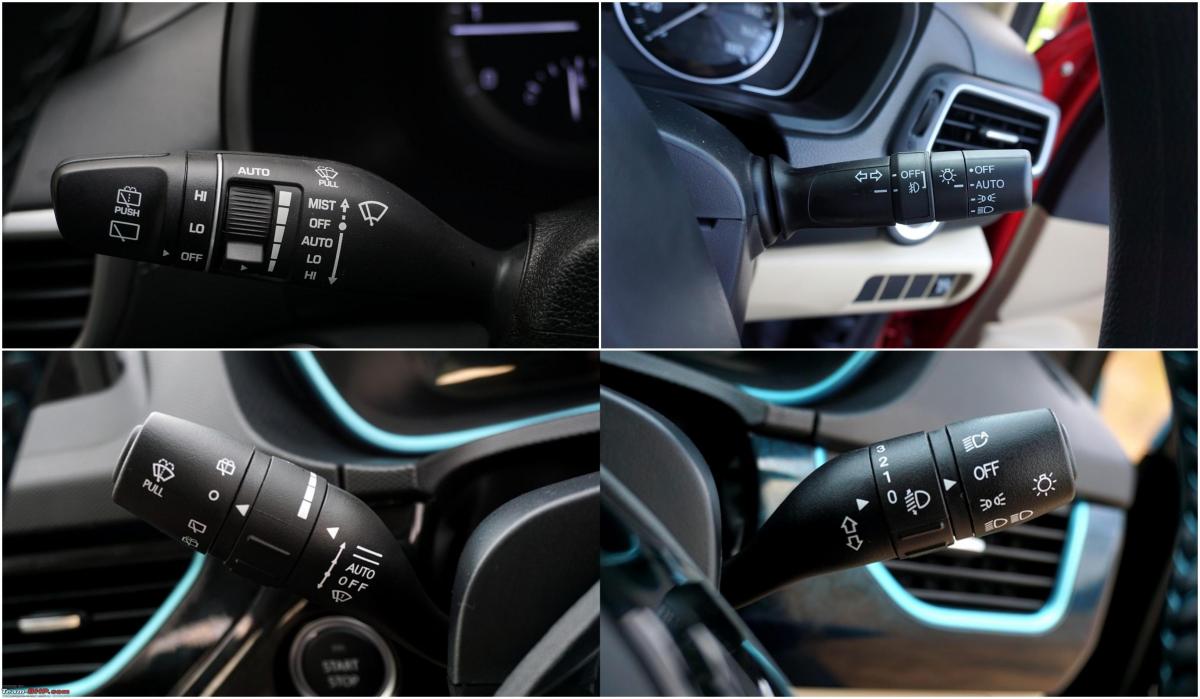
Turn signals should blink at a normal rate, not too fast or too slow. A rapid blink rate on one side often indicates a bulb has failed. Fog lights, if equipped, deserve a quick test too. They become genuinely useful during early morning drives through valleys or coastal areas.
Beyond lights, inspect your windshield wiper blades for cracking or hardened rubber. Wipers typically need replacement every six to twelve months depending on climate exposure.
Run your washer fluid system to confirm both nozzles spray evenly. Clogged nozzles are a common but easily fixed annoyance on long drives. Check your windshield itself for chips or cracks before departure. Highway driving at sustained speed can cause small chips to spread rapidly due to vibration and temperature change.
Temperature swings between air conditioning and hot exterior air worsen this effect. A chip that’s stable at home might crack across the entire windshield mid-trip.
If you spot a chip, get it repaired before leaving rather than after. Most auto glass shops can fix small chips in under thirty minutes. Lastly, clean both the inside and outside of your windshield thoroughly. Interior haze from off-gassing plastics becomes especially distracting under low sun angles on long drives.
6. Cooling System and Coolant Level
Engines generate enormous heat, and the cooling system is what keeps that heat from becoming destructive. Overheating remains one of the top reasons vehicles get towed off highways.
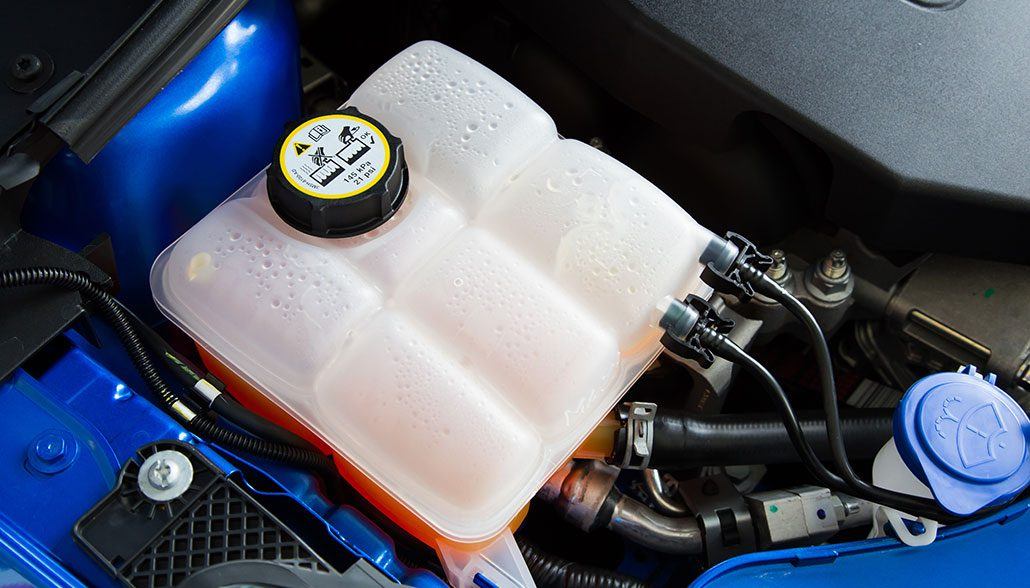
Check your coolant reservoir level when the engine is completely cold. Never open a hot radiator cap, as pressurized coolant can cause severe burns.
The reservoir should show fluid between the minimum and maximum markings. If it’s low, that could indicate a slow leak somewhere in the system.
Look at the coolant’s color and clarity through the translucent reservoir. It should appear bright and consistent, not rusty, murky, or oily. Rusty or oily coolant can indicate internal engine problems or a failing head gasket. This deserves a mechanic’s attention well before a long trip, not after.
Inspect the radiator hoses for cracking, bulging, or sponginess when squeezed. Hoses typically last four to six years before rubber degradation becomes a real risk.
A burst hose mid-trip means immediate overheating and a roadside emergency. It’s one of the more preventable failures with a simple visual inspection.
Check the radiator cap’s seal too, since a worn cap can’t maintain proper system pressure. Without correct pressure, coolant boils at a lower temperature than designed.
If your trip crosses desert regions or involves extended climbing, this matters even more. Mountain grades in summer heat represent a worst-case scenario for cooling systems.
Have your coolant tested for freeze and boil protection if it’s been over two years. Coolant degrades chemically over time even if the level looks fine.
Most manufacturers recommend a full coolant flush every 30,000 to 60,000 miles. Check your owner’s manual for the specific interval on your vehicle.
Finally, confirm your radiator fan engages properly when the engine reaches operating temperature. You can test this by idling the car and watching or listening for the fan.
If the fan doesn’t kick on, your engine could overheat in stop-and-go traffic. This is especially relevant if part of your route passes through congested cities.
7. Alignment, Suspension, and Steering Feel
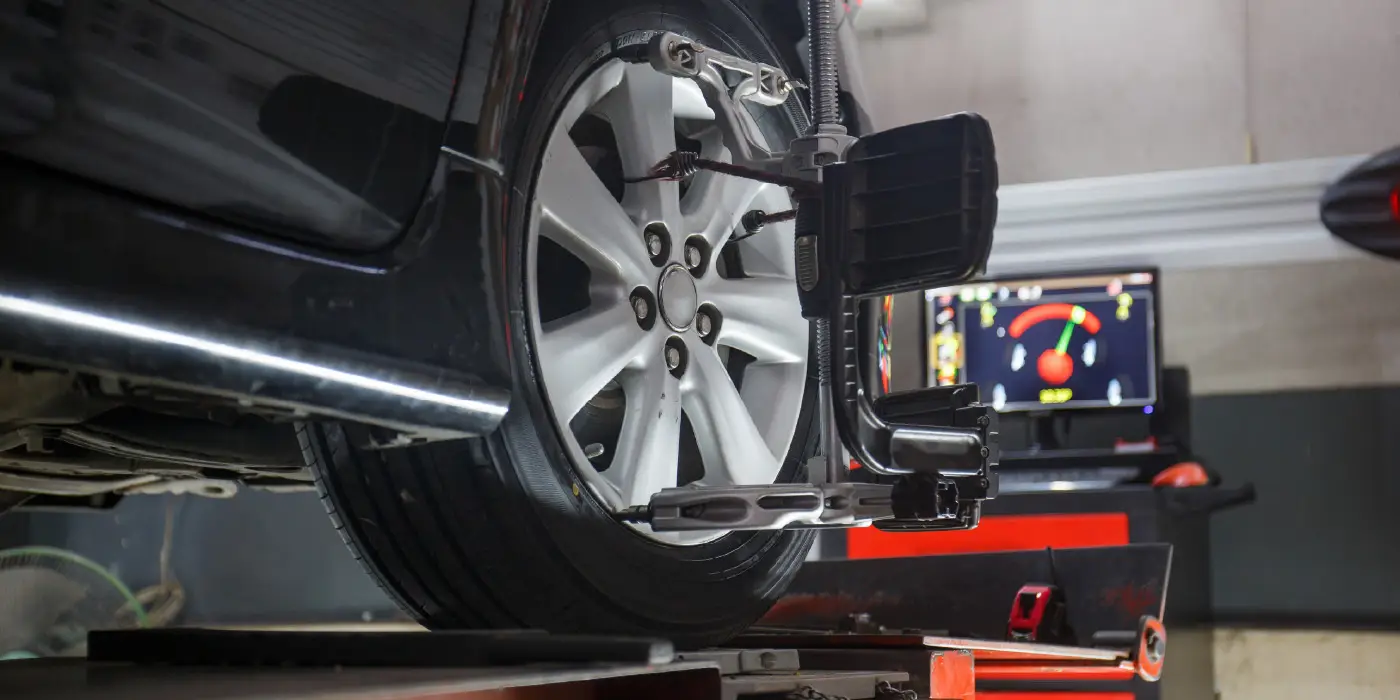
A vehicle pulling to one side isn’t just annoying on a short commute. Over 1000 miles, it forces constant steering correction, which causes fatigue and uneven tire wear.
Take your car for a straight-line test on an empty, flat road. Let go of the wheel briefly and see if it drifts noticeably to either side. Persistent pulling often points to misalignment, which is common after hitting potholes. City driving, in particular, is brutal on suspension and alignment over time.
Listen for clunking or knocking sounds over bumps and dips. These noises often indicate worn suspension components like bushings, struts, or sway bar links.
Bounce test each corner of the car by pushing down firmly and releasing. A healthy suspension should settle after one or two bounces, not continue bouncing.
Excessive bounce suggests worn shocks or struts, which reduce control on uneven roads. This becomes especially important on rural highways with rougher pavement.
Steering feel matters too, particularly any looseness or delayed response. A steering wheel that feels vague or requires constant small corrections needs inspection.
Power steering fluid leaks can cause stiff, jerky steering that worsens with distance. This ties back to the fluid check but deserves attention here specifically.
If your car has an alignment history of pulling or uneven tire wear, get it aligned before departure. A proper alignment typically costs less than the tires it saves.
Long highway stretches amplify any existing alignment issue significantly. What feels like a minor annoyance around town becomes exhausting after eight hours of driving.
Check your tire wear pattern one more time here, since it reflects alignment health directly. Feathering, or a saw-tooth pattern across the tread, is a classic alignment symptom.
If you’re towing anything or carrying significant extra weight, suspension gets extra scrutiny. Overloaded suspension wears faster and handles less predictably on curves and sudden stops.
8. Emergency Kit, Spare Parts, and Documentation
Even a perfectly maintained vehicle can encounter surprises over 1000 miles. Preparation for the unexpected is just as important as prevention itself.
Start with a proper spare tire, jack, and lug wrench check. Confirm the spare is inflated and that you know how to access and use the jack. Pack basic tools including a tire pressure gauge and a multi-bit screwdriver. A simple tool kit can resolve minor issues without needing roadside assistance.
Jumper cables or a portable jump-starter, mentioned earlier, belong in this kit too. Include a flashlight with fresh batteries for nighttime emergencies or engine checks.
Reflective triangles or flares are essential for roadside visibility if you break down. Being struck while stopped on a shoulder is a real and serious risk.
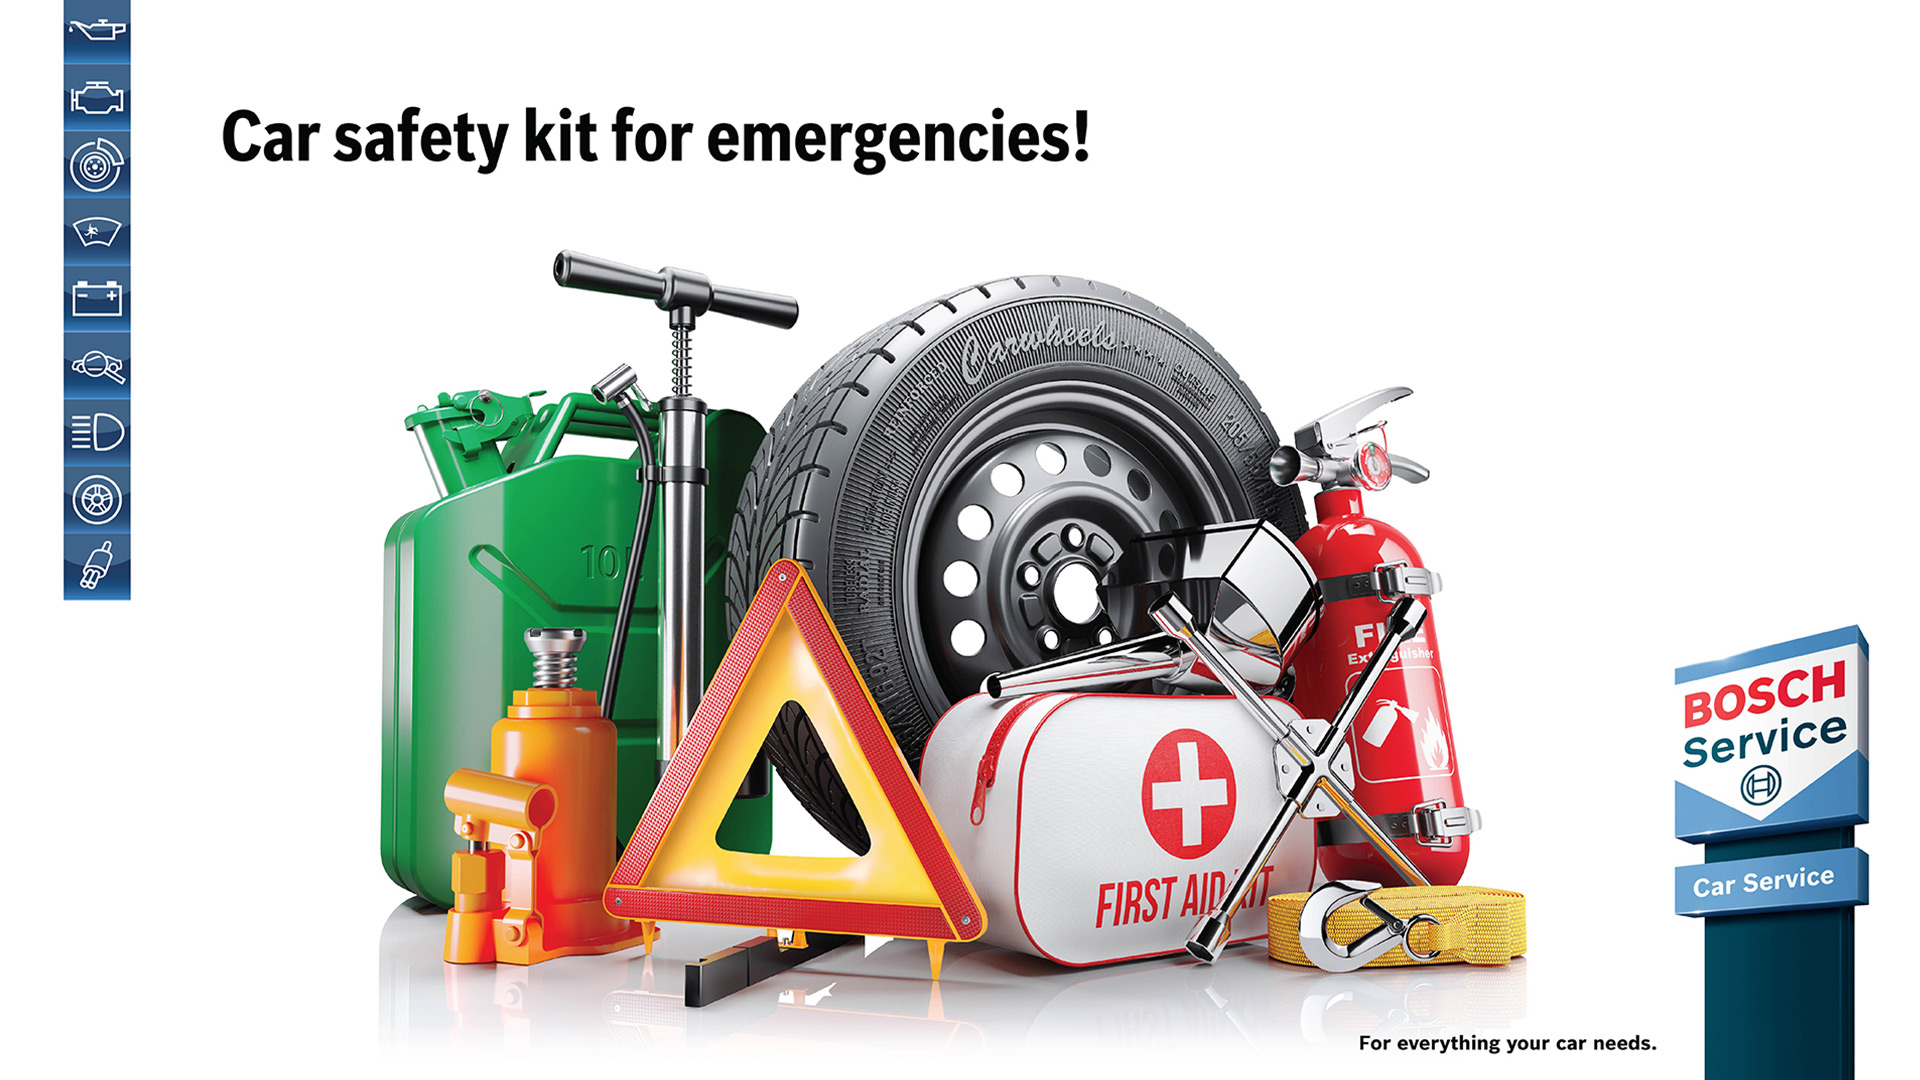
Pack a basic first-aid kit with bandages, antiseptic, and any personal medications. Include enough medication for a few extra days in case of delays.
Bring at least one gallon of water per person, separate from drinking supplies. This water can also top off an overheating radiator in an emergency.
Non-perishable snacks are worth including too, especially for remote stretches with few services. Nuts, granola bars, and dried fruit travel well without spoiling.
Check that your phone charger and a backup power bank are both functional. A dead phone during a breakdown removes your ability to call for help.
Download offline maps for your route in case of poor cell coverage. Many rural highways still have significant dead zones without any signal. Verify your roadside assistance membership, whether through AAA, your insurer, or your automaker, is active. Keep the contact number saved in your phone under an easy-to-find name.
Confirm your vehicle registration and insurance documents are current and physically in the car. Some states still require paper proof, even if your insurer offers a digital app.
Finally, share your route and estimated arrival times with someone not traveling with you. This simple step ensures someone will notice if you go significantly off schedule.