
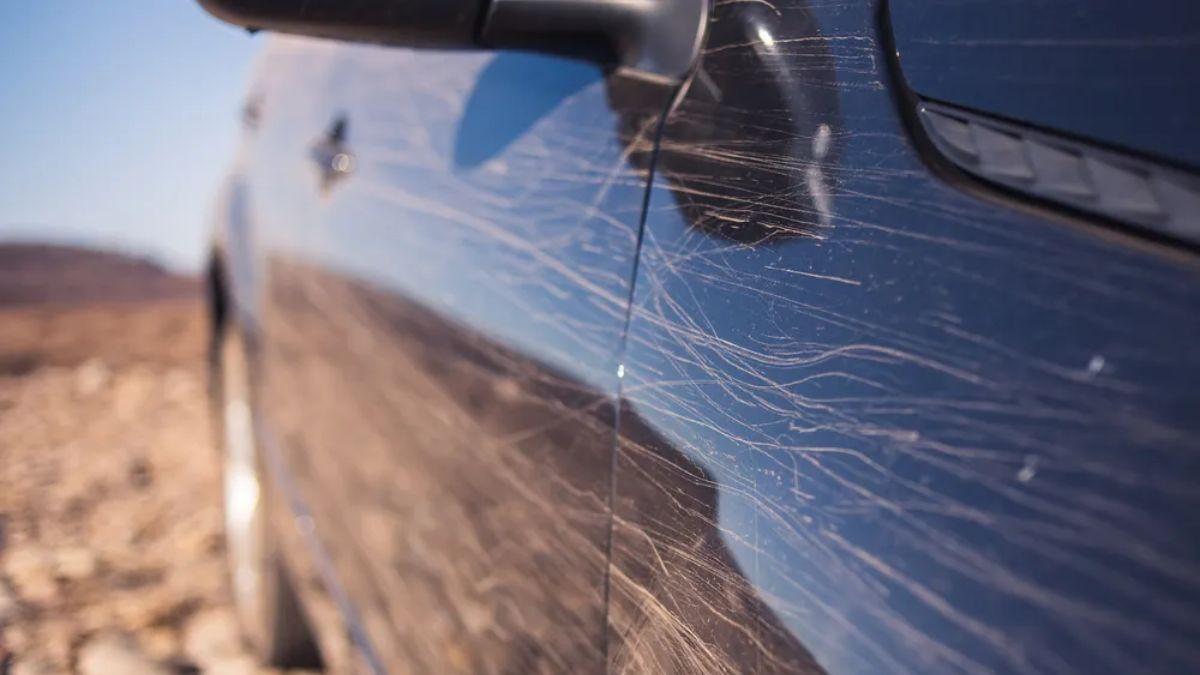
Car scratches can appear without warning. A tight parking space, a shopping trolley, a low wall, road debris, careless door opening, or even improper washing can leave marks on paintwork.
Some scratches are only surface-level scuffs in the clear coat, while others cut through the paint and expose primer or bare metal. Knowing the difference is important because not every scratch should be repaired with the same product or tool.
Light marks that cannot be felt with a fingernail can often be improved with polishing compound and a microfiber applicator. Deeper scratches that catch a fingernail may need touch-up paint, wet sanding, clear coat, and careful polishing.
If metal is visible, the repair becomes more urgent because exposed steel can begin to rust. A professional body shop is usually the safer option for major paint damage, large dents, cracked bumpers, or scratches that reach a wide area.
The tools in this list are useful for different stages of scratch repair. Some are simple hand tools for minor swirl marks, while others are better suited to more serious paint correction. The key is to begin with the least aggressive method.
Removing too much clear coat with a harsh compound or coarse sandpaper can create a larger problem than the original scratch.
Also Read: 10 Best Jaguar Cars Ever Made & Ranked
1. Microfiber Applicator Pads
A microfiber applicator pad is one of the simplest but most important tools for treating light scratches. It is used to apply polish, scratch remover, wax, sealant, or finishing compound without dragging hard particles across the paint.
Unlike a rough cloth or an old towel, a clean microfiber pad has soft fibers that reduce the chance of adding new swirl marks while working on the damaged area.
This tool is best for shallow scratches that are limited to the clear coat. Before applying any product, wash the panel carefully and dry it with a clean microfiber towel. Dirt, sand, and road grit can act like abrasives, so rubbing a dirty surface may make the scratch worse.
Once the area is clean, apply a small amount of polishing compound to the pad and work in short, controlled motions.
A microfiber applicator does not remove deep scratches by itself. Its job is to spread the product evenly and help the compound polish the damaged clear coat. It is also useful when applying wax after the repair, because wax can improve shine and provide short-term protection from water and contaminants.

Keep several pads available instead of using one for every product. A pad used with a cutting compound should not be used later with wax or finishing polish. Wash microfiber pads after use and avoid fabric softener, which can reduce their absorbency.
For beginners, this is one of the safest tools to start with because it gives good control and does not require power equipment.
2. Scratch Removal Compound
Scratch removal compound is designed to reduce the appearance of light scratches, swirl marks, paint transfer, and dull areas in a vehicle’s clear coat.
It works by using fine abrasives to level the surrounding surface slightly, making the edges of a shallow scratch less visible. The result can be dramatic when the damage has not passed through the clear coat.
Before using a compound, test the scratch with a fingernail. If the nail does not catch, there is a good chance the mark can be improved by polishing. If the scratch catches deeply or shows a different color beneath the paint, compound alone will not fully repair it. In that case, touch-up paint or professional refinishing may be needed.
Apply a small amount of compound to a microfiber applicator pad, then work on a small section rather than spreading it across the entire panel. Use moderate pressure and controlled overlapping motions.
Wipe away residue with a clean microfiber towel, inspect the result, and repeat only if necessary. Excessive polishing can thin the clear coat, especially on older vehicles or panels that have been repaired before.

A medium-cut compound is useful for more visible, clear-coat scratches, while a finishing compound is better for light haze and swirl marks. After correction, apply wax, sealant, or ceramic spray to protect the restored finish.
Scratch compound is not a magic solution for every mark, but it is one of the most effective tools for restoring paint that has only suffered surface-level damage.
3. Clay Bar Kit
Before trying to polish a scratch, the paint surface must be clean enough for the repair product to work safely. A clay bar kit is useful because it removes bonded contaminants that normal washing may leave behind.
Tiny particles of brake dust, industrial fallout, tree sap residue, road tar, and embedded grime can remain attached to the clear coat. If these contaminants are rubbed during polishing, they can create additional marks.
A clay bar should be used after washing the vehicle and before applying scratch remover, compound, or touch-up paint. Spray a dedicated clay lubricant onto a small painted section, then glide the clay bar lightly across the surface.
Do not press hard. The clay should move smoothly, lifting contamination without grinding it into the paint. Fold and reshape the bar frequently so a dirty section does not touch the panel again.
This tool does not repair a scratch directly. Instead, it prepares the panel for the next stage. A clean surface makes it easier to judge whether the mark is paint transfer, a shallow clear-coat scratch, or more serious damage. It also helps polishing products work more evenly.

If the clay bar falls onto the ground, discard it. Dirt and grit can become trapped inside it and may scratch the paint badly. Keep the panel lubricated throughout the process, then wipe it dry with a clean microfiber towel. For a small repair, clay only the affected area rather than the entire vehicle.
4. Color-Matched Touch-Up Paint Kit
A color-matched touch-up paint kit is necessary when a scratch has gone through the clear coat and removed visible paint. Polishing compound cannot replace missing color. The proper kit usually includes paint matched to the vehicle’s factory paint code, and some kits also include primer and clear coat for a more complete repair.
Find the paint code before buying anything. It is commonly printed on a label inside a door jamb, under the hood, in the glove compartment, or in the owner’s manual. Using a generic color can leave a repair more noticeable than the original scratch, especially on metallic, pearl, silver, red, and white finishes.
Even correctly matched paint can look slightly different on older panels because sunlight and weather gradually change the original color.
Clean and dry the damaged area first. If bare metal is exposed, remove loose rust carefully and apply primer before the base color. Use a fine brush, needle applicator, or paint pen to place thin layers inside the scratch. Do not flood the area with paint. Let each coat dry before adding another, then apply clear coat if the kit includes it.

Touch-up paint is best for chips and narrow scratches, not large damaged panels. Thin layers, proper curing time, and light finishing work can make a small repair far less obvious while helping protect exposed metal from corrosion.
5. Dual-Action Polisher
A dual-action polisher is the most useful power tool for correcting larger areas of light scratches, swirl marks, oxidation, and paint haze. Unlike a rotary buffer, which spins in one direct motion and can generate heat quickly, a dual-action machine both rotates and oscillates.
That movement makes it more forgiving for beginners because it lowers the chance of burning through the clear coat when used correctly.
This tool is best when hand polishing is not producing consistent results. A scratch remover or finishing compound can work by hand on a small mark, but a dual-action polisher spreads the product more evenly and saves a great deal of effort on a door, hood, fender, or bumper.
Use the least aggressive pad and compound combination first. A soft foam polishing pad with a finishing polish is a sensible starting point for mild defects.
Mask off plastic trim, badges, sharp panel edges, and rubber seals before beginning. Keep the pad flat against the paint, work a small section at a time, and avoid holding the machine in one place. Wipe away residue with a clean microfiber towel and inspect the paint under bright light before making another pass.
A dual-action polisher can greatly improve shallow scratches, but it cannot restore paint that has been completely removed. Deep marks still need touch-up paint or professional refinishing.

Beginners should practice on an inconspicuous panel and avoid aggressive cutting pads until they understand how the machine behaves. Dual-action polishers are generally considered safer for beginners than rotary machines because their motion reduces heat buildup and lowers the risk of paint damage.
6. Automotive Masking Tape
Automotive masking tape does not remove a scratch, but it is an important preparation tool for preventing damage while a repair is being carried out.
When using compound, touch-up paint, wet sandpaper, or a polishing machine, nearby plastic trim, badges, rubber weather seals, headlights, and panel edges can be accidentally marked. Good masking tape creates a clean boundary around the repair area and helps keep products where they belong.
Apply the tape only after washing and drying the panel. Cover trim pieces close to the scratch, especially textured black plastic, because polishing compound can leave difficult white residue on their surface.
Tape is also useful when a scratch sits near a body line or panel edge. Paint is usually thinner on sharp edges, so protecting them reduces the risk of polishing through the clear coat.
Choose automotive-grade tape rather than ordinary household tape. It should adhere securely but peel away without leaving sticky residue or pulling at aged paint. Press the tape down gently along the edge, but do not stretch it heavily. Remove it slowly after the polishing or paintwork is complete.
For touch-up repairs, masking tape can also help control a narrow working area. It is useful when applying primer or paint near a badge, door handle, lamp, or trim strip. Do not leave tape on a hot panel for long periods, especially in direct sunlight. The adhesive can become harder to remove as heat builds.

This is a low-cost tool, but it can prevent a minor scratch repair from becoming a larger cosmetic problem.
7. Wet Sanding Block and Fine-Grit Sandpaper
Wet sanding is a more advanced scratch-repair method used when touch-up paint has dried above the surrounding surface or when a deeper paint defect needs to be leveled before polishing. It should not be the first option for a light scratch.
Sandpaper removes material, so careless use can cut through clear coat, paint, or primer and create a much larger repair area.
A small sanding block gives the user more control than holding sandpaper with bare fingers. It spreads pressure more evenly and reduces the chance of creating grooves or uneven spots. For automotive paintwork, very fine sandpaper is required.
Grits such as 2,000, 2,500, or 3,000 are commonly used for careful finishing work. Coarser paper should be avoided unless a professional is repairing serious damage.
Soak the sandpaper in clean water before use and keep the surface wet while sanding. A few drops of automotive soap in the water can help the paper glide more smoothly. Work with light pressure in short passes, then stop often to inspect the surface.
The goal is not to sand aggressively. It is only for level-raised touch-up paint or to smooth a small imperfection.
After wet sanding, the panel will look dull because the fine scratches created by the paper must be polished out. A finishing compound and a microfiber pad or dual-action polisher are needed to restore gloss.

This process can produce impressive results, but it requires patience. If the scratch is large, reaches bare metal, or sits on a sharp body line, professional repair is the safer choice.
8. Paint Thickness Gauge
A paint thickness gauge is a useful diagnostic tool for anyone who wants to polish scratches carefully without removing too much clear coat. It measures the thickness of paint layers on metal body panels, helping users understand whether a panel has enough material for correction.
This is especially valuable on older cars, used vehicles, or panels that may have been repainted after an accident.
The gauge is placed flat against the panel, where it gives a reading in microns or mils. A healthy factory paint finish can vary between vehicles and panels, so there is no single number that guarantees safety.
The important thing is consistency. If one section of a hood measures much thinner than the surrounding areas, it may have been polished heavily in the past. That area should be treated gently.
This tool is particularly helpful before using a dual-action polisher, cutting compound, or wet sanding equipment. A beginner may see a scratch and assume more polishing will remove it, but repeated correction can thin the clear coat until the base color becomes exposed. A paint thickness gauge provides information that cannot be seen with the naked eye.
It can also help identify previous bodywork. A panel with unusually thick readings may have received filler, primer, and repainting, while very low readings may indicate aggressive past polishing. Neither result automatically means the car has a problem, but both should influence how the repair is approached.

A paint thickness gauge will not fix a scratch by itself, yet it can prevent expensive mistakes. For anyone serious about paint correction, it is one of the smartest tools to keep in a detailing kit.
9. Clear Coat Spray or Touch-Up Clear Coat
A clear coat is the transparent protective layer that sits above a car’s colored paint. It gives the finish its gloss, helps shield the base color from ultraviolet exposure, and provides the first layer of defense against light abrasion, moisture, road grime, and chemical contamination.
When a scratch has been filled with color-matched touch-up paint, a clear coat product is often the next step because paint alone may look flat, unprotected, or slightly rough after it dries.
This tool is most useful for narrow chips, small scratches, and carefully repaired paint damage. A clear-coat pen gives the user more control for a thin line, while an aerosol spray is better suited to a slightly larger repaired section.
The key is to apply very light coats. Heavy application can create runs, uneven gloss, or a raised patch that looks more noticeable than the original scratch.
Allow the color coat to cure fully before adding the clear coat. Follow the product instructions because drying times differ between one-stage and two-stage touch-up systems.
Once the clear coat has hardened, the repair may need very gentle wet sanding with fine paper and then polishing to blend the finish into the surrounding panel.
Clear coat cannot make a deep scratch disappear on its own. It works as part of a layered repair process after primer and color have been applied, where necessary. It also should not be sprayed casually near trim, glass, badges, or other panels. Masking and proper ventilation are important.

For beginners, a touch-up clear coat pen is usually easier to manage than a spray can. A professional body shop remains the better choice for large scratches, metallic paint, pearl finishes, or damage that extends across a broad section of a door, bumper, or fender.
10. Paint Protection Film Installation Kit
Fixing a scratch is useful, but preventing future damage is often the smarter long-term approach. A paint protection film installation kit can help protect vulnerable areas after a repair has been completed.
Paint protection film, often called PPF, is a transparent urethane film applied to painted panels. It is commonly used on front bumpers, hood edges, mirrors, rocker panels, door cups, and areas behind the wheels where stones and road debris are likely to strike.
A basic installation kit normally includes a squeegee, spray bottle, slip solution, tack solution, microfiber towels, and a precision cutting tool.
Pre-cut film kits are safer for beginners because they are made for a specific vehicle panel and reduce the need to cut film directly on the paint. Cutting a bulk sheet while it is on the car can damage the clear coat if the blade slips.
The film must be installed on a perfectly clean surface. Wash the panel, remove bonded contamination with a clay bar if needed, and make sure no wax or polish residue remains.

Spray the panel and adhesive side of the film with the slip solution, position the film carefully, then use the squeegee to push water and air out from the center toward the edges. Patience matters because trapped dirt, stretched film, or trapped moisture can spoil the result.
PPF is not a repair tool for deep scratches that already exist. It should be fitted after the paint has been corrected and fully cured.
It can help reduce future stone chips, light scuffs, and minor abrasions, particularly on vehicles driven regularly on highways. For a full front-end installation or complex curved panels, professional fitting is usually worth considering.
Also Read: 10 Best Porsche Cars Ever Made & Ranked