A short test drive can make a used car seem healthier than it really is, especially when engine problems are involved. Repairs can be costly, and some symptoms are easy to conceal long enough for a sale to go through. While many sellers are honest, others may take temporary measures to mask trouble.
Fresh fluids, cleared warning lights, a fully warmed engine, and temporary additives can all make a struggling engine appear to run normally. These tactics can hide warning signs that might otherwise prompt a buyer to negotiate a lower price or walk away entirely.
Knowing these tricks does not require advanced mechanical training. A buyer needs time, a cold start, careful inspection, and permission to have the vehicle checked by an independent mechanic. The following ten tactics are used to disguise leaks, misfires, overheating, oil consumption, internal wear, or warning lights.
None automatically proves dishonesty, but each should trigger closer inspection. If several appear together, treat the car cautiously and verify its condition before handing over any money or signing paperwork.
1. Warming the Engine Before You Arrive
One of the oldest tricks is making sure the engine is already warm before a buyer arrives. A cold start can reveal problems that disappear once metal parts expand, oil circulates, and the computer settles into normal operation. Worn timing components may rattle for several seconds, weak piston rings can produce smoke, tired lifters may tick, and a failing battery or starter may struggle to crank the engine when everything is cold.
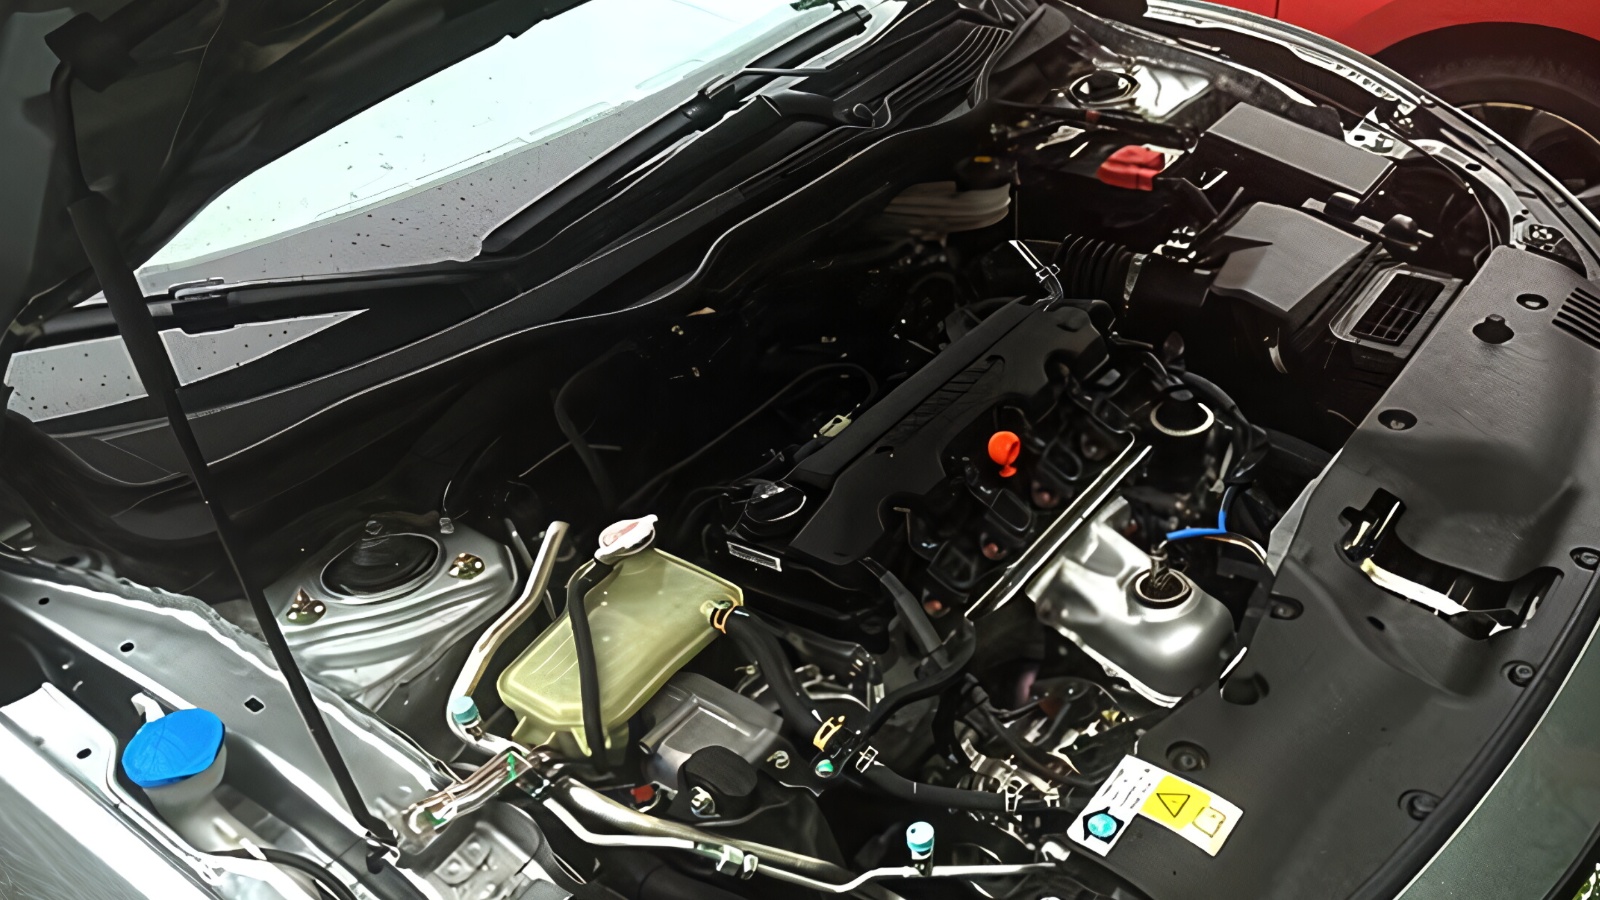
A warm engine can also hide rough idle, hard starting, fuel-delivery issues, and certain misfires. If the seller says the vehicle was moved “just a few minutes ago,” place a hand near the hood or check the coolant temperature gauge before starting it. Do not touch hot engine parts. Ideally, arrange the inspection in advance and specifically ask that the vehicle not be started before you arrive.
When the engine is completely cold, watch the exhaust during startup and listen carefully for knocking, rattling, squealing, or prolonged cranking. Observe how quickly the idle stabilizes and whether warning lights remain illuminated. A seller who repeatedly refuses a cold start without a reasonable explanation deserves extra scrutiny.
Cold-start behavior is one of the easiest ways to expose problems that a ten-minute warm test drive may never reveal. It also gives you a baseline before heat and oil mask unusual behavior.
2. Clearing the Check-Engine Light Before the Sale
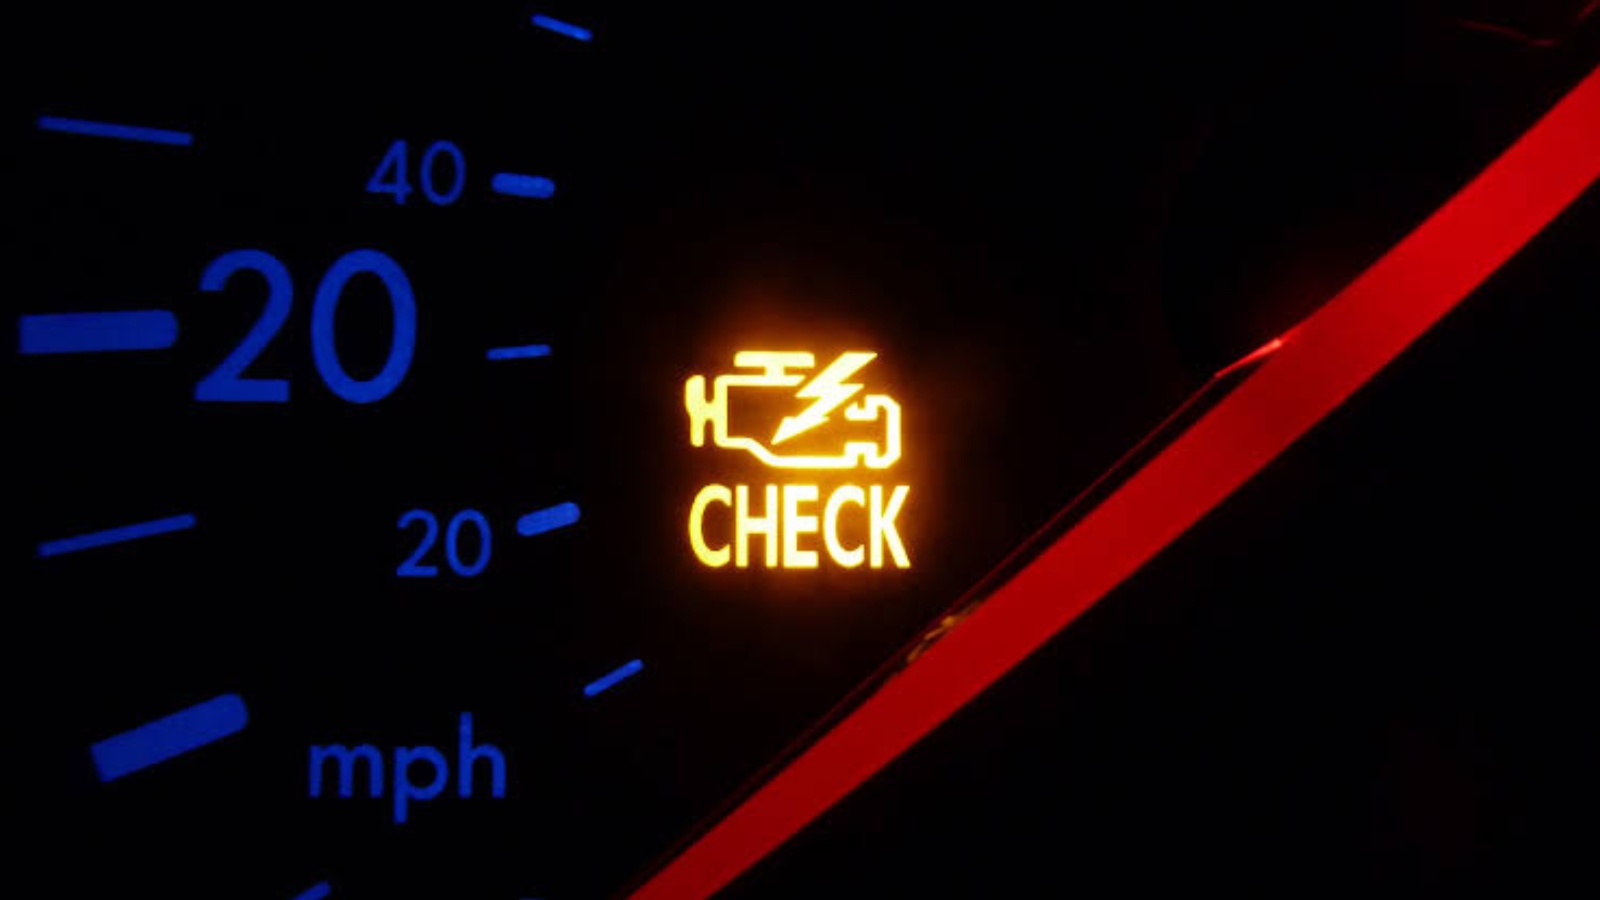
A seller may disconnect the battery or use a scan tool to clear the check-engine light shortly before showing the vehicle. Erasing codes can temporarily turn the warning light off even though the underlying fault remains. Misfires, catalytic-converter problems, evaporative-emissions leaks, sensor failures, and fuel-system issues may need several driving cycles before the computer detects them again and switches the light back on.
The easiest clue is the readiness-monitor status stored in the vehicle’s computer. After codes are cleared or battery power is interrupted, emissions monitors often show “not ready” until the car has been driven through specific conditions. A basic OBD-II scanner can display stored codes, pending codes, permanent codes, and monitor readiness. If many monitors are incomplete on a vehicle that supposedly has been driven normally, ask why.
Also verify that the check engine light itself works. With the ignition switched on before the engine starts, the light should normally illuminate briefly as part of the bulb check. If it never appears, the bulb, cluster, or software may have been altered. Do not assume a dark dashboard means a healthy engine.
Scan the car yourself or pay an independent mechanic to do it before purchase. A clean scan performed before payment can save thousands of dollars and may reveal why the warning light was recently reset before your inspection.
3. Using Thick Oil or Additives to Quiet Engine Noise
Thick oil or aftermarket oil additives can temporarily quiet an engine that has worn bearings, noisy lifters, low oil pressure, or excessive internal clearances. Some products increase viscosity enough to reduce ticking, knocking, or smoke for a short period. The engine may sound surprisingly smooth during the sale, only for the noise to return after the next oil change or when the vehicle is started in colder weather.
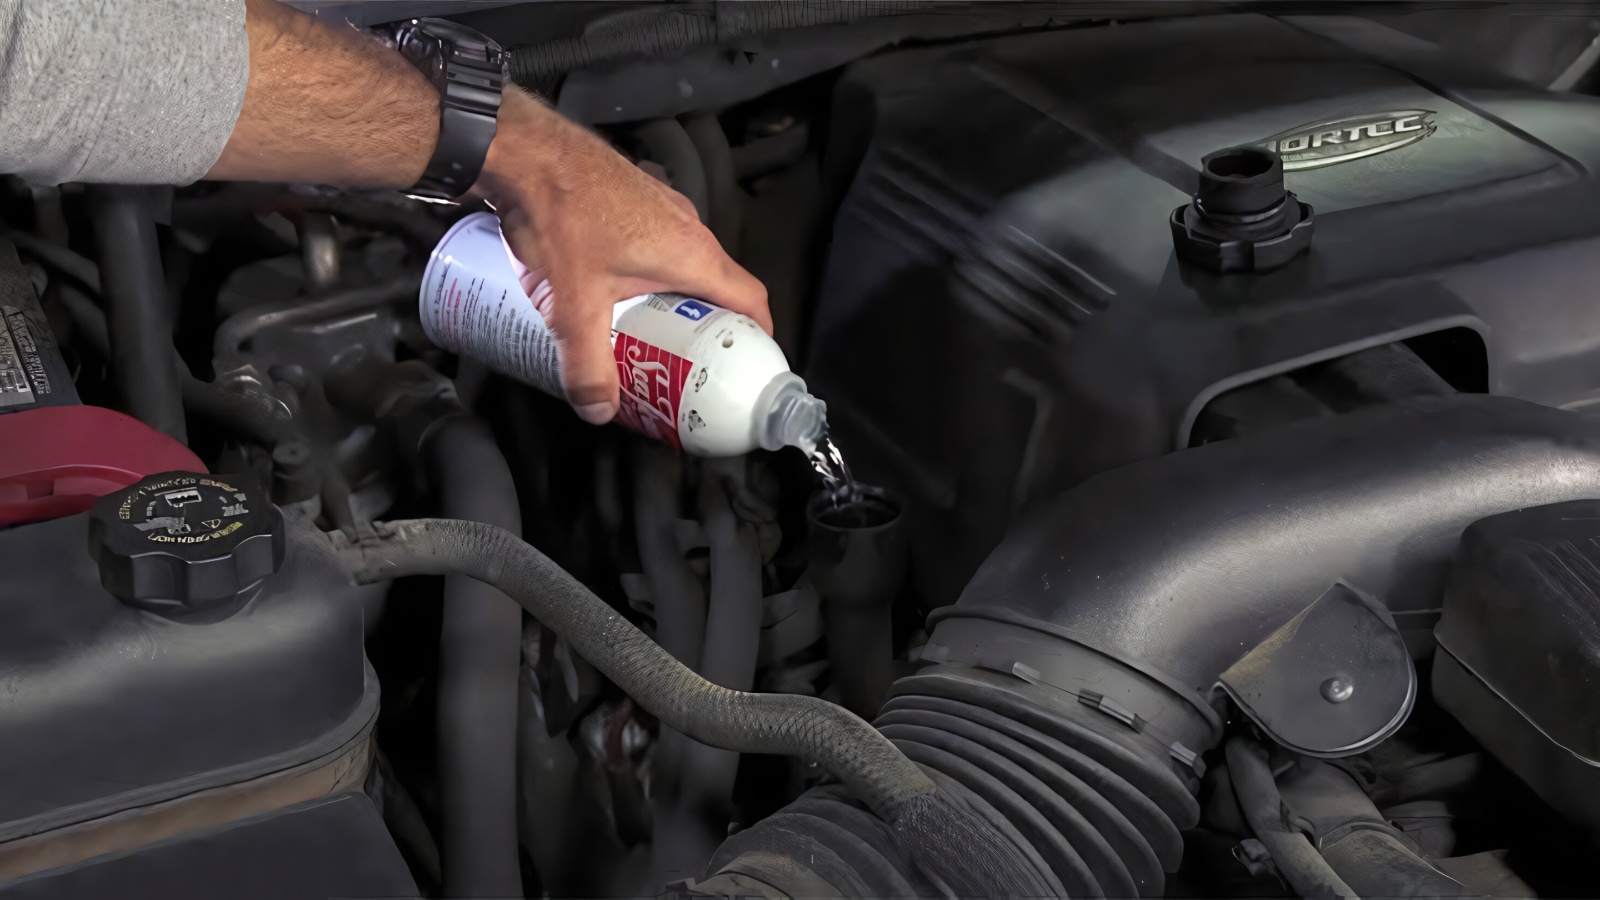
Check the dipstick before the test drive. Oil that is unusually thick, sticky, heavily treated, or much darker than expected deserves attention, although appearance alone cannot diagnose an engine. Smell the oil for a strong fuel odor and look under the oil filler cap for heavy sludge or creamy contamination. Ask what viscosity and brand were used at the last service, and compare the answer with the grade recommended by the manufacturer.
A recent oil change is not automatically suspicious, but it removes evidence a mechanic might otherwise see, such as metallic particles, fuel dilution, coolant contamination, or very low oil level. If the engine has unusual mechanical noise, do not let additives reassure you.
Have oil pressure checked and the noise diagnosed professionally before agreeing to buy. Ask for receipts from recent oil services and compare dates, mileage, and viscosity. Inconsistent records can make a professional mechanical inspection even more important.
4. Pressure-Washing the Engine to Hide Fluid Leaks
Freshly cleaning an engine bay can make a used vehicle look well cared for, but it can also erase evidence of oil, coolant, power-steering fluid, or fuel leaks. Degreaser and pressure washing can remove the wet trails and dirt patterns that normally show where a gasket, hose, seal, or housing has been leaking. A spotless engine on an older, high-mileage vehicle therefore deserves a closer look rather than automatic praise.
Inspect around the valve covers, timing cover, oil pan, oil filter housing, turbocharger lines, radiator connections, coolant reservoir, and the area where the engine meets the transmission. Use a flashlight and look for fresh wetness, unusually clean patches surrounded by grime, or residue tucked into corners that washing did not reach. Check underneath the car before and after the test drive for new drops.
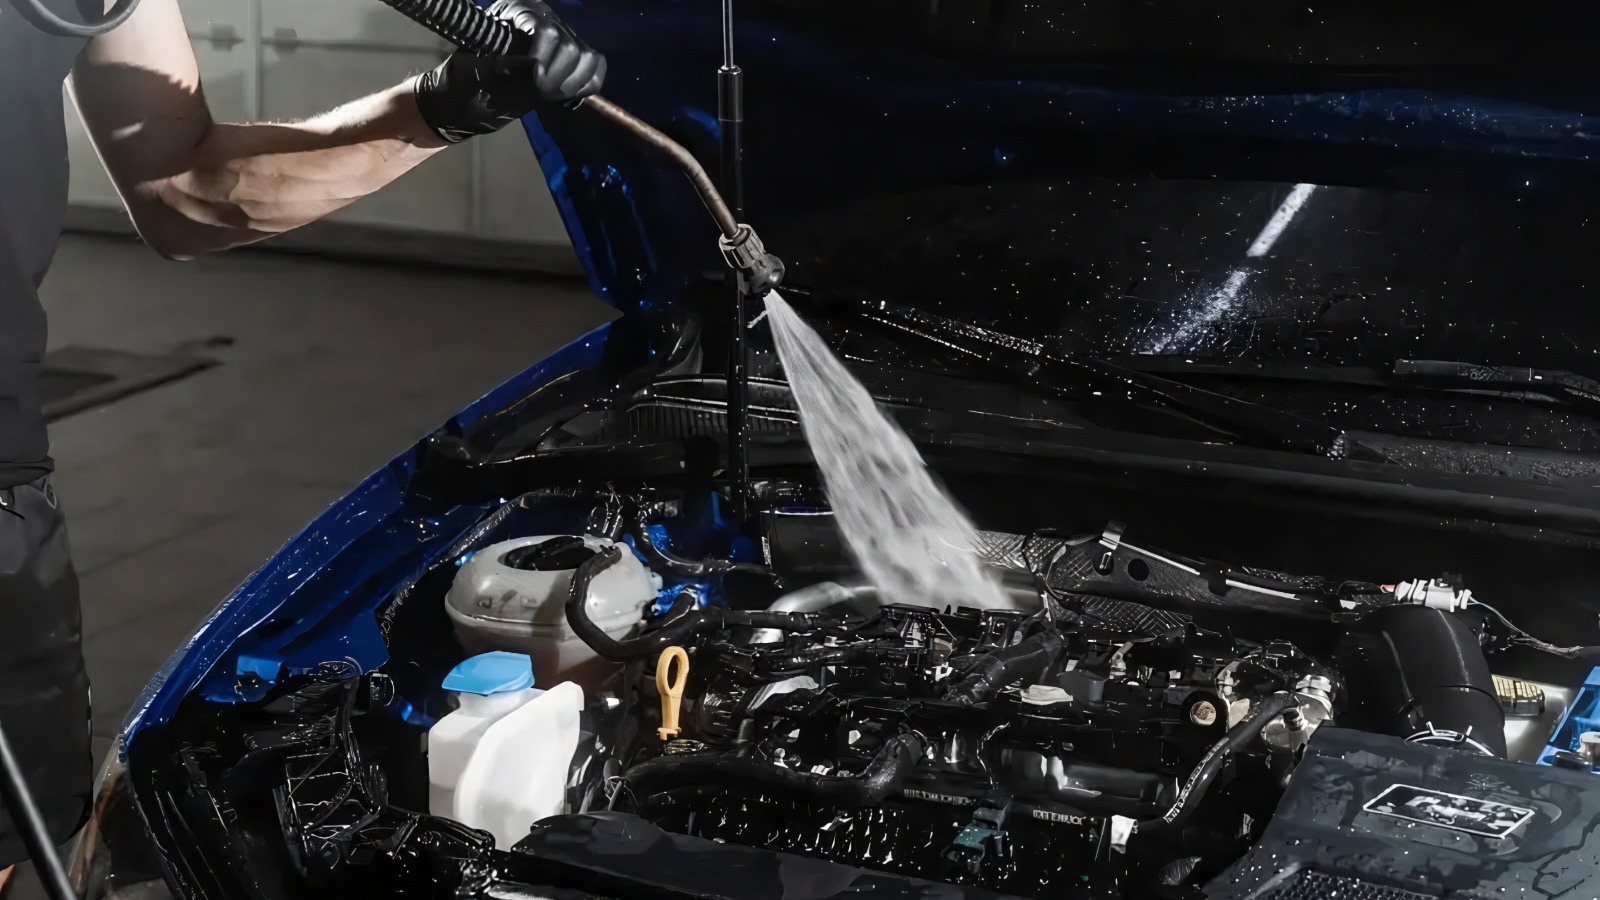
A pressure-washed engine can also create temporary electrical problems if water reaches connectors or ignition components, so listen for misfires after the wash. Ask the seller why the engine was cleaned and when it was done.
There is nothing wrong with detailing a vehicle for sale, but a buyer should not mistake cleanliness for mechanical health. A longer test drive can help fresh leaks reappear after the engine reaches temperature. Inspect the parking spot too, because old fluid stains can reveal leaks cleaned from the engine.
Also read: 10 Things That Break the Year After a Timing Belt
5. Pouring Stop-Leak Products Into the Cooling System
Some sellers use cooling-system sealers or “stop-leak” products to slow a leaking radiator, heater core, head gasket, water pump, or hose long enough to sell the vehicle. These products can sometimes reduce a small leak temporarily, but they do not repair the failed component. In more serious cases, sealers may leave residue in the radiator, reservoir, heater core, thermostat passages, or cooling jackets.
When the engine is completely cold, inspect the coolant reservoir and visible radiator neck if the design allows safe access. Never remove a pressure cap from a hot cooling system. Look for unusual particles, muddy residue, copper-colored flakes, oily film, or coolant that does not resemble the correct type. Check around hose connections and the radiator for crusty dried deposits that suggest previous leakage.
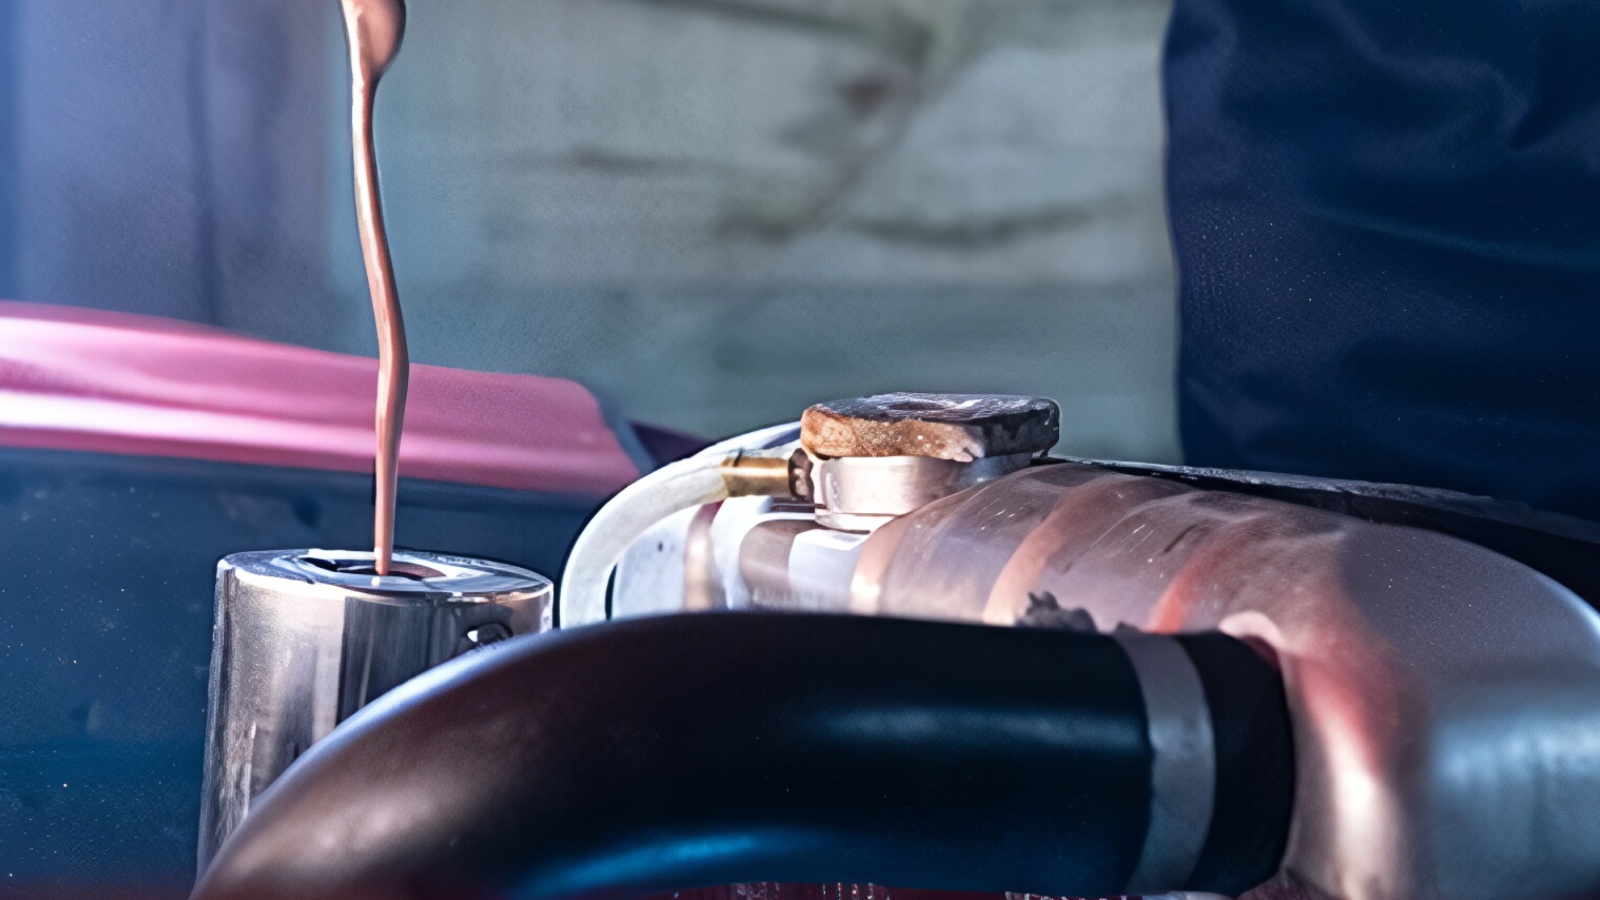
During the test drive, watch the temperature gauge and confirm that cabin heat remains steady. Afterward, inspect for coolant smell, bubbling in the reservoir, fresh drips, or unusually hard cooling hoses once pressure builds. Persistent white exhaust, unexplained coolant loss, or overheating needs proper diagnosis.
A cooling-system pressure test and combustion-gas test can reveal problems that bottled sealer temporarily disguises. Treat unexplained additives as a reason for deeper inspection, not proof that the cooling system has been repaired. Service records may reveal repeated coolant top-offs, radiator repairs, thermostat replacements, or previous overheating complaints.
6. Hiding Oil-Burning Smoke Before the Test Drive
Blue exhaust smoke is a classic sign that an engine may be burning oil, but a seller can make it harder to observe by controlling when and where you see the car. The engine may be warmed up before your arrival, parked where the exhaust is difficult to view, or test-driven only after idling long enough for the most obvious startup smoke to clear. Some oil-burning engines smoke mainly after sitting overnight or after extended deceleration.
Bring another person if possible and have them watch the tailpipe during a true cold start, moderate acceleration, and a lift-off after the engine is fully warm. Blue or blue-gray smoke can point toward worn piston rings, valve-stem seals, turbocharger seals, or other oil-control problems. A brief puff does not establish the exact cause, but repeated smoke deserves diagnosis.
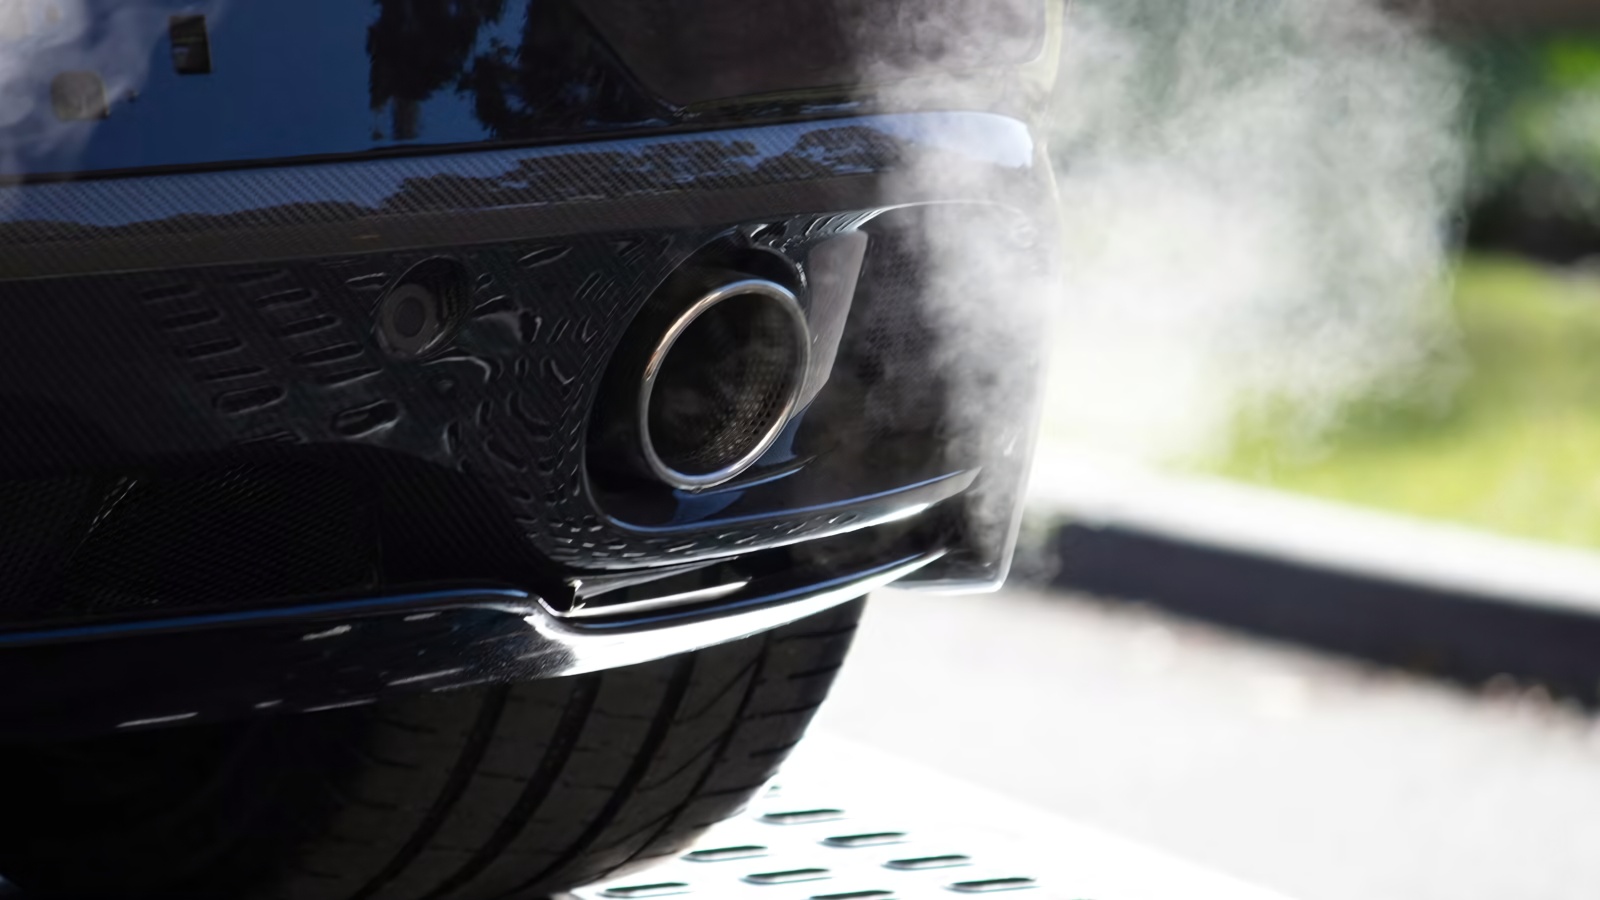
Also check the engine oil level before and after the drive and ask how much oil the vehicle uses between services. Sellers may describe frequent top-offs as “normal,” but acceptable consumption varies widely by engine and manufacturer. Inspect the tailpipe for heavy oily deposits and look for service records showing repeated low-oil complaints.
An independent compression, leak-down, or crankcase-pressure test can help determine whether the engine has internal wear rather than relying on a smoke-free demonstration. Oily spark plugs can provide another useful warning sign.
7. Disconnecting or Replacing the Battery to Reset Engine Data
A weak battery can be inconvenient, but it can also conceal information when a seller repeatedly disconnects or replaces it immediately before the sale. Battery disconnection resets learned engine settings on many vehicles and can erase some diagnostic information, readiness monitors, fuel trims, and recent fault history. After reconnection, the engine computer may need time and mileage to relearn idle and detect recurring problems.
Be cautious if the seller emphasizes that the battery was “just replaced” while several dashboard settings, the clock, radio presets, or emissions monitors also appear recently reset. A new battery is common maintenance, so this is not proof of deception. The concern arises when the timing coincides with incomplete monitors, recently cleared codes, or symptoms that return during the test drive.
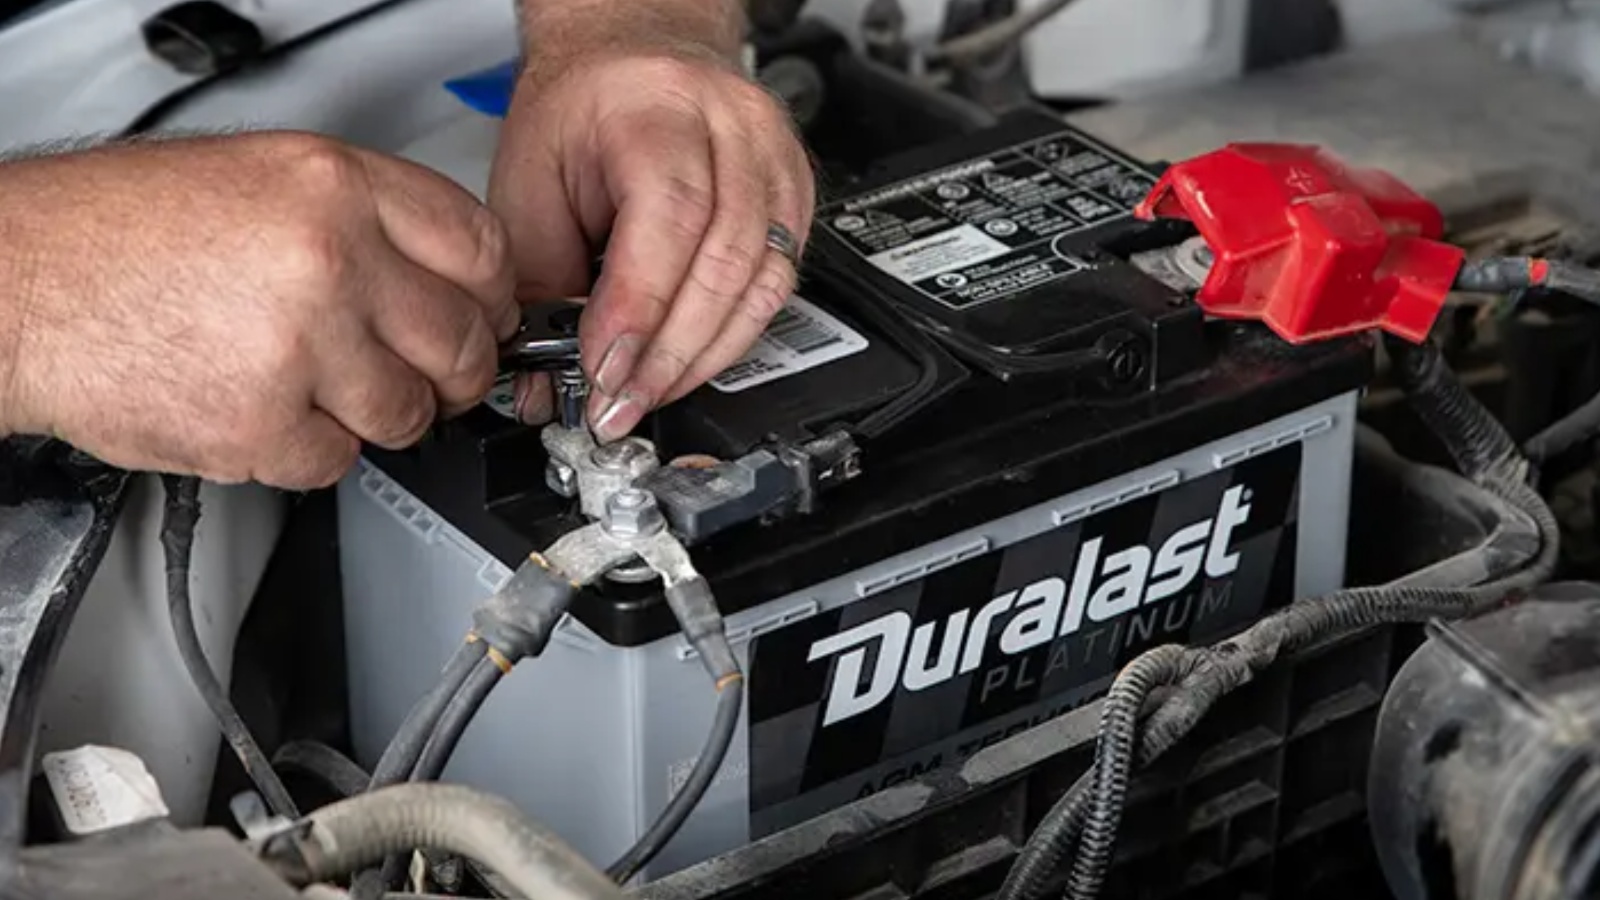
Use an OBD-II scanner to check readiness status, pending faults, and permanent diagnostic trouble codes where supported. Drive the vehicle long enough to include idle, city speeds, and highway operation if conditions allow. Restart it more than once. Some faults will reappear only after specific tests run.
If the seller refuses scanning or a pre-purchase inspection, consider another vehicle. Electrical resets should never substitute for evidence that an engine problem was actually diagnosed and repaired. Ask for the battery receipt if available, especially when replacement happened immediately before the vehicle was listed for sale online.
8. Raising the Idle to Make a Rough Engine Sound Smoother
An engine with a vacuum leak, dirty throttle body, weak ignition component, or fuel-control problem may idle badly on its own. One way to disguise this is to adjust the idle speed, alter throttle settings, or use software tuning so the engine runs faster than normal at a stop. The extra RPM can smooth vibration and make a near-stalling engine seem healthier during a brief inspection.
Watch the tachometer after the engine is fully warmed and all major accessories are switched off. Compare the idle behavior with factory expectations for that model rather than assuming any specific RPM is correct.

Turn the air conditioning on and off, shift an automatic transmission between Park and Drive while holding the brake, and observe whether the idle becomes unstable. Do not perform unsafe tests or stand in front of a running vehicle.
Listen for surging, hunting, stumbling, or a sharp hiss that could indicate an intake leak. Check whether the throttle body, idle-control components, or intake hoses show recent work without documentation. A scan tool can reveal fuel trims and commanded idle information that provide stronger evidence than sound alone.
An unusually high idle is not necessarily fraudulent, but it should be explained before purchase instead of accepted as a harmless characteristic. Normal idle should remain stable without repeated surging, stumbling, or stalling.
9. Limiting the Test Drive So Problems Never Appear
A short, carefully chosen test-drive route can keep an engine from reaching the conditions where its problems appear. Overheating may take twenty or thirty minutes to develop. A misfire might happen only under heavy load, highway speed, or sustained climbing. Low oil pressure can appear at hot idle, while turbocharger or fuel-delivery problems may surface only during stronger acceleration. A five-minute loop around the block can miss all of them.
Ask for enough driving time to bring the engine fully to operating temperature. Include ordinary city traffic, steady cruising, safe acceleration, deceleration, and several stops where practical and legal. Watch the temperature gauge, listen for new noises as the oil thins, and notice whether the idle changes after the cooling fans cycle. Check for warning lights during and immediately after the drive.

When you return, leave the engine running briefly and inspect underneath for fresh leaks. Shut it off, wait a few minutes, then restart it to check hot-start behavior. Some failing starters, sensors, fuel pumps, and crankshaft-position sensors act differently when heat-soaked.
If a seller insists on an unusually short route without a legitimate reason, postpone the purchase until a proper inspection can be arranged. A proper pre-purchase inspection should also include a scan for pending faults and a cooling-system check after the longer test drive has been completed.
10. Using Noise and Distractions to Cover Engine Sounds
Noise can reveal a great deal about engine condition, so a seller may try to keep you from hearing it clearly. Loud music, constant conversation, a running air conditioner, an open window near traffic, or choosing a noisy meeting location can cover ticking, knocking, belt squeal, exhaust leaks, turbo whine, and irregular idle. Individually, these distractions may be innocent, but buyers should create their own quiet inspection conditions.
Before driving, switch the stereo and climate-control fan off for a minute and listen with the hood open from a safe position. Pay attention during cold start, warm idle, gentle acceleration, and deceleration. Do not place hands, clothing, or tools near moving belts, fans, or pulleys. Inside the cabin, listen with the windows both closed and slightly open because some noises are easier to hear in one condition than the other.

After the drive, repeat the idle check when the engine is fully hot. Mechanical bearing noise, timing-chain rattle, accessory-pulley noise, and exhaust leaks may change as temperatures rise. Record unfamiliar sounds on your phone if needed and let a mechanic hear them.
Never allow a seller’s explanation such as “they all sound like that” to replace an independent diagnosis when the noise seems abnormal. If a seller refuses a quiet inspection, consider that refusal a warning sign and inspect another vehicle.
Also read: 10 Reasons a Used Car Costs the Dealer Almost Nothing