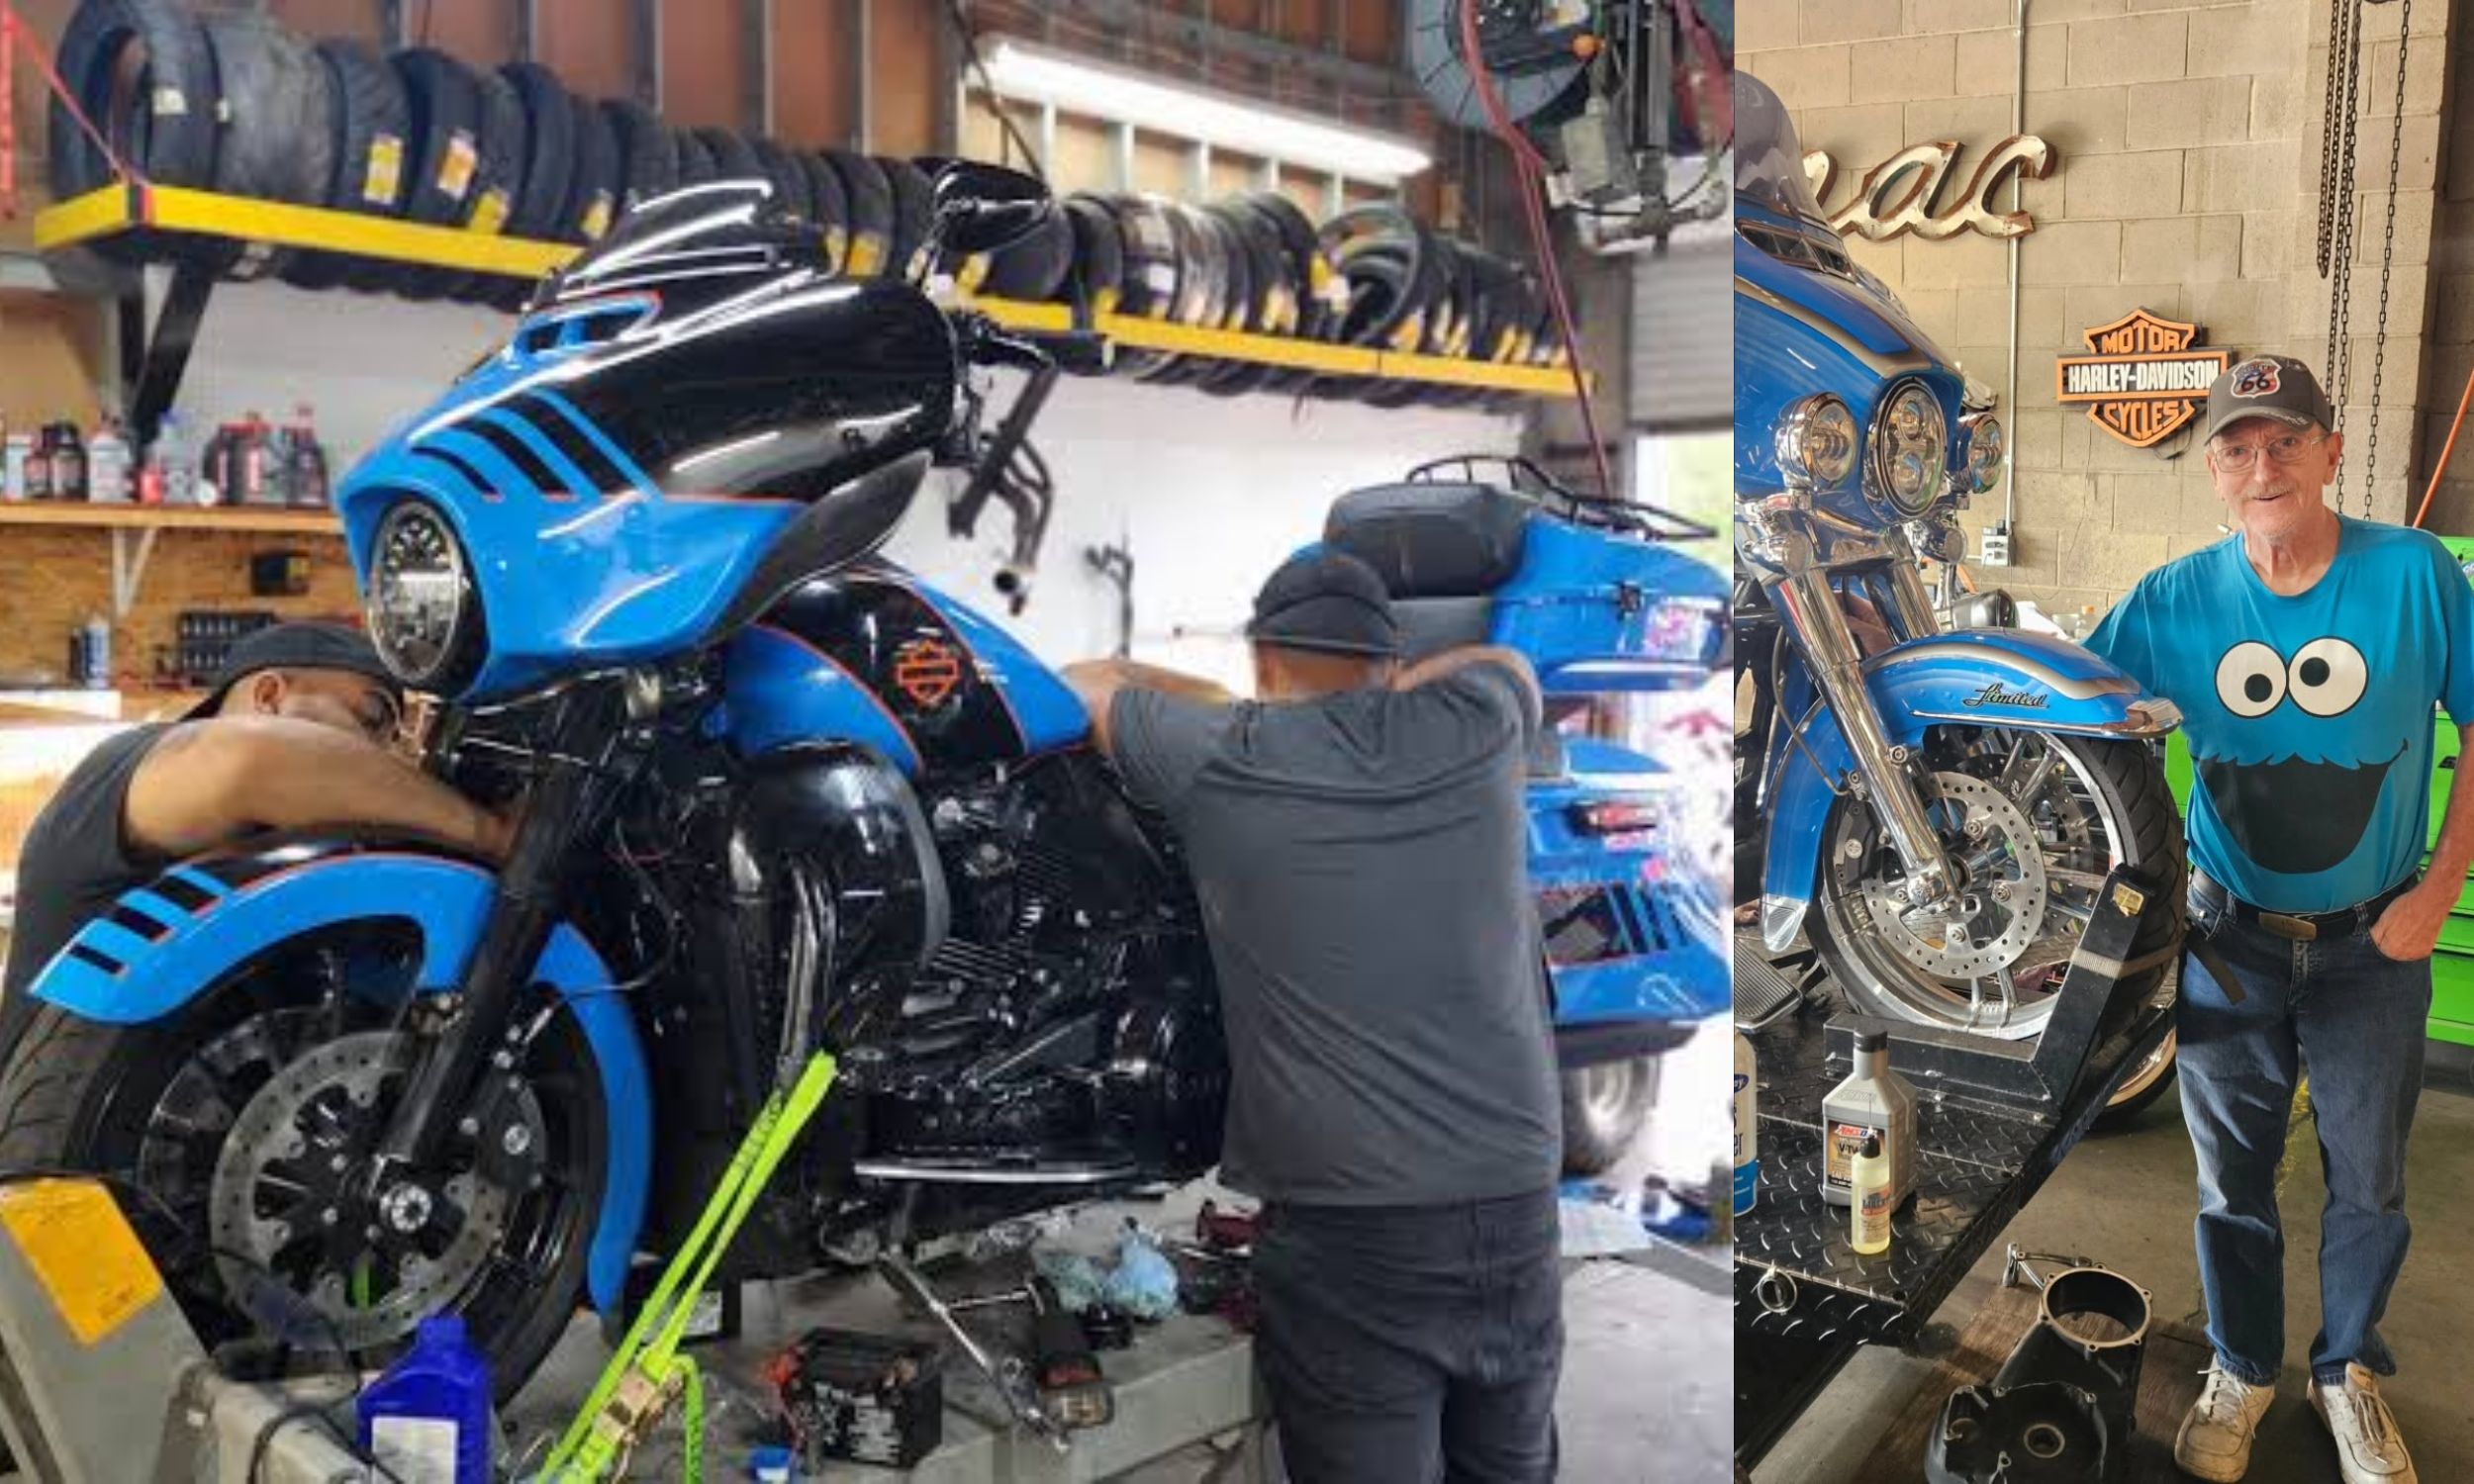
Owning a motorcycle shouldn’t mean handing over your entire paycheck every time something needs attention. Plenty of routine maintenance tasks that dealerships charge premium labor rates for are genuinely simple enough to handle in your own garage, often using tools you already own.
Skipping these basics doesn’t just risk mechanical trouble down the road; it can compromise your safety the next time you’re leaning into a curve at highway speed. The ten jobs below cost less than $50 each in parts and tools, yet they cover the maintenance tasks that matter most for keeping your bike reliable, safe, and running the way it should. Grab a drain pan and let’s get started.
1. Engine Oil and Filter Change
Cost: $35 to $45
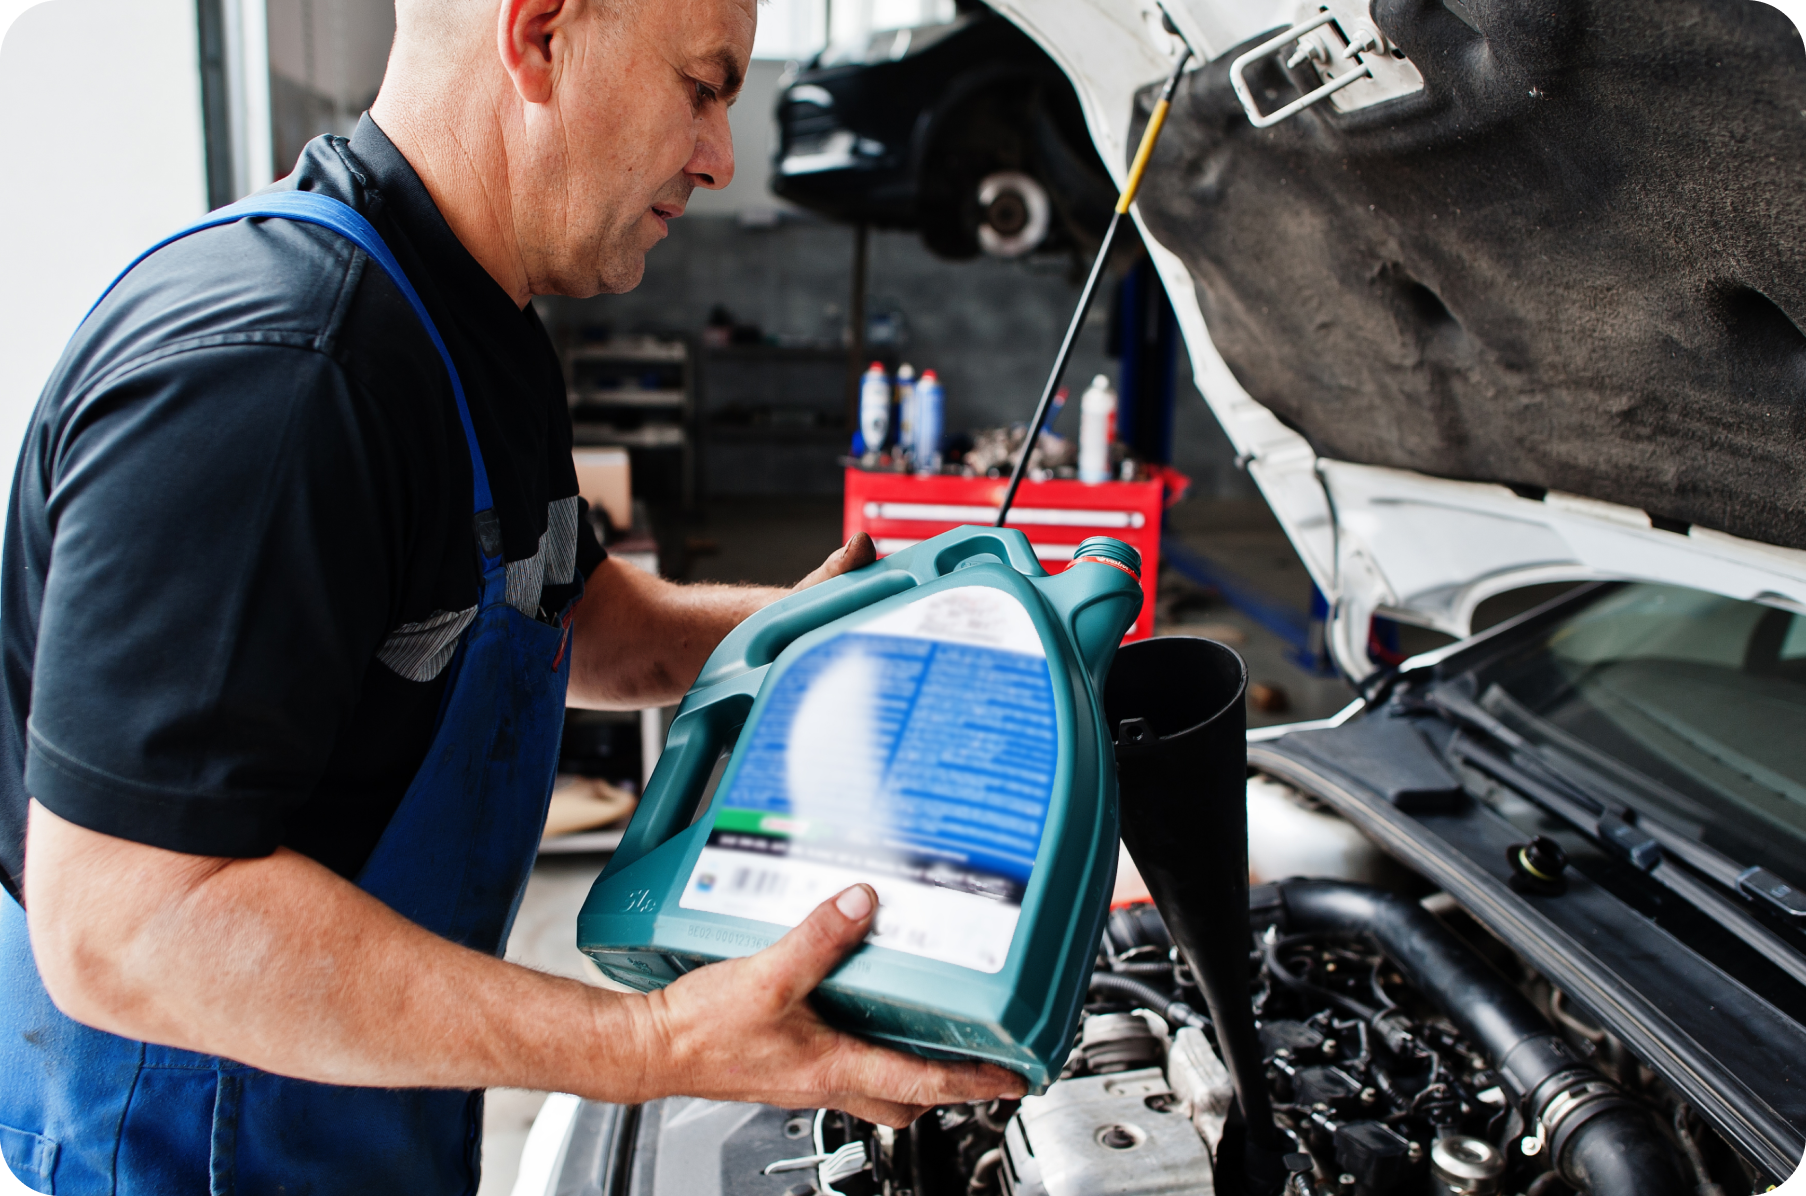
Nothing protects an engine quite like clean oil, and this remains the single most important maintenance job any rider can tackle at home. A gallon of quality motorcycle oil paired with an OEM-quality filter typically runs well under the $50 mark, making this job one of the cheapest ways to protect an expensive engine from premature wear.
You don’t need a professional-grade shop to get this done correctly. A drain pan, a basic socket set, and maybe fifteen minutes of actual hands-on time will get old oil out and fresh oil in. Warm the engine slightly before draining so the oil flows out more completely, taking accumulated grit and metal particles with it rather than leaving them sitting in the crankcase.
Clutch performance ties directly into oil condition on most motorcycles, since many bikes share lubrication between the engine and wet clutch assembly. Old, degraded oil can cause clutch slipping or grabby engagement, problems that sometimes disappear completely after a fresh oil change rather than requiring actual clutch repair work.
Sticking to your manufacturer’s recommended interval matters more than most riders realize. Extending oil changes to save a few dollars often costs far more later in accelerated engine wear, and given how affordable this job is to perform yourself, there’s little financial reason to stretch intervals beyond what your service manual recommends for your specific riding conditions.
2. Drive Chain Cleaning, Lubrication, and Adjustment
Cost: $20 to $30
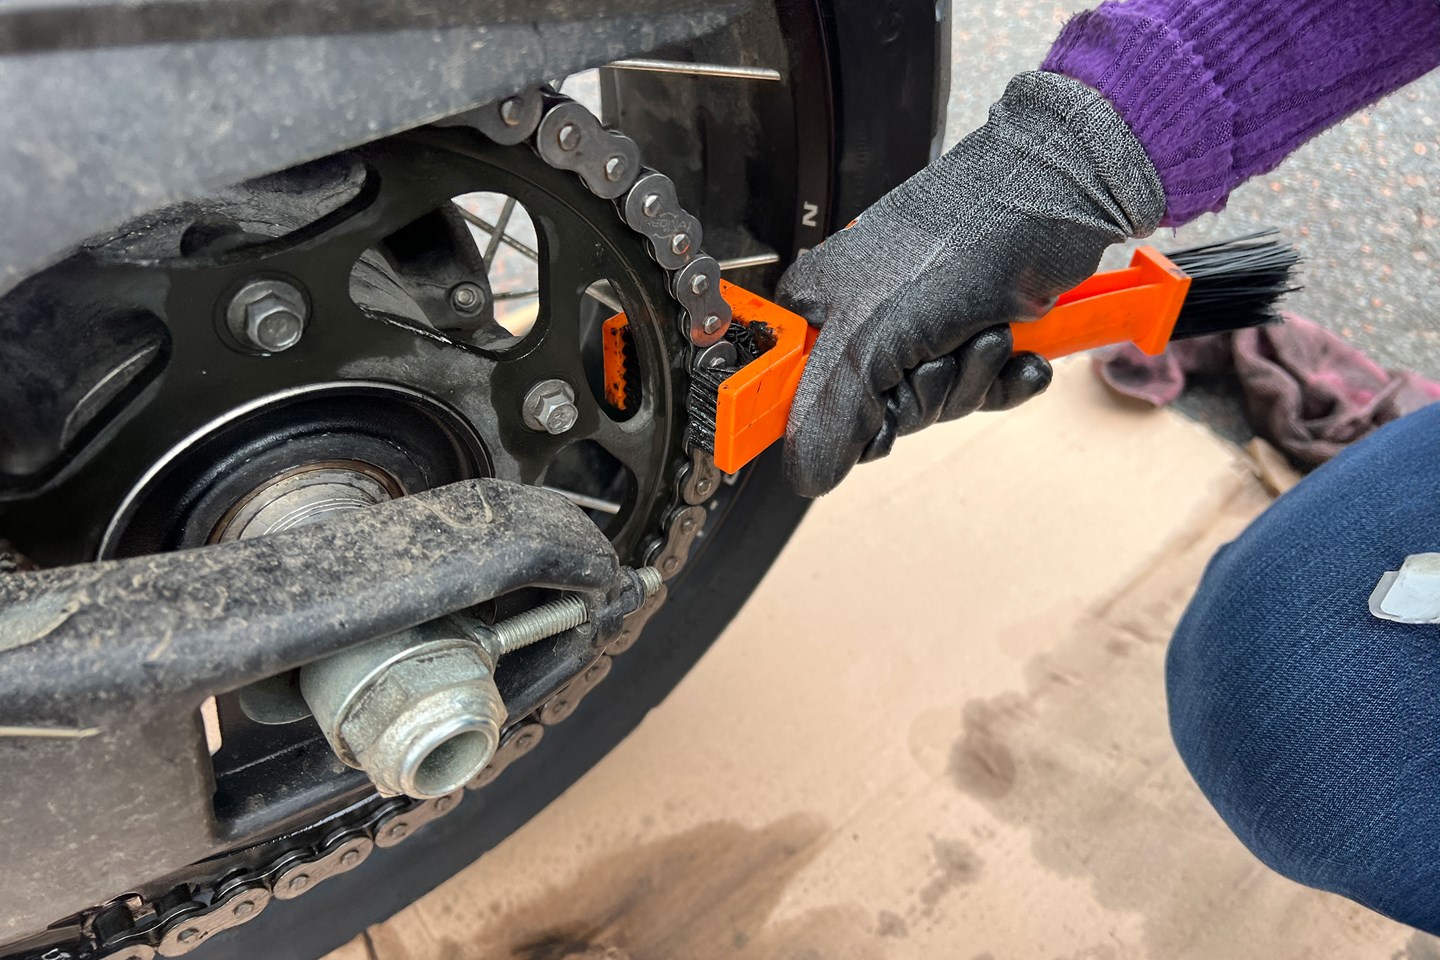
Ignoring chain maintenance can do more than create extra noise. A poorly maintained chain reduces power transfer and accelerates sprocket wear, often leading to expensive repairs. Fortunately, a chain cleaner, an O-ring-safe lubricant, and a quality chain brush typically cost less than $50, making routine chain care one of the most cost-effective maintenance jobs for any rider.
Start by cleaning accumulated grime off the chain using the dedicated cleaner and brush, working the bristles into each link and roller rather than just wiping the surface. Dirt trapped between chain links acts like grinding paste during operation, accelerating wear on both the chain itself and the sprockets it runs across.
Once clean and dry, apply O-ring-safe lubricant specifically, since standard lubricants can actually damage the O-rings sealing grease inside modern chain links. Skipping this distinction seems minor but can shorten chain life considerably over repeated applications using the wrong product.
Checking and adjusting chain slack rounds out the job, and your service manual will specify the correct measurement range for your particular bike. Too much slack risks chain slap and uneven wear, while too little tension puts unnecessary strain on transmission bearings. Doing this every few hundred miles keeps power delivery smooth and protects two of the more expensive drivetrain components from unnecessary replacement costs.
Also Read: Why Spark Plug Jobs on Some V6 SUVs Cost $600 in Labor, Explained
3. Spark Plug Replacement
Cost: $10 to $30
Rough idling, hesitant throttle response, and disappointing fuel economy often trace back to something as simple as worn spark plugs, and replacing them ranks among the most budget-friendly jobs on this entire list. Quality plugs from trusted brands like NGK or Denso rarely push total cost anywhere near the $50 ceiling, even when buying a full set for a multi-cylinder engine.
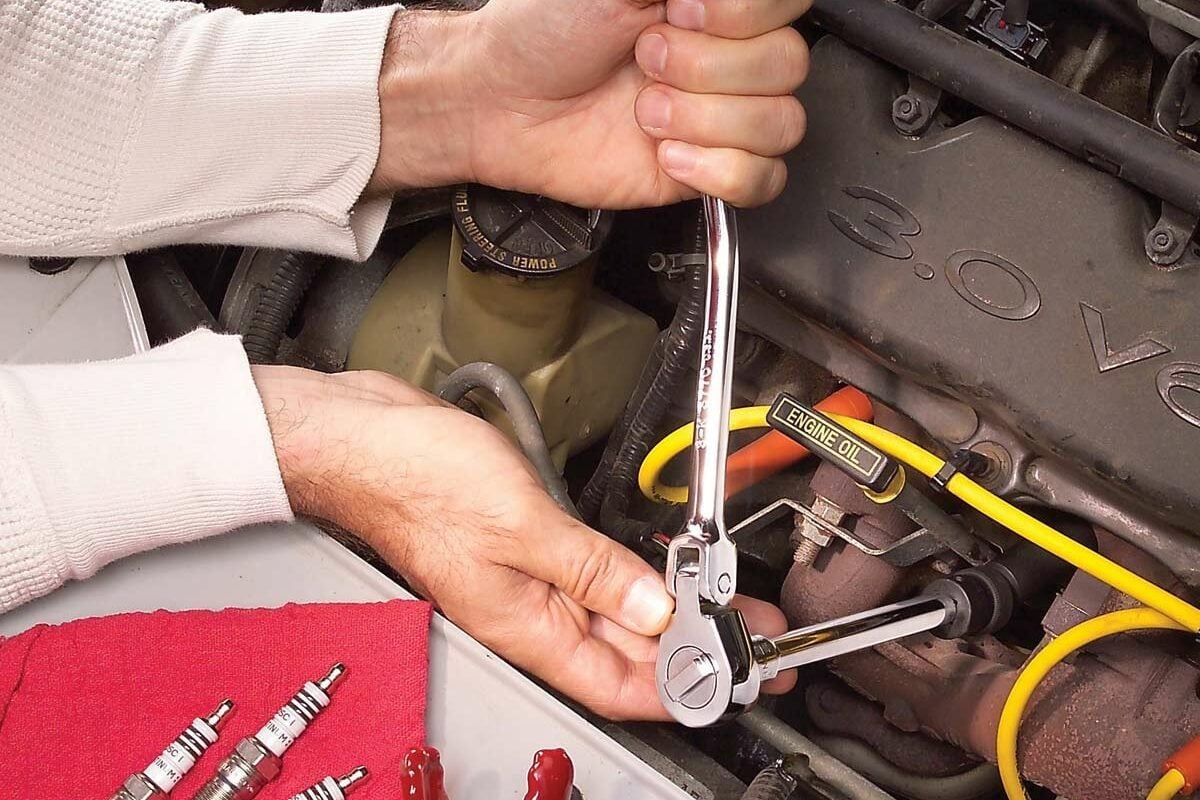
The actual job requires minimal specialized equipment: a spark plug socket sized correctly for your bike, and a gap tool to verify proper electrode spacing before installation. Removing old plugs gives you a quick diagnostic snapshot too, since plug color and condition often reveal clues about how your engine is actually running, whether that’s a fuel mixture issue or simply normal wear accumulation.
Gapping new plugs correctly before installation matters more than riders sometimes assume. An improperly gapped plug can cause misfires or hard starting, essentially undoing the benefit of the fresh replacement before you’ve even ridden the bike. Your service manual lists the exact gap specification for your engine, and the gap tool makes hitting that number straightforward.
Torquing plugs to spec during installation prevents both under-tightening, which risks a plug working loose, and over-tightening, which can damage threads in the cylinder head. Given how cheap and quick this job is, there’s genuinely no excuse for riding around on worn, degraded spark plugs.
4. Brake Fluid Flush and Bleeding
Cost: $15 to $25
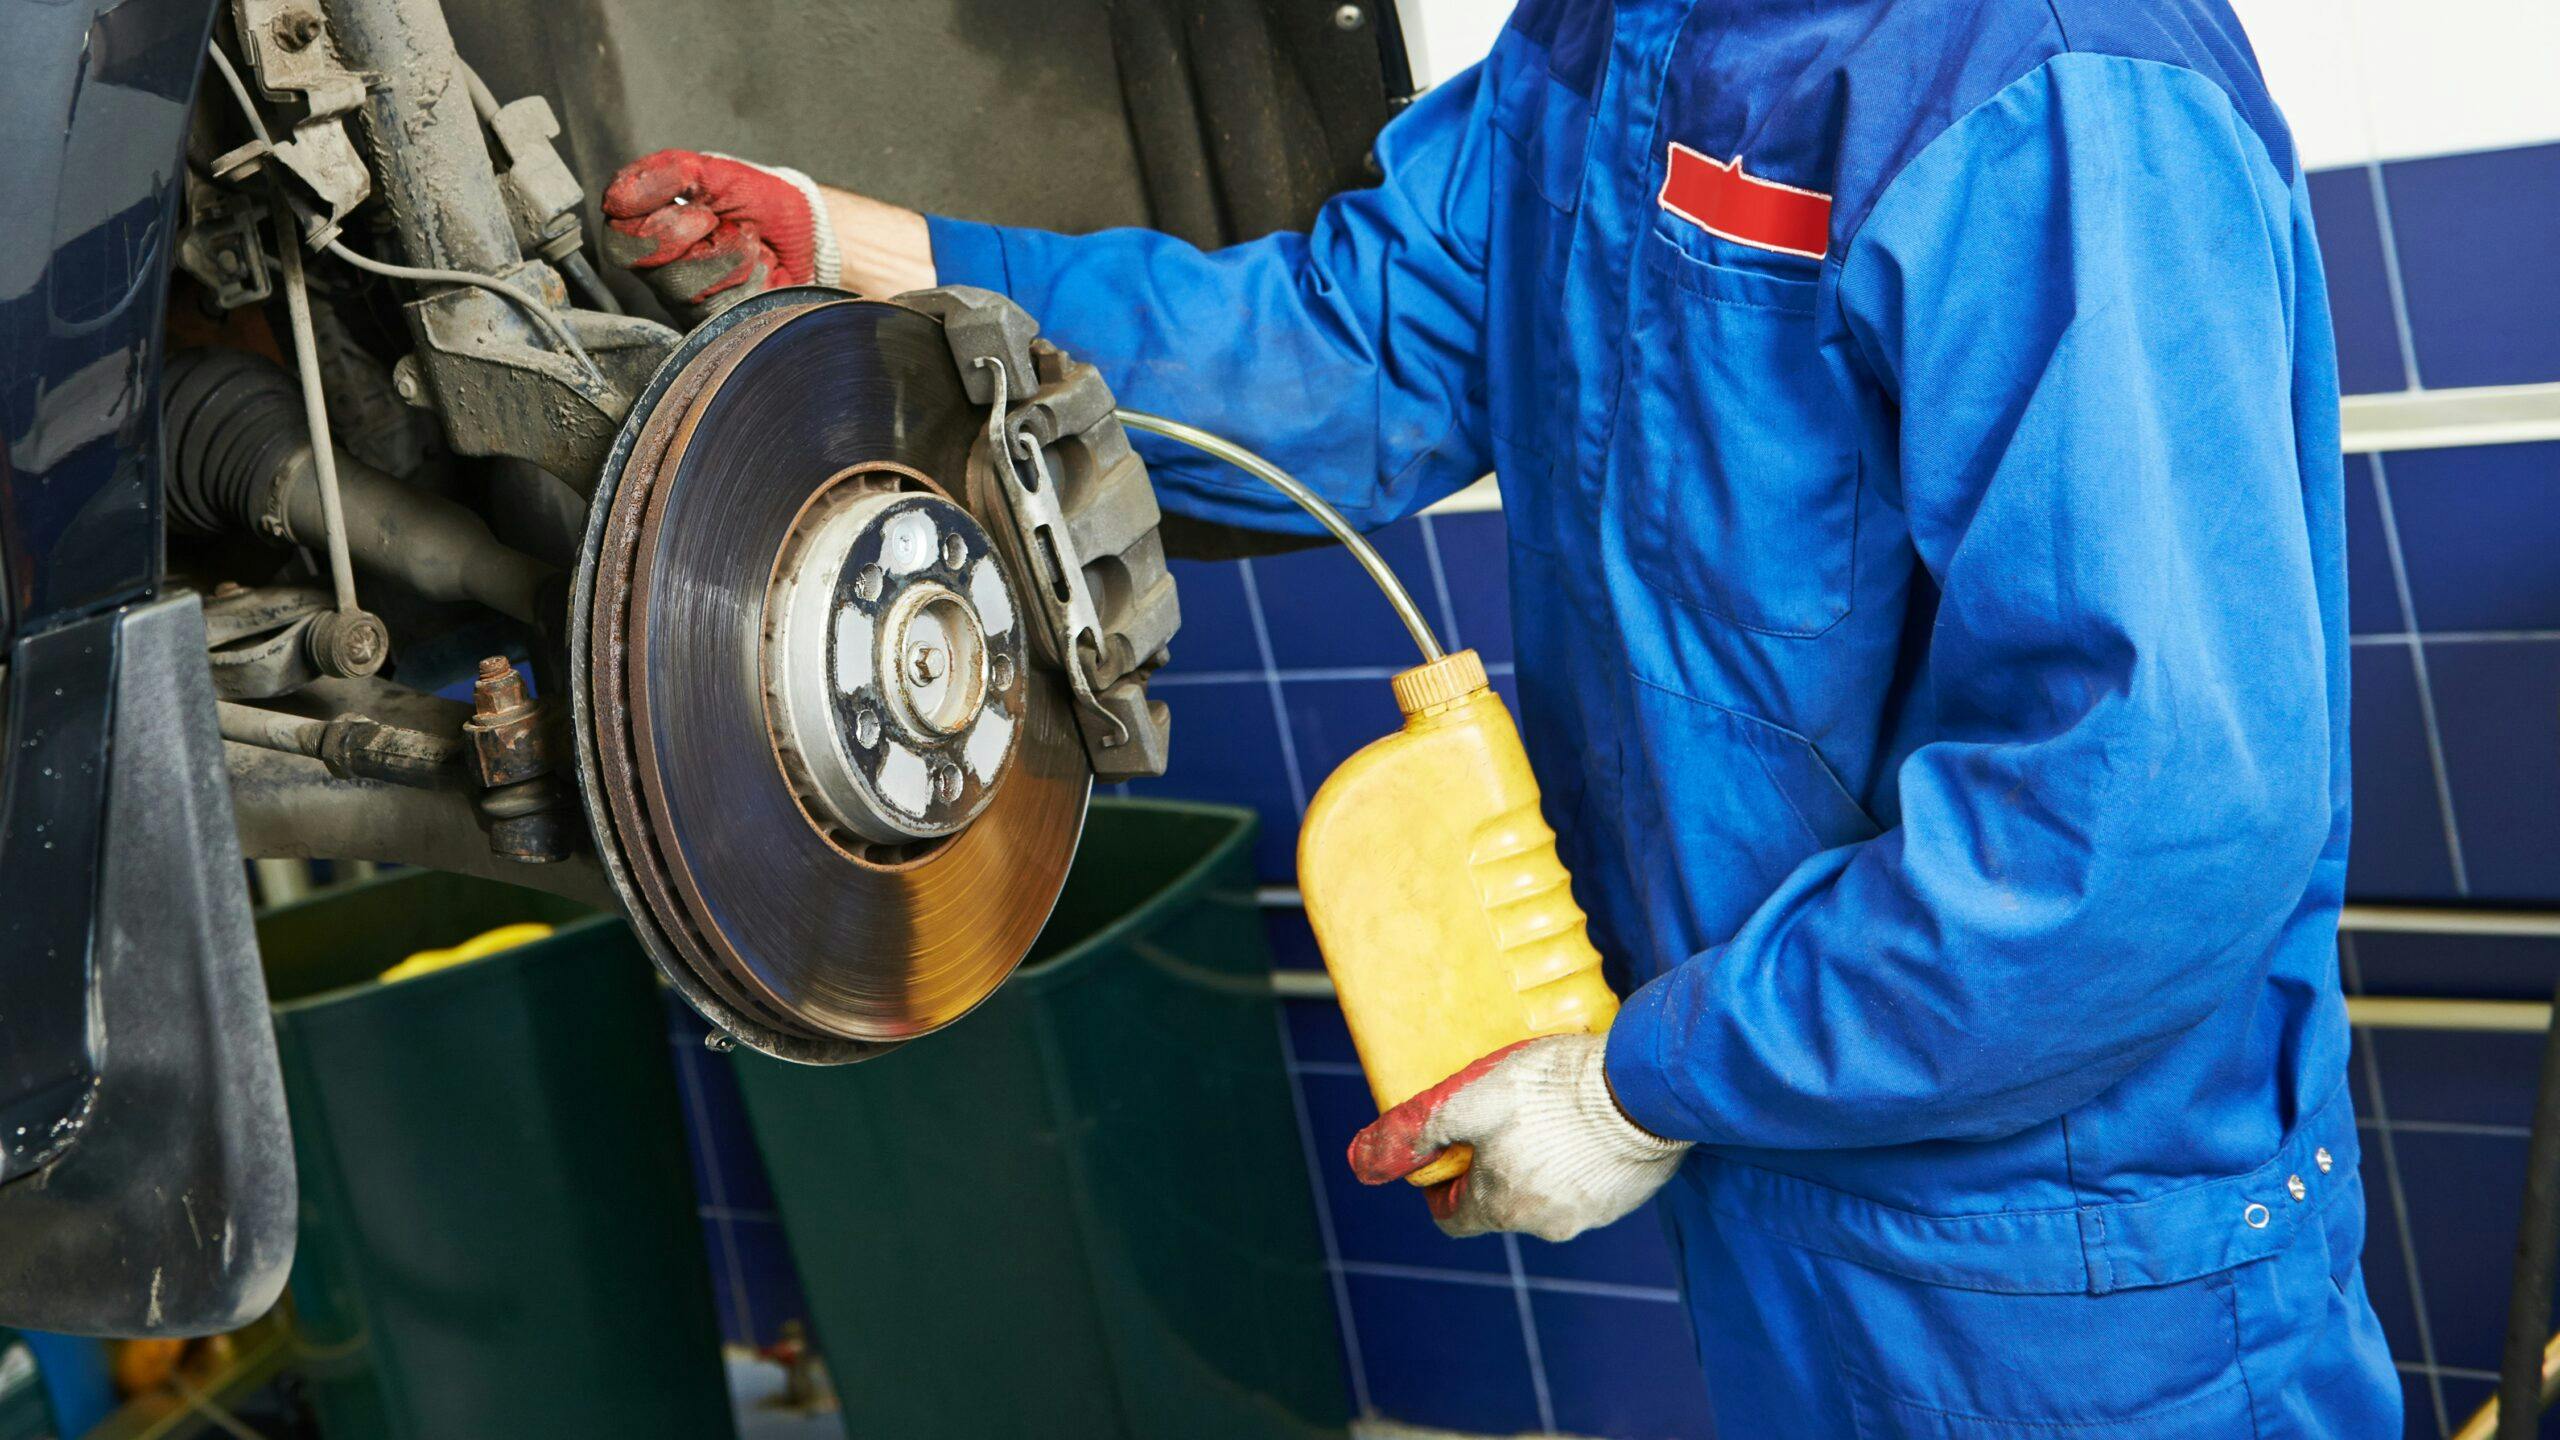
Many riders pay little attention to brake fluid until the braking system starts feeling different. What many people fail to realize is that brake fluid gradually takes in moisture from the air, reducing its ability to perform well. Replacing old DOT 4 fluid with fresh fluid is an affordable maintenance job that can make a clear difference. All you need is fresh fluid, a short length of clear tubing, and a simple catch bottle.
Once the old fluid is removed, the brake lever usually feels firmer, giving the rider better control and greater confidence each time the brakes are used. Another thing worth knowing is that water mixed with brake fluid reduces its boiling point. During repeated or hard braking, heat builds up quickly around the calipers, making contaminated fluid less effective.
Air trapped inside the system also creates a soft, spongy brake lever that many riders wrongly accept as part of normal use. In reality, it points to a maintenance job that should not be ignored. Carrying out the flush requires opening the bleeder valve on each caliper while pressing the brake lever or pedal. This pushes worn fluid and trapped air through the clear tube into the catch bottle.
As fresh fluid replaces the darker old fluid, the colour change confirms that clean fluid has reached the system. Patience matters throughout the bleeding process because rushing can introduce fresh air into the brake lines. Taking each step carefully helps produce firm, responsive brakes. Since dependable stopping power affects rider safety every time the motorcycle is used, this maintenance task deserves proper attention.
5. Air Filter Cleaning or Replacement
Cost: $15 to $40
Engines breathe air constantly, and a clogged filter restricts that airflow in ways that quietly rob performance and fuel efficiency without necessarily throwing an obvious warning sign. Whether your bike uses a disposable paper filter or a reusable foam or cotton element, keeping this component clean stays comfortably within budget.
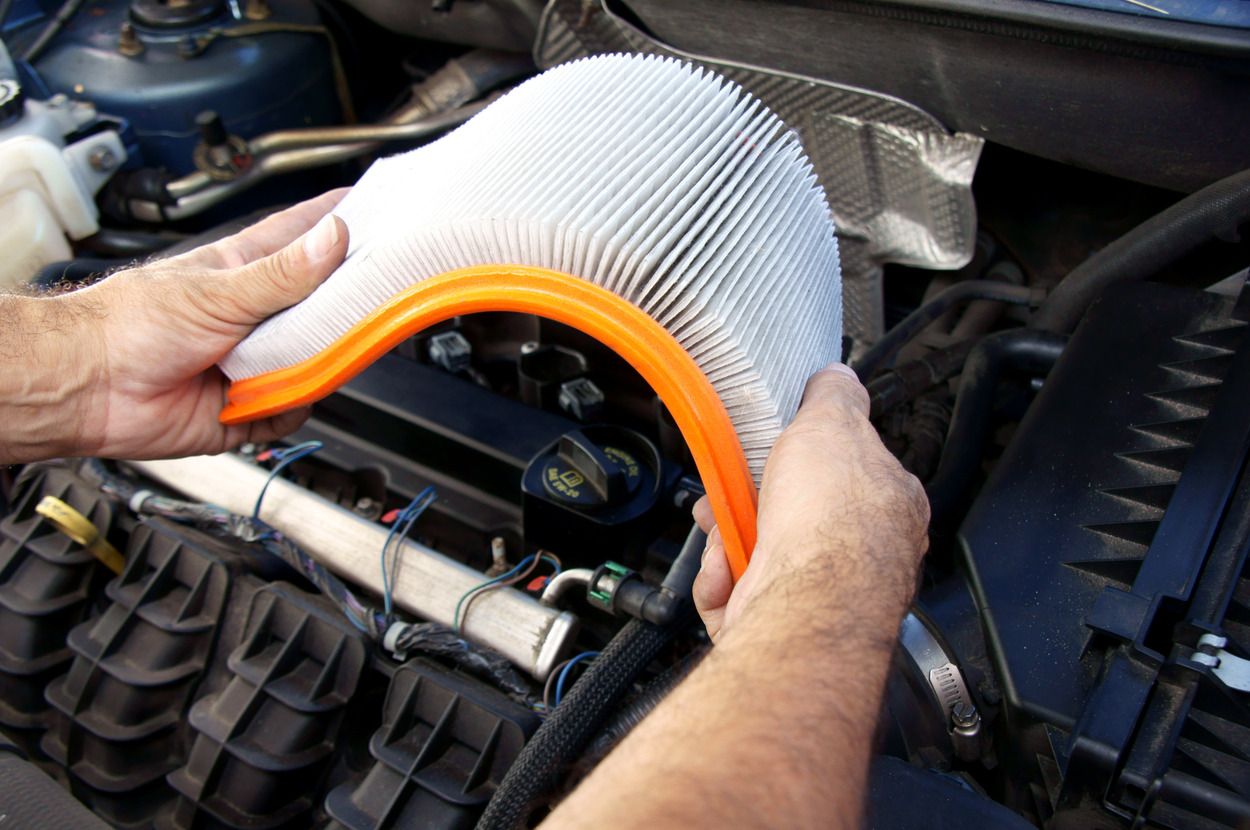
Paper filters simply get replaced once dirty, a straightforward swap requiring no special tools beyond whatever fasteners hold the airbox cover in place. Reusable foam or cotton filters need a proper cleaning kit designed specifically for that filter type, since using the wrong cleaning products can damage the filter media or leave residue that actually restricts airflow further.
Checking filter condition regularly matters more for riders who spend time on dusty roads or gravel, since dirt accumulates faster under those conditions than during typical pavement commuting. Pull the filter, hold it up to a light source, and you’ll often see immediately whether it’s still doing its job or choking the engine’s air supply.
Reinstalling a cleaned or fresh filter correctly matters too, ensuring it seats properly in the airbox without gaps that would let unfiltered air bypass the filter entirely. A properly maintained air filter genuinely helps the engine run cleaner and more efficiently, translating into better throttle response and marginally improved fuel economy that adds up over a full riding season.
6. Battery Terminal Cleaning and Battery Charging
Cost: $10 to $45
Nothing kills a riding day faster than a dead battery refusing to turn the engine over, and this maintenance job directly prevents that frustrating scenario from happening. Total cost depends heavily on whether you already own a battery tender, ranging from a simple ten-dollar cleaning job up toward $45 if you need to purchase charging equipment as well.
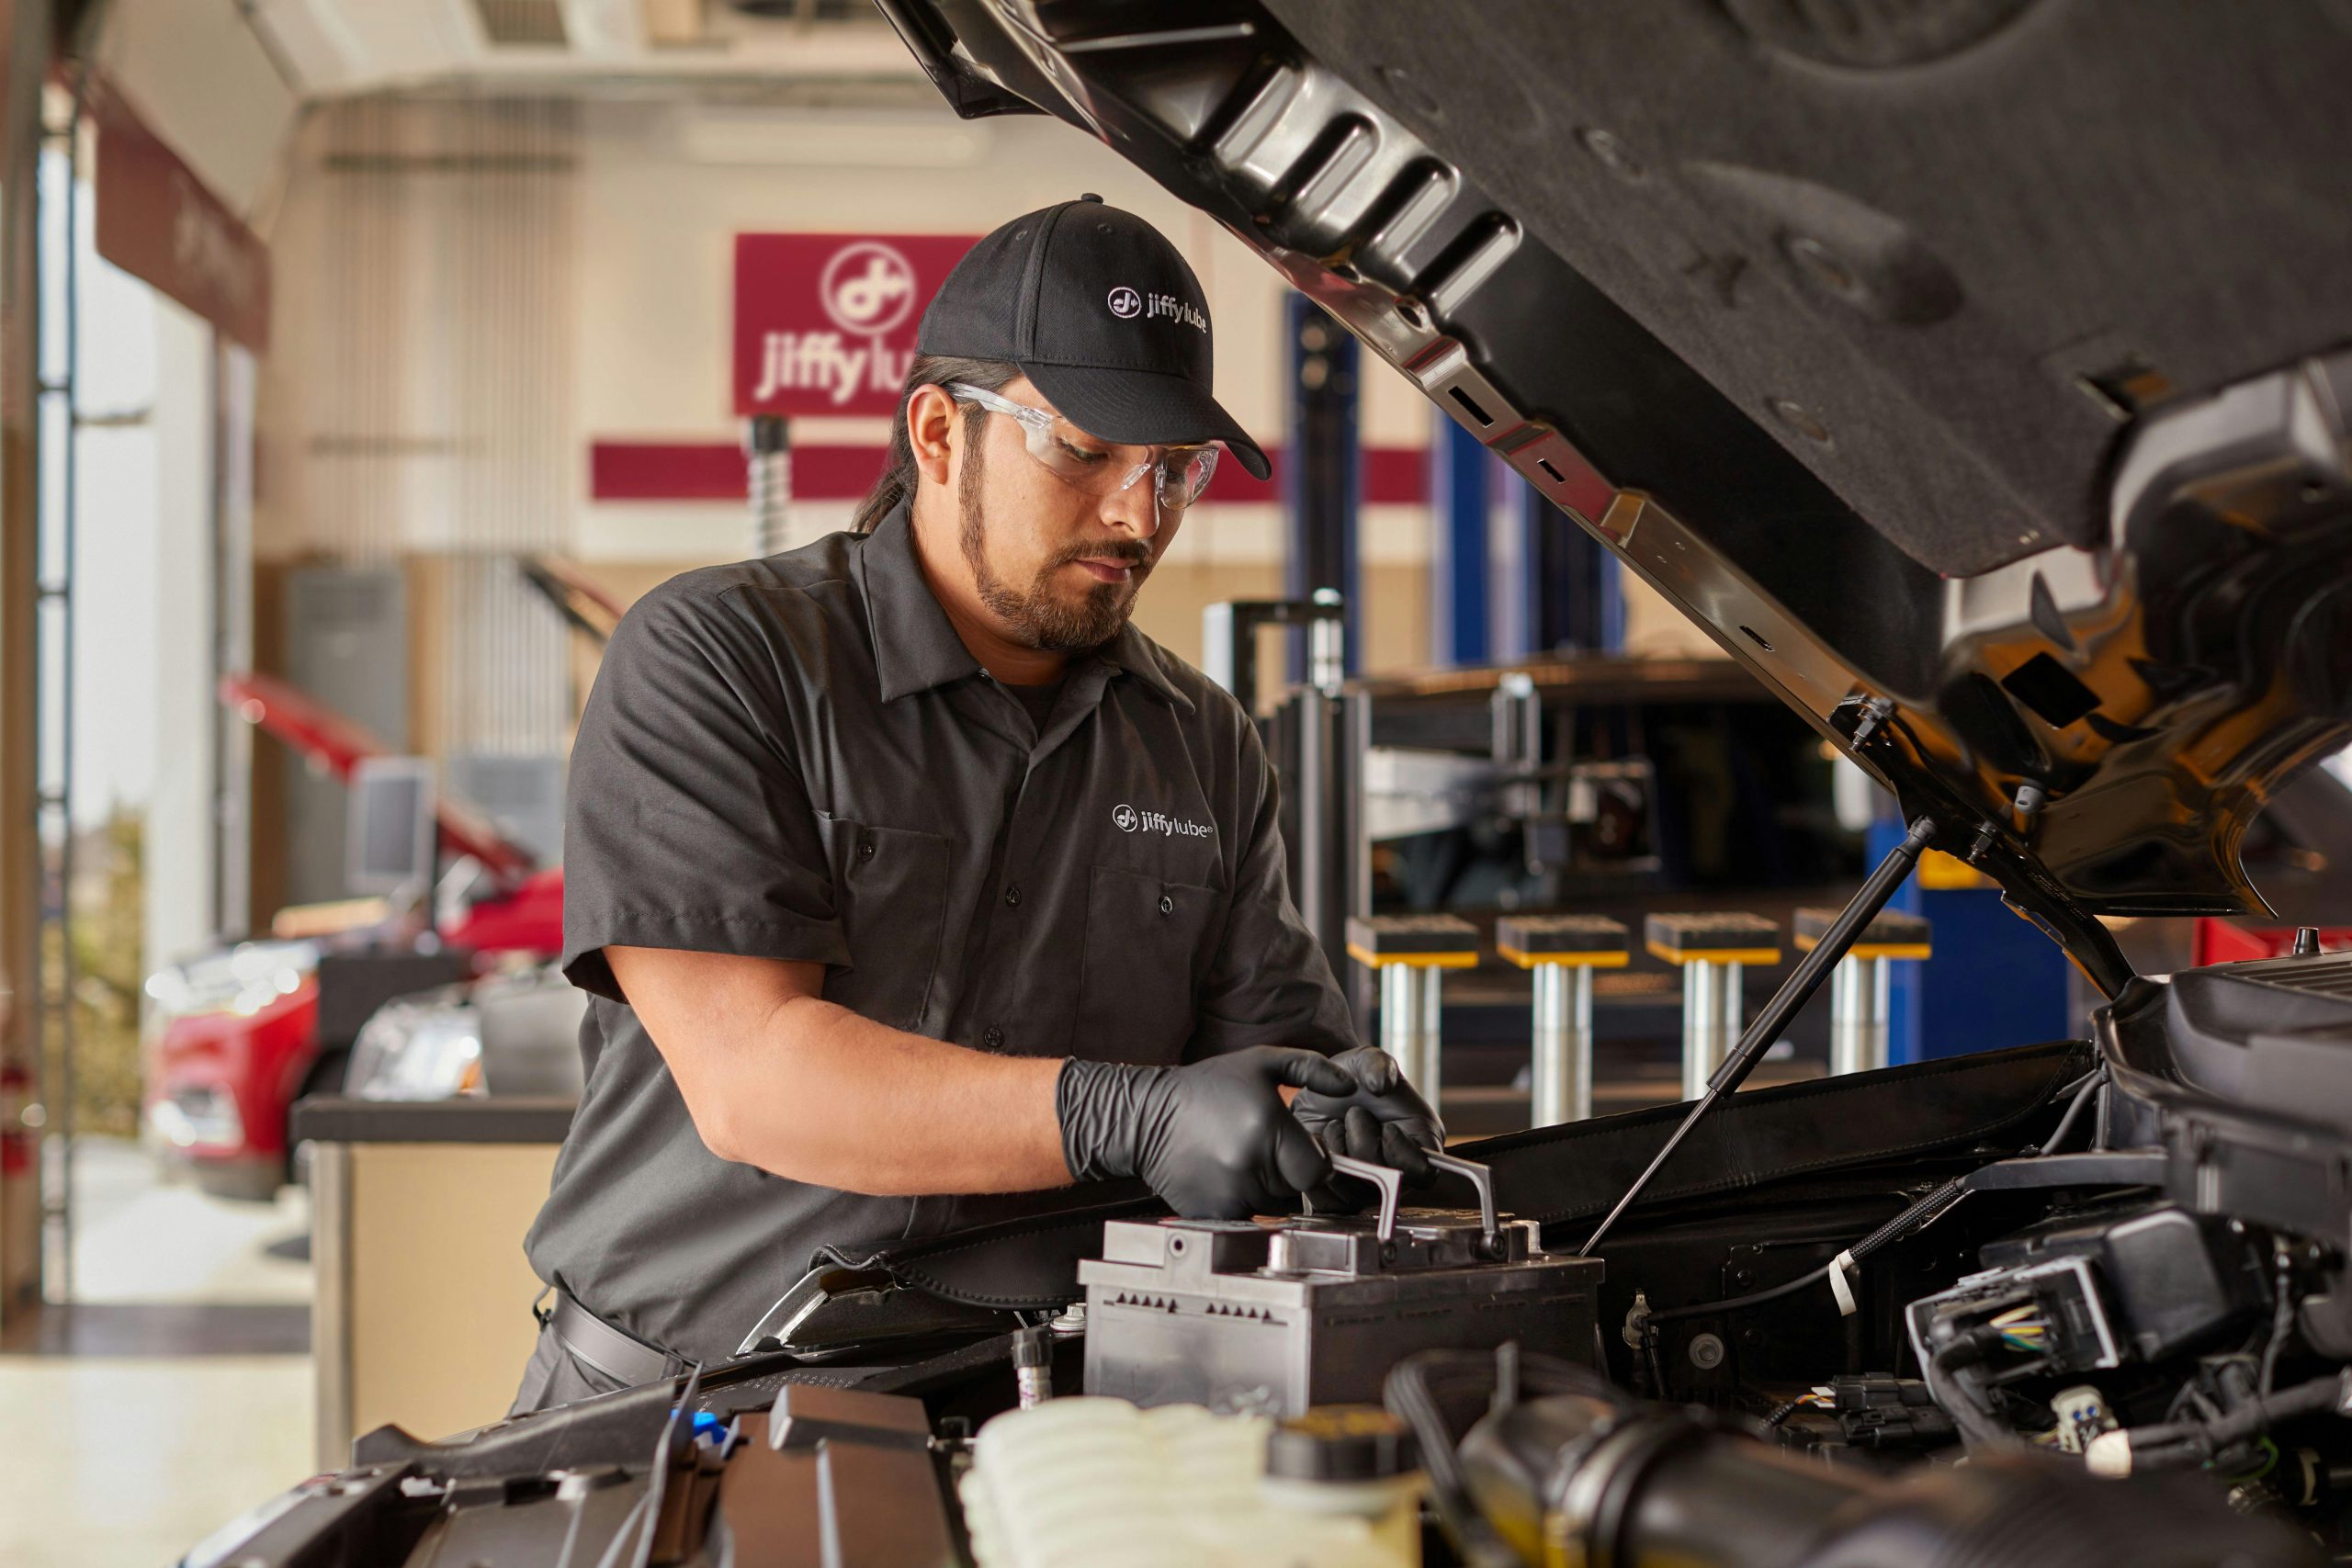
Corrosion buildup on battery terminals creates resistance in the electrical connection, sometimes enough to prevent proper starting even when the battery itself holds a full charge. A wire brush makes quick work of scrubbing away that white or greenish corrosion crust, restoring clean metal-to-metal contact at both terminals.
Applying dielectric grease or a dedicated terminal protectant after cleaning helps slow future corrosion buildup, extending the interval before you’ll need to repeat this cleaning process again. This small step takes maybe two extra minutes but pays off considerably in reduced maintenance frequency down the road.
For bikes sitting unused during colder months or extended storage periods, connecting a battery tender prevents the slow discharge that leaves riders stranded once riding season returns. These smart chargers monitor voltage automatically, topping off charge as needed without risking overcharge damage.
Given how inexpensive both cleaning and charging equipment remain, there’s little reason to gamble on a weak battery leaving you stranded at the worst possible moment.
7. Clutch and Throttle Cable Lubrication
Cost: $15 to $25
Cables stretch, fray, and dry out internally as time goes on, gradually turning smooth clutch engagement and crisp throttle response into something noticeably stiffer and less predictable. A cable lubricator tool combined with proper cable lubricant handles this job affordably, restoring the smooth control feel that made your bike enjoyable to ride in the first place.
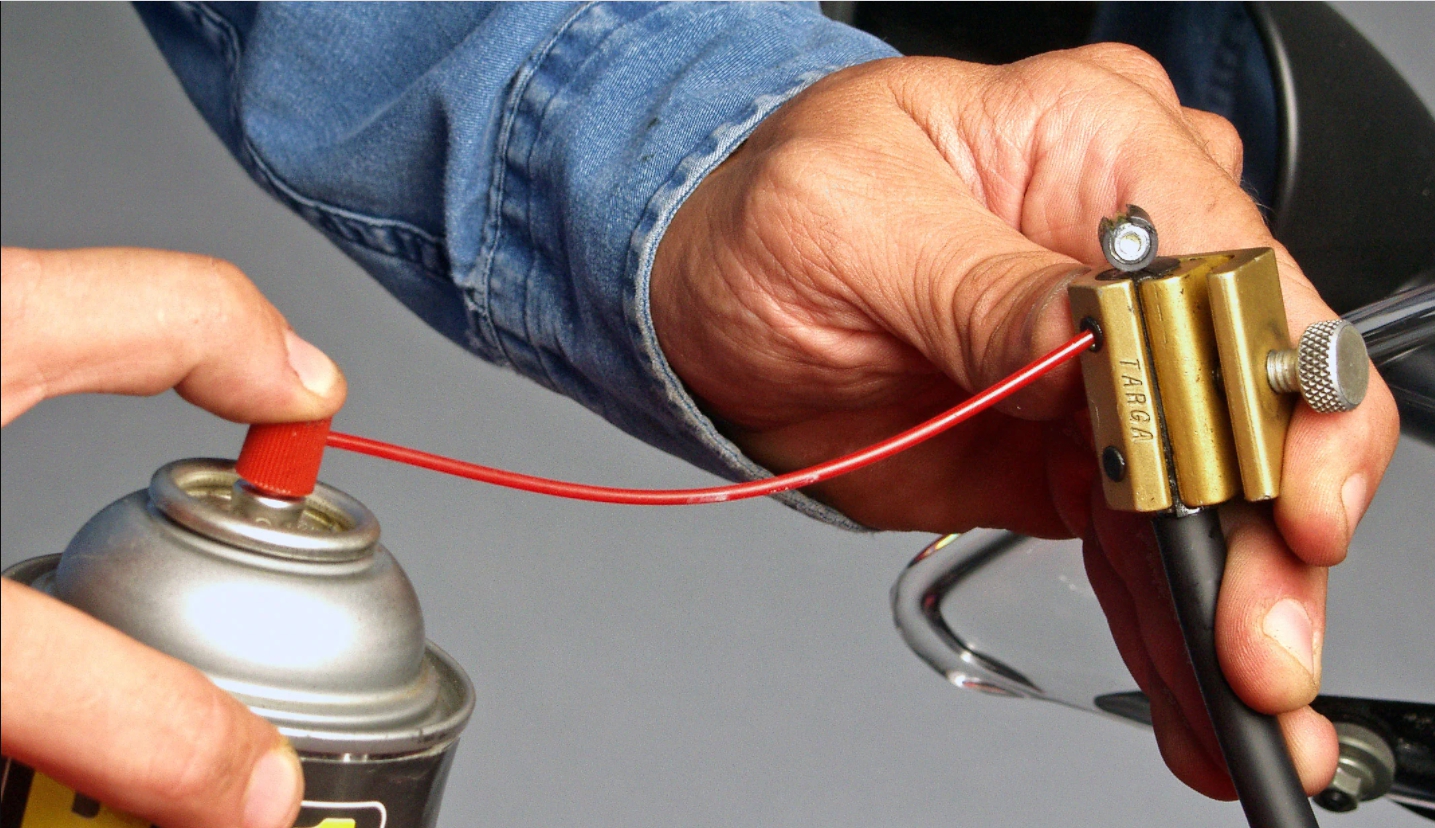
The lubricator tool clamps onto the cable housing, creating a sealed chamber that lets you force lubricant down through the entire cable length rather than just spraying the exposed ends where it does little good internally. This pressurized approach ensures lubricant actually reaches the friction points inside the housing where cables genuinely need it most.
Throttle cables deserve particular attention here, since a sticky throttle represents a real safety hazard rather than just an inconvenience. A cable that hangs up partway through its travel, or worse, sticks open, creates a dangerous situation nobody wants to experience at speed. Regular lubrication prevents that internal friction buildup before it becomes a genuine problem.
Clutch cables benefit similarly, with smooth engagement making stop-and-go riding considerably less fatiguing on your hand and wrist. Riders who skip this maintenance often attribute stiffening cable feel to normal aging, not realizing a simple fifteen-minute lubrication job could restore much of that original smoothness for a fraction of what a full cable replacement would eventually cost.
8. Coolant Replacement (Liquid-Cooled Motorcycles Only)
Cost: $20 to $35
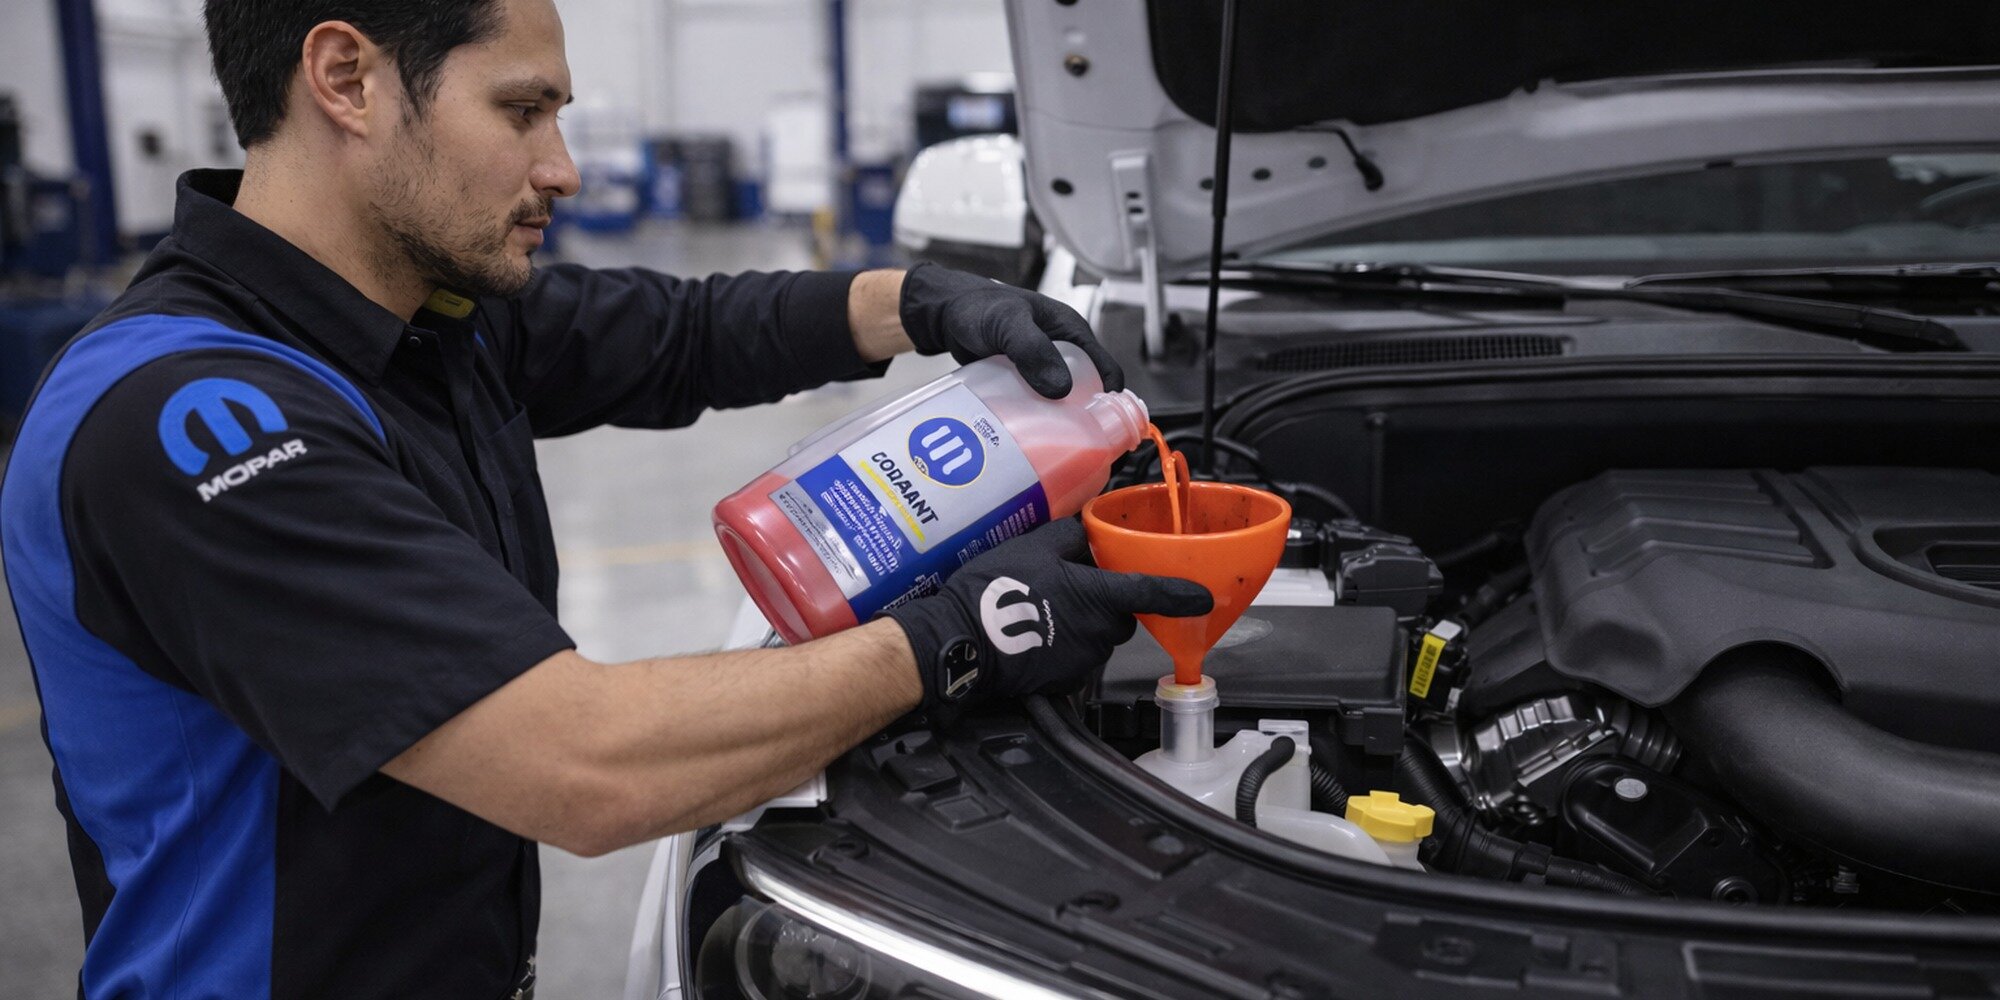
Many motorcycle owners believe coolant only keeps the engine from getting too hot, but it does much more than that. It also contains special additives that protect the cooling system from rust and corrosion. Buying motorcycle-approved coolant is quite affordable, and even after getting a drain pan and a few basic tools, the cost usually stays below $50. Spending a little on this maintenance job can save you from paying much more for repairs later.
As coolant stays inside the engine for a long time, its protective additives gradually lose their strength, even if the liquid still looks clean. That is why manufacturers recommend changing it after a certain period or mileage instead of waiting until it becomes dirty. By the time the coolant changes colour, internal damage may have already started.
Following the recommended service schedule helps keep the cooling system in good condition and extends the life of important engine parts. Changing the coolant begins with locating the drain bolt, which is usually found at the lowest point of the cooling system.
Before opening anything, allow the engine to cool completely to avoid burns from hot coolant or built-up pressure. After draining the old fluid, refill the system with the exact coolant type recommended for your motorcycle. Using the wrong coolant can create problems that are much worse than keeping old coolant for a short period.
Once fresh coolant has been added, remove any trapped air from the system by following the bleeding steps in your service manual. Air pockets can cause certain parts of the engine to get hotter than they should. A properly filled cooling system helps prevent overheating, corrosion, and expensive engine repairs.
9. Headlight, Brake Light, or Turn Signal Bulb Replacement
Cost: $10 to $35
Visibility keeps riders safe, both in terms of seeing the road ahead clearly and being seen by drivers around you, making bulb maintenance one of the more safety-relevant jobs on this entire list despite how simple it sounds. Replacing worn bulbs, or upgrading to brighter alternatives, stays affordably within budget regardless of which specific light needs attention.
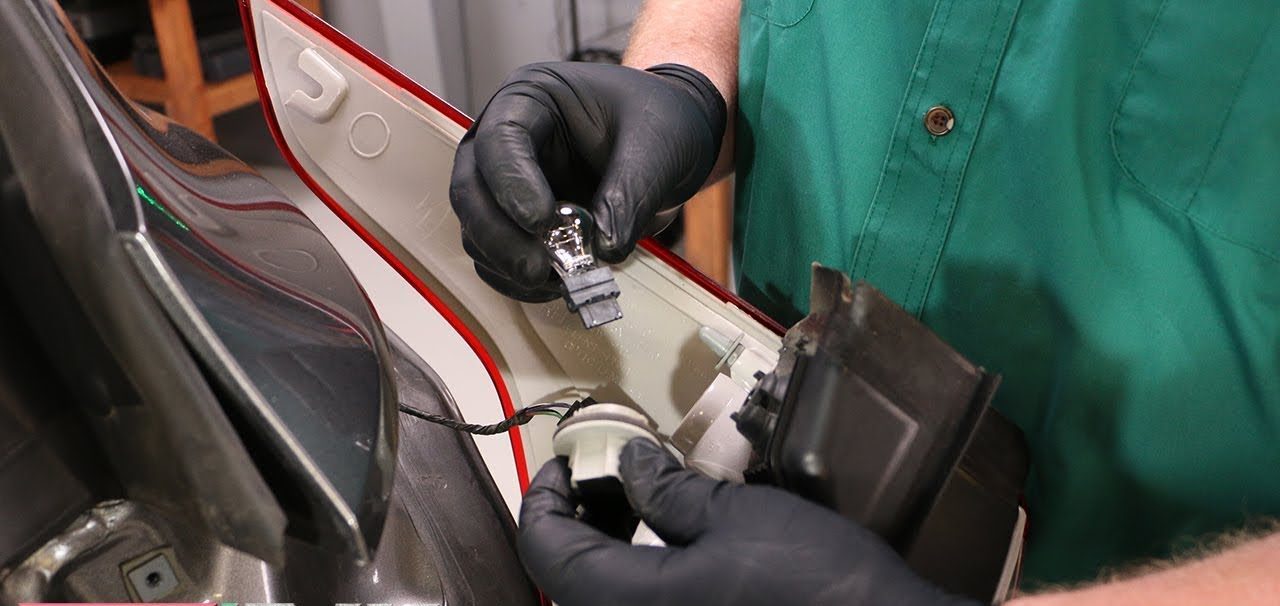
Most bulb replacements require nothing beyond basic hand tools and a few minutes of patience working through whatever housing or lens cover protects the bulb socket. Headlights sometimes involve slightly more disassembly depending on your bike’s fairing design, while turn signals and brake lights typically offer more straightforward access.
A burned-out brake light creates genuine danger, since following drivers lose their primary warning that you’re slowing down ahead of them. Checking all your lights periodically and having a friend confirm brake light and turn signal function while you operate the controls catches these failures before they become a real road hazard rather than discovering the problem during a traffic stop.
Beyond basic replacement, some riders choose brighter LED alternatives when budget allows, genuinely improving visibility during nighttime riding or overcast conditions. Whatever bulb type you choose, keeping every light functioning correctly isn’t just about avoiding a citation; it’s about ensuring other drivers on the road actually notice you’re there, particularly at intersections where visibility problems cause a disproportionate share of motorcycle accidents.
Also Read: 8 Maintenance Jobs Due at 60,000 Miles Most Owners Skip
10. Fastener Inspection and Torque Check
Cost: $0 to $45
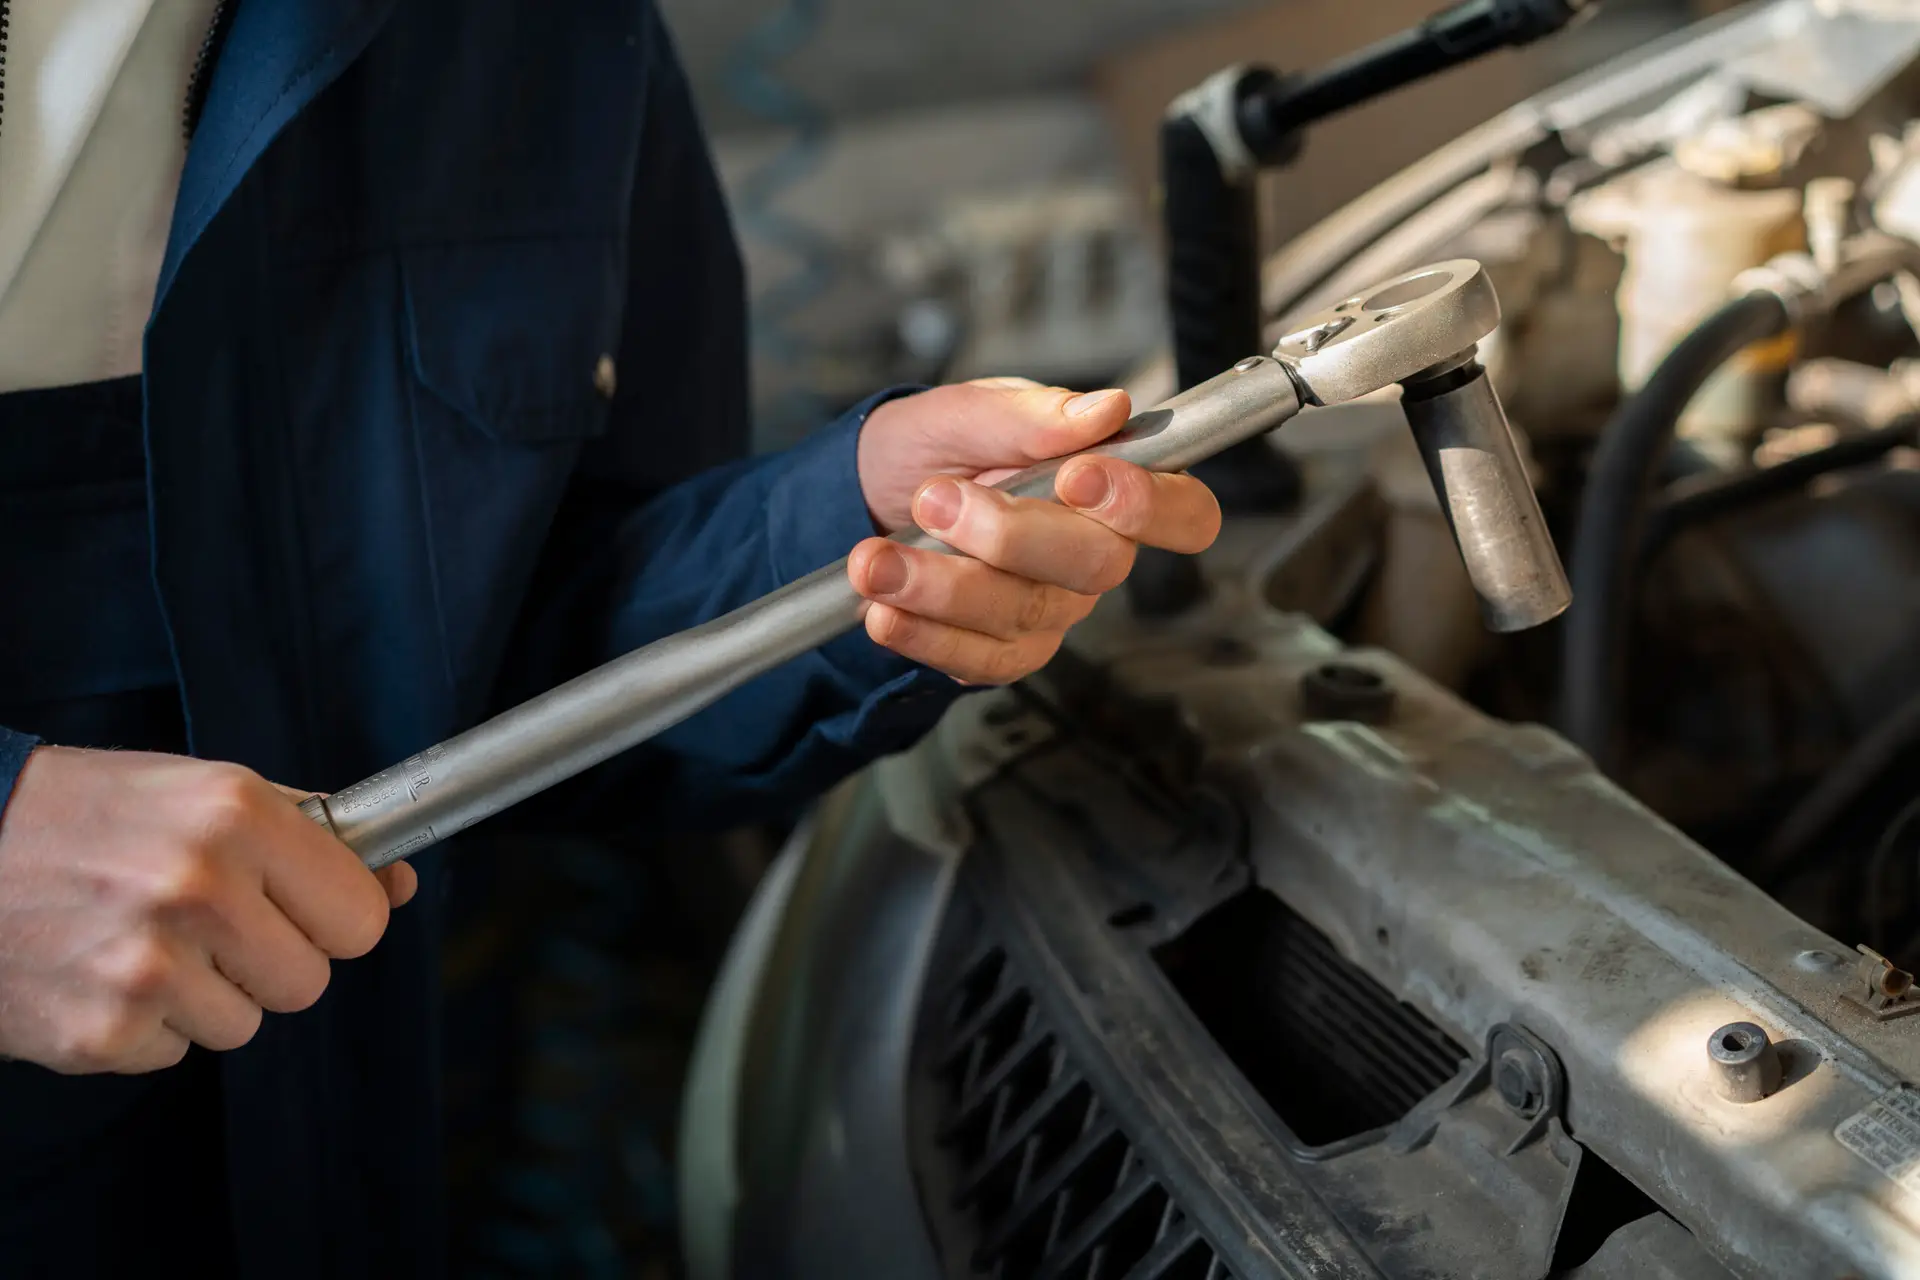
Vibration is constant on a motorcycle, and over enough miles, that persistent shaking works fasteners loose in ways that aren’t always obvious just from looking at the bike. This job can cost nothing literally if you already own a torque wrench, or run up toward $45 if you need to purchase one, making it one of the more variable entries on this list depending on your existing tool collection.
Your service manual lists specific torque values for critical fasteners throughout the bike, including axle nuts, brake caliper mounting bolts, handlebar clamps, and engine mounting hardware. Working through this list systematically, checking each fastener against its specified torque value, catches problems before they become dangerous rather than after something has already worked dangerously loose.
Axle nuts deserve particular attention given their direct role in keeping wheels properly secured, while brake caliper bolts affect braking performance and safety just as directly. A loose handlebar clamp, meanwhile, can create unpredictable steering feel that might not become apparent until you’re already deep into a turn at speed.
Building this inspection into a regular maintenance routine, rather than treating it as a one-time task, catches gradual loosening before it becomes a genuine safety issue. Given how little this job actually costs, particularly for riders who already own a torque wrench, there’s no good reason to skip this simple check that protects against some of the more serious mechanical failures a motorcycle can experience.