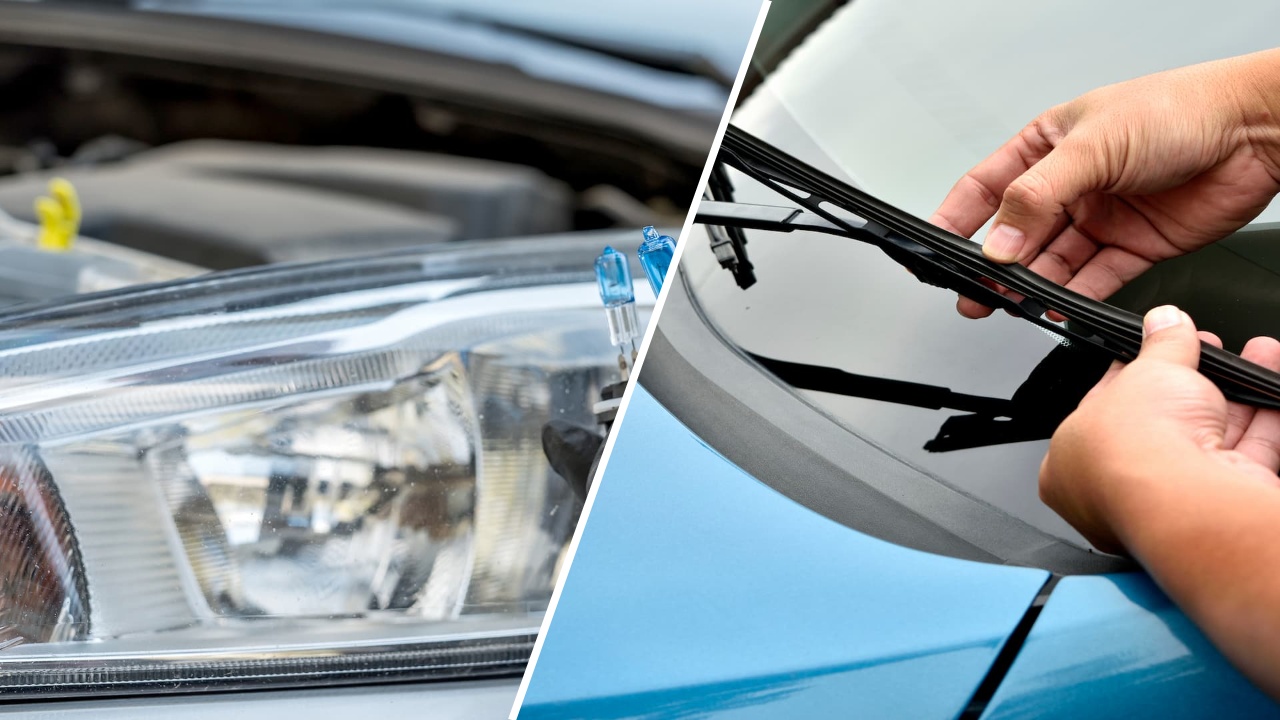
Many vehicle owners assume every repair requires expensive shop equipment or professional experience, but that is not always the case.
Modern cars are designed with several maintenance items that can be replaced quickly using basic hand tools and a little patience. Completing these simple repairs at home can save labor costs while helping owners become more familiar with their vehicles.
The key is choosing jobs that manufacturers intended to be serviceable without extensive disassembly. The following repairs are among the easiest DIY tasks, and in many vehicles they can typically be completed in about 30 minutes or less by someone following the proper procedures.
Also Read: 10 Chevrolet Camaro Model Years That Tell the Whole Story
1. Replacing the Engine Air Filter
Opening the hood can make many owners nervous, but replacing the engine air filter is one of the simplest maintenance jobs on a modern vehicle. In most gasoline-powered cars, trucks, and SUVs, the filter is housed inside a plastic air box secured by metal clips or a few screws. No specialized equipment is normally required, making this an ideal first repair for beginners.
The engine air filter prevents dust, dirt, insects, and other airborne debris from entering the intake system. A clean filter helps maintain proper airflow, allowing the engine to operate efficiently.
As contaminants accumulate, airflow gradually becomes more restricted. While modern engine computers compensate for moderate restriction, an excessively dirty filter can reduce performance and fuel economy in certain driving conditions.
Most manufacturers recommend inspecting the filter during routine maintenance and replacing it approximately every 15,000 to 30,000 miles, although dusty environments may require more frequent service.
The replacement process usually involves opening the air box, lifting out the old filter, cleaning any loose debris inside the housing, and installing the new filter in the same orientation before securing the cover.
One common mistake is installing the filter upside down or failing to seal the air box completely. Even a small gap can allow unfiltered air to bypass the filter element, increasing engine wear over time. Taking an extra minute to verify proper alignment ensures the filter performs as intended.
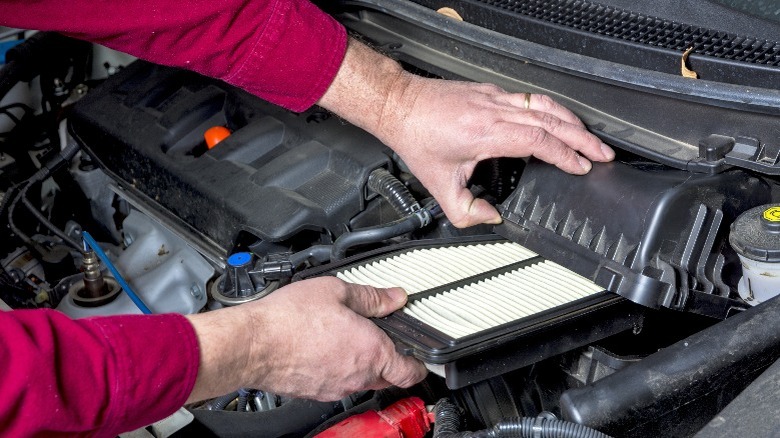
For many vehicles, this repair requires less than ten minutes once the hood is open. Despite its simplicity, replacing the engine air filter remains one of the easiest ways to maintain proper engine breathing while avoiding unnecessary dealership labor charges.
2. Installing New Windshield Wiper Blades
Many drivers postpone replacing windshield wiper blades because they assume the process requires tools or mechanical knowledge. In reality, most modern vehicles allow the blades to be changed in less than 15 minutes without a single wrench.
Since clear visibility is essential for safe driving, replacing worn wipers is one of the quickest repairs that delivers an immediate improvement.
Rubber wiper blades are constantly exposed to sunlight, heat, freezing temperatures, road salt, and rain. Over time, the rubber hardens, cracks, or separates from the frame. Instead of clearing water evenly, old blades leave streaks, skip across the windshield, or make squeaking noises.
According to many manufacturers and safety organizations, wiper blades should generally be inspected every six months and replaced about every six to twelve months, depending on climate and usage.
The replacement process is straightforward. Lift the wiper arm away from the windshield, press the release tab on the old blade, slide it off the hook or attachment point, and install the new blade until it locks securely into place. Most replacement blades include adapters that fit multiple arm styles, making installation easier than ever.
One important precaution is to avoid letting the bare metal wiper arm snap back against the windshield. Without the blade attached, the metal arm can crack or chip the glass, turning a simple maintenance task into an expensive repair. Placing a folded towel on the windshield while changing blades provides extra protection.
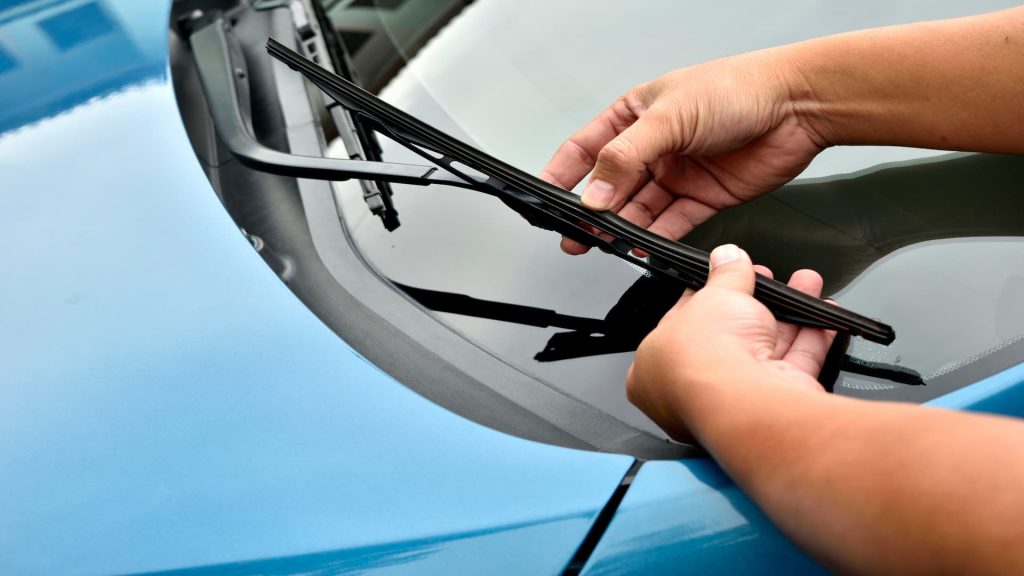
Fresh wiper blades restore proper visibility during heavy rain, improve windshield cleaning performance, and reduce glare from water streaks at night. Since quality replacement blades are inexpensive and installation requires very little time, this remains one of the easiest repairs any vehicle owner can perform at home.
3. Replacing the Cabin Air Filter
Unlike the engine air filter, the cabin air filter protects the people inside the vehicle rather than the engine itself.
Hidden behind the glove box in many modern cars, this filter removes dust, pollen, mold spores, and other airborne contaminants before they enter the heating and air conditioning system. Because it is out of sight, many owners forget it exists until airflow becomes noticeably weaker.
Most manufacturers recommend replacing the cabin air filter approximately every 15,000 to 30,000 miles, although vehicles operated in dusty areas or regions with heavy pollen may require more frequent service.
As debris accumulates, the HVAC blower must work harder to push air through the clogged filter. Drivers often notice reduced airflow from the vents, unpleasant odors, fogging windows, or increased allergy symptoms while driving.
Accessing the filter is surprisingly simple on many vehicles. Opening the glove box, releasing the retaining stops, and removing a small plastic access panel usually reveals the filter housing.
The old filter slides out by hand, and the replacement installs in the same direction, following the airflow arrow printed on the side.
Before installing the new filter, it is a good idea to remove leaves or loose debris inside the filter compartment. Doing so helps maintain unrestricted airflow and prevents unwanted odors from developing. Paying attention to the airflow direction is equally important because installing the filter backward reduces its effectiveness.
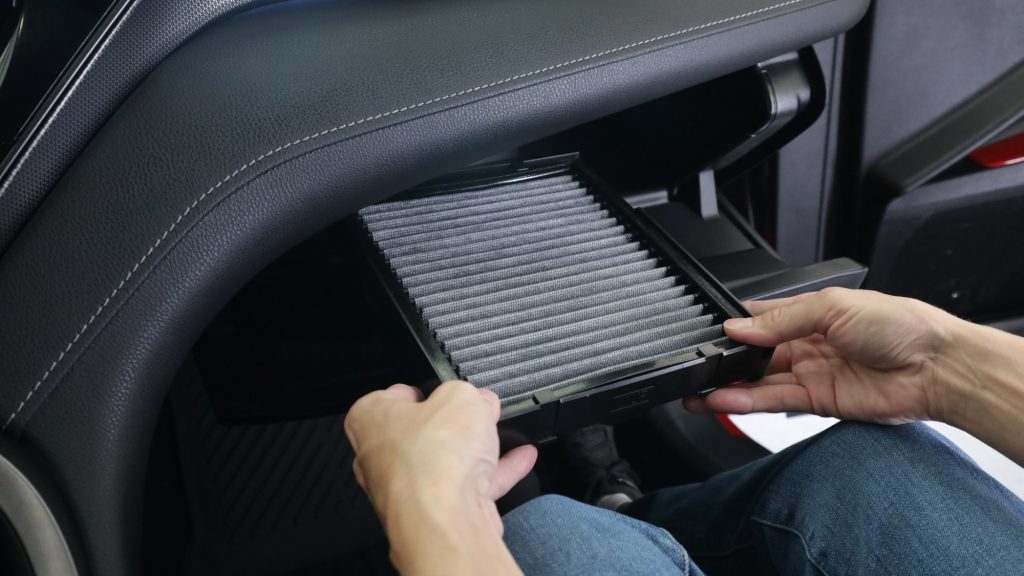
This repair typically requires no special tools and can often be completed in less than 20 minutes. A clean cabin air filter improves interior air quality, restores proper HVAC performance, reduces strain on the blower motor, and helps keep the windshield clear during humid weather.
4. Replacing the Battery Terminals
A vehicle that struggles to start is not always suffering from a weak battery. In many cases, corrosion or worn battery terminals prevent electricity from flowing efficiently between the battery and the starter motor.
Replacing damaged battery terminals appears intimidating because it involves the electrical system, but on many vehicles it is a straightforward repair that can be completed with basic hand tools in about half an hour.
Battery terminals are exposed to moisture, heat, vibration, and acidic battery vapors. Over several years, corrosion can build up around the clamps, creating resistance that reduces electrical conductivity.
Drivers may notice slow engine cranking, flickering lights, intermittent electrical issues, or visible white or blue-green corrosion around the battery posts.
The repair begins by disconnecting the negative battery cable first, followed by the positive cable. Once the damaged terminal is removed, the cable is trimmed if necessary to expose clean copper wire before the new terminal is securely fastened.
Any remaining corrosion on the battery posts should be cleaned with a battery terminal brush before reconnecting the positive cable first and the negative cable last.
Many replacement terminals include anti-corrosion coatings or protective covers that help reduce future buildup. Applying a thin layer of dielectric grease or battery terminal protectant after installation can provide additional protection against moisture and oxidation.
One important consideration is that some modern vehicles require radio presets, window calibration, or other electronic settings to be restored after battery disconnection. Checking the owner’s manual before beginning the repair helps avoid surprises.
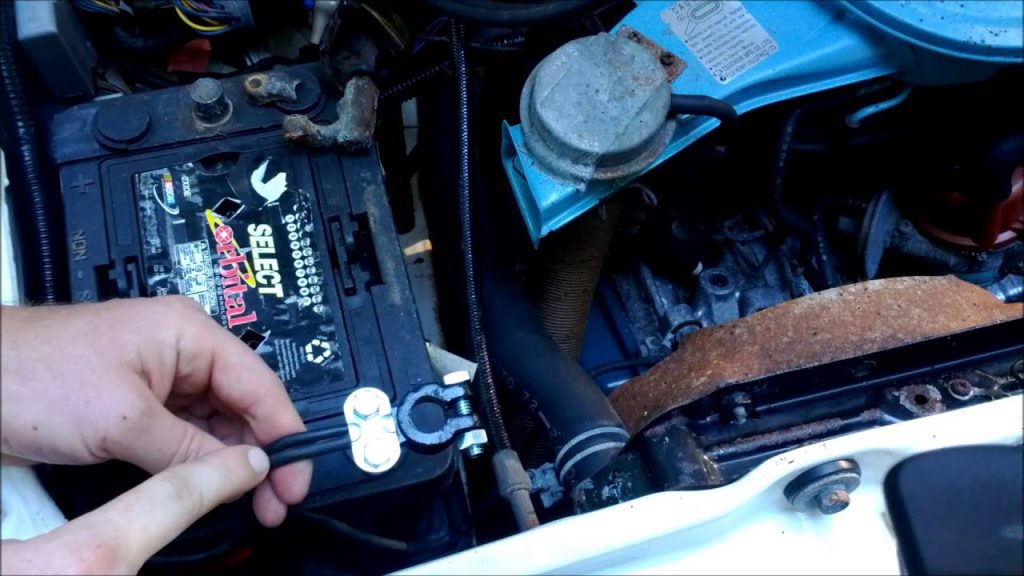
Replacing worn battery terminals restores reliable electrical connections, improves starting performance, reduces charging system resistance, and helps the battery operate more efficiently. Considering the low cost of replacement terminals, this is one of the highest-value DIY repairs available.
5. Changing Exterior Light Bulbs
Seeing a burned-out headlight or taillight often convinces owners they need a repair shop, but many exterior bulbs are designed to be replaced quickly at home.
Depending on the vehicle, access usually involves opening the hood or removing a small access panel inside the trunk. Once the bulb housing is reached, replacement often takes only a few minutes.
Exterior lighting is a critical safety feature. A failed low-beam headlight reduces nighttime visibility, while a non-functioning brake light or turn signal makes it harder for other drivers to predict your movements. In many states, driving with defective lighting can also result in a traffic citation.
The replacement process varies slightly by vehicle, but most halogen bulbs are secured with a twist-lock socket or retaining clip. After disconnecting the electrical connector, the old bulb is removed, and the new one is installed without touching the glass.
Oils from your skin can create hot spots on halogen bulbs, shortening their service life, so wearing clean gloves or using a paper towel is recommended.
Whenever one headlight burns out, replacing both at the same time is often worthwhile. Headlight bulbs typically age at a similar rate, meaning the second bulb may fail soon after the first. Installing a matched pair also helps maintain consistent brightness and color.
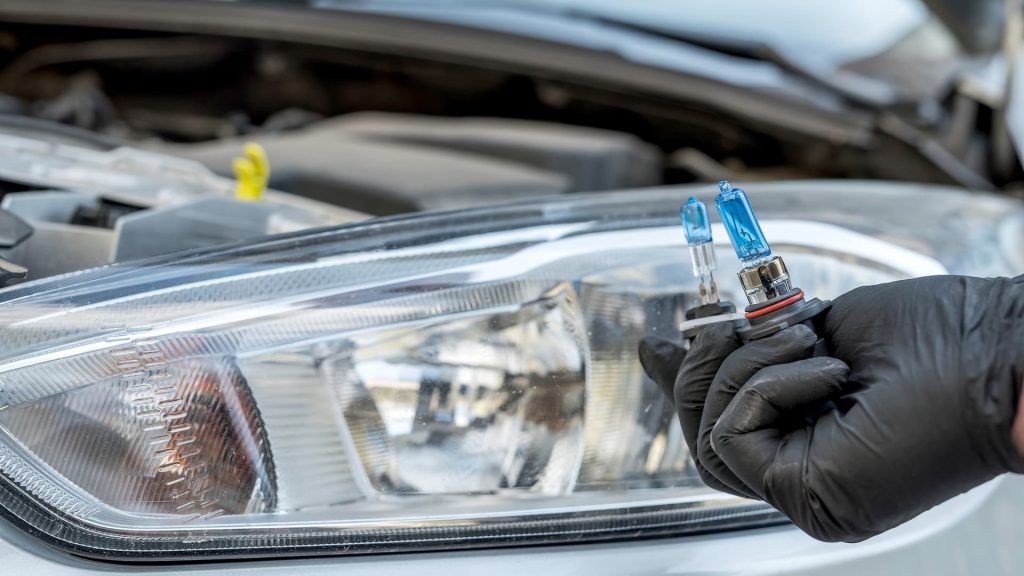
After replacement, check that the lights function correctly before closing the hood or trunk to ensure the connector is fully seated. This simple repair improves visibility, enhances safety, and avoids the labor charges associated with a dealership or repair shop.
6. Replacing the PCV Valve
The Positive Crankcase Ventilation (PCV) valve may be one of the smallest components under the hood, but replacing it can have a noticeable effect on engine operation.
Many owners assume it is buried deep inside the engine, yet on numerous naturally aspirated gasoline engines it is mounted in an accessible valve cover location and connected by a simple rubber hose. With minimal tools, the job can often be completed in less than 30 minutes.
The PCV system removes blow-by gases that escape past the piston rings during combustion. Instead of allowing these gases to build pressure inside the crankcase, the valve routes them back into the intake manifold where they are burned during normal engine operation.
As the valve ages, carbon deposits and oil residue can cause it to stick open or closed, reducing the system’s effectiveness.
Symptoms of a failing PCV valve include rough idle, increased oil consumption, minor oil leaks, poor fuel economy, and an illuminated check engine light on some vehicles. If ignored, excessive crankcase pressure can place additional stress on engine seals and gaskets, while restricted ventilation can contribute to sludge formation inside the engine.
Replacement is typically straightforward. After locating the valve, disconnect the attached hose, remove the old PCV valve by pulling or unscrewing it depending on the design, and install the new component in the same orientation.
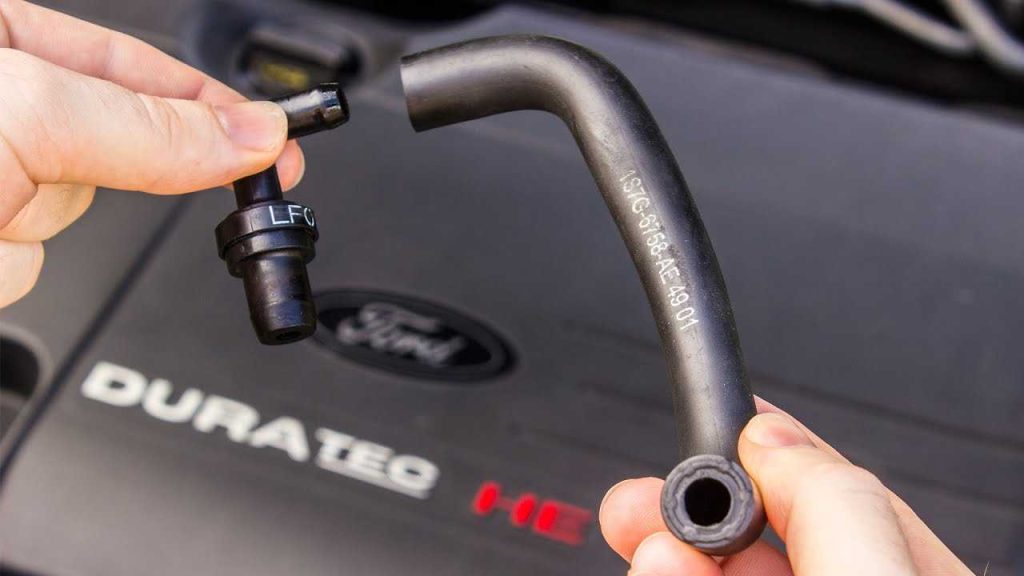
Before reconnecting everything, inspect the attached hose for cracks or brittleness since a leaking hose can create vacuum leaks that mimic PCV valve problems.
Because the part is inexpensive and requires little time to replace, preventive maintenance can help restore proper crankcase ventilation, improve idle quality, and support long-term engine cleanliness without requiring specialized mechanical skills.
7. Replacing the Mass Air Flow (MAF) Sensor
The mass air flow sensor sounds like a complicated electronic component, but replacing it is surprisingly simple on many modern vehicles.
Positioned between the air filter housing and the throttle body, the MAF sensor measures the amount of air entering the engine so the engine control module can calculate the proper fuel delivery. Because of its location, access is usually easy once the hood is opened.
Over thousands of miles, tiny particles of dust, oil vapor, or debris can contaminate the sensor element. A failing or contaminated MAF sensor may cause hesitation during acceleration, rough idle, poor fuel economy, hard starting, or a check engine light.
While cleaning the sensor with dedicated MAF cleaner sometimes restores proper operation, replacement is often the better long-term solution if the sensor has failed electronically.
On many vehicles, replacing the sensor requires disconnecting the electrical connector, removing two screws or bolts, lifting out the old sensor, and installing the new one. Care should be taken not to touch the sensing element because it is extremely delicate and can be damaged easily.
After installation, the engine control module may require a short driving period to fully adapt to the new airflow readings. During this time, idle quality and throttle response generally improve as the computer relearns fuel trim values.
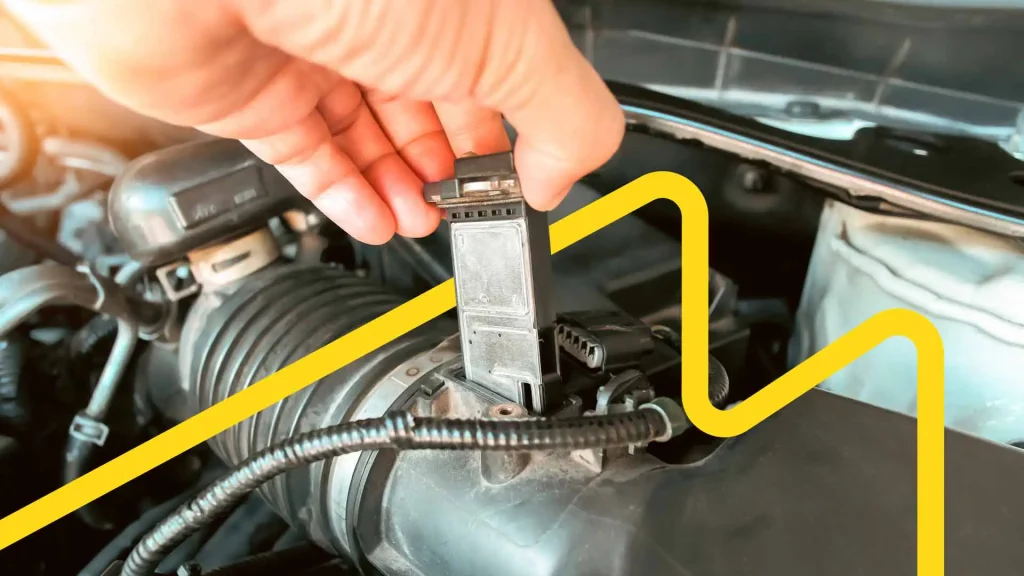
Although the name suggests an advanced repair, replacing a mass air flow sensor is well within the capabilities of many DIY owners. Completing the job at home can save labor costs while restoring engine performance, smoother acceleration, and more accurate fuel metering.
8. Replacing the Ignition Coils
The words “ignition system” often sound intimidating, leading many owners to believe replacing an ignition coil requires advanced diagnostic equipment. Fortunately, on many modern four-cylinder and V6 engines that use coil-on-plug ignition systems, replacing a faulty ignition coil is one of the quickest repairs under the hood.
In numerous vehicles, the coils sit directly on top of the spark plugs and are easily accessible after removing a plastic engine cover.
Each ignition coil converts the battery’s 12 volts into the tens of thousands of volts needed to fire a spark plug. Over time, heat cycles and vibration can weaken the coil’s internal windings or insulation.
When this happens, drivers may notice rough idling, hesitation during acceleration, reduced fuel economy, loss of power, or an illuminated check engine light accompanied by a misfire code.
The repair itself is surprisingly simple. After disconnecting the negative battery terminal if recommended by the manufacturer, unplug the electrical connector from the faulty coil, remove the retaining bolt, lift the old coil straight out, and install the replacement in the same position.
Tighten the retaining bolt to the specified torque, reconnect the electrical connector, and reinstall any engine covers that were removed.
While replacing a single failed coil is common, it is also wise to inspect the corresponding spark plug. A worn spark plug forces the ignition coil to generate higher voltage, increasing electrical stress and potentially shortening coil life. Replacing both components when appropriate can improve reliability and reduce the chance of repeat repairs.
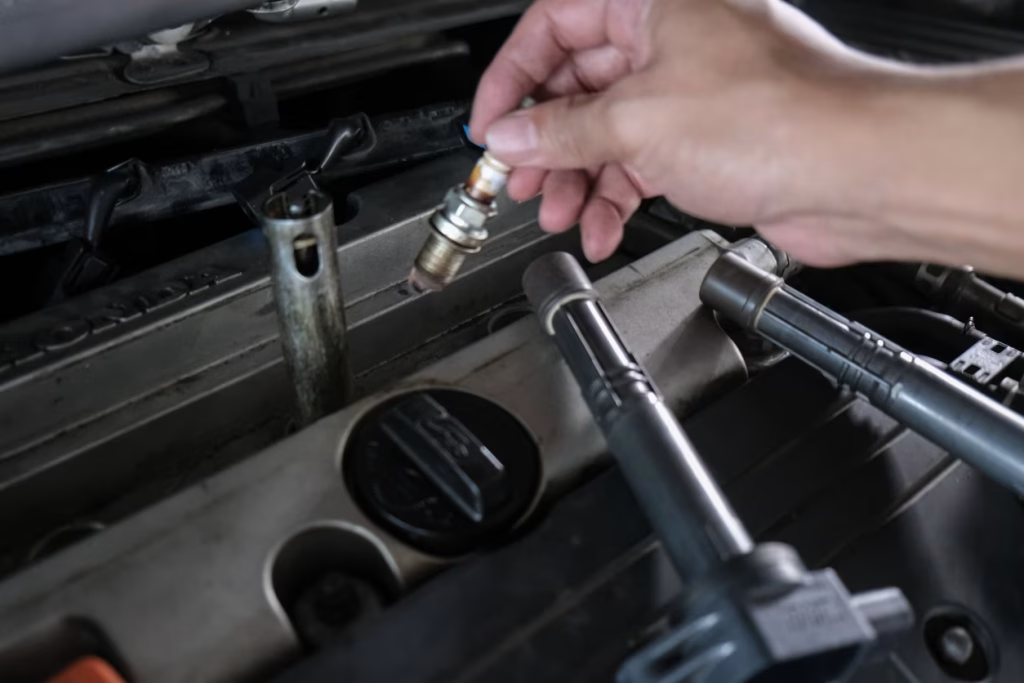
Although some engines require additional disassembly to reach the rear cylinder bank, many popular vehicles allow ignition coil replacement in well under 30 minutes.
It is a straightforward repair that restores smooth engine operation, eliminates misfires, improves fuel efficiency, and helps prevent catalytic converter damage caused by unburned fuel.